Embed a videoask in your Webflow site, either as a widget or an iframe, so respondents can interact with your videoask and submit responses without leaving your site.
Whether you're capturing leads, matching site visitors to the most relevant products for them, displaying an interactive video FAQ, or simply putting a face to your brand - embedding a videoask in your site gives that extra personal touch and builds your clients' trust quickly.

⚠️ Important: The Webflow Embed element is only available on paid Webflow plans. As a workaround for users on free Webflow plans, you can add a Video element instead, but there are limitations with this option.
Check out how to add a videoask as a Video element (workaround for users with a free Webflow plan) for more details.
Ok, so let's get going!
First of all, make sure you've got your videoask set up just the way you want it. If you're new to VideoAsk, check out these handy guides to get started:
Now you have two options: embed your videoask as a widget (so it floats at the bottom of your page and activates when clicked on), or embed it as an iframe (so it sits directly within your page).
Feel free to skip to the section that suits you best.
If you'd like to see a video walkthrough of embedding a videoask in your Webflow site, check out this 🗣 Community post.
Jump to:
Embed a videoask as a widget in a single page of your site
Embed a videoask as a widget in all pages of your site
Add a videoask as a Video element (workaround for users with a free Webflow plan)
Embed a videoask as a widget on a single page of your site
In this example, we're going to embed a videoask to capture leads as a widget in our site's homepage.
From your VideoAsk account, go to the videoask you'd like to embed and click the Share & Embed icon.
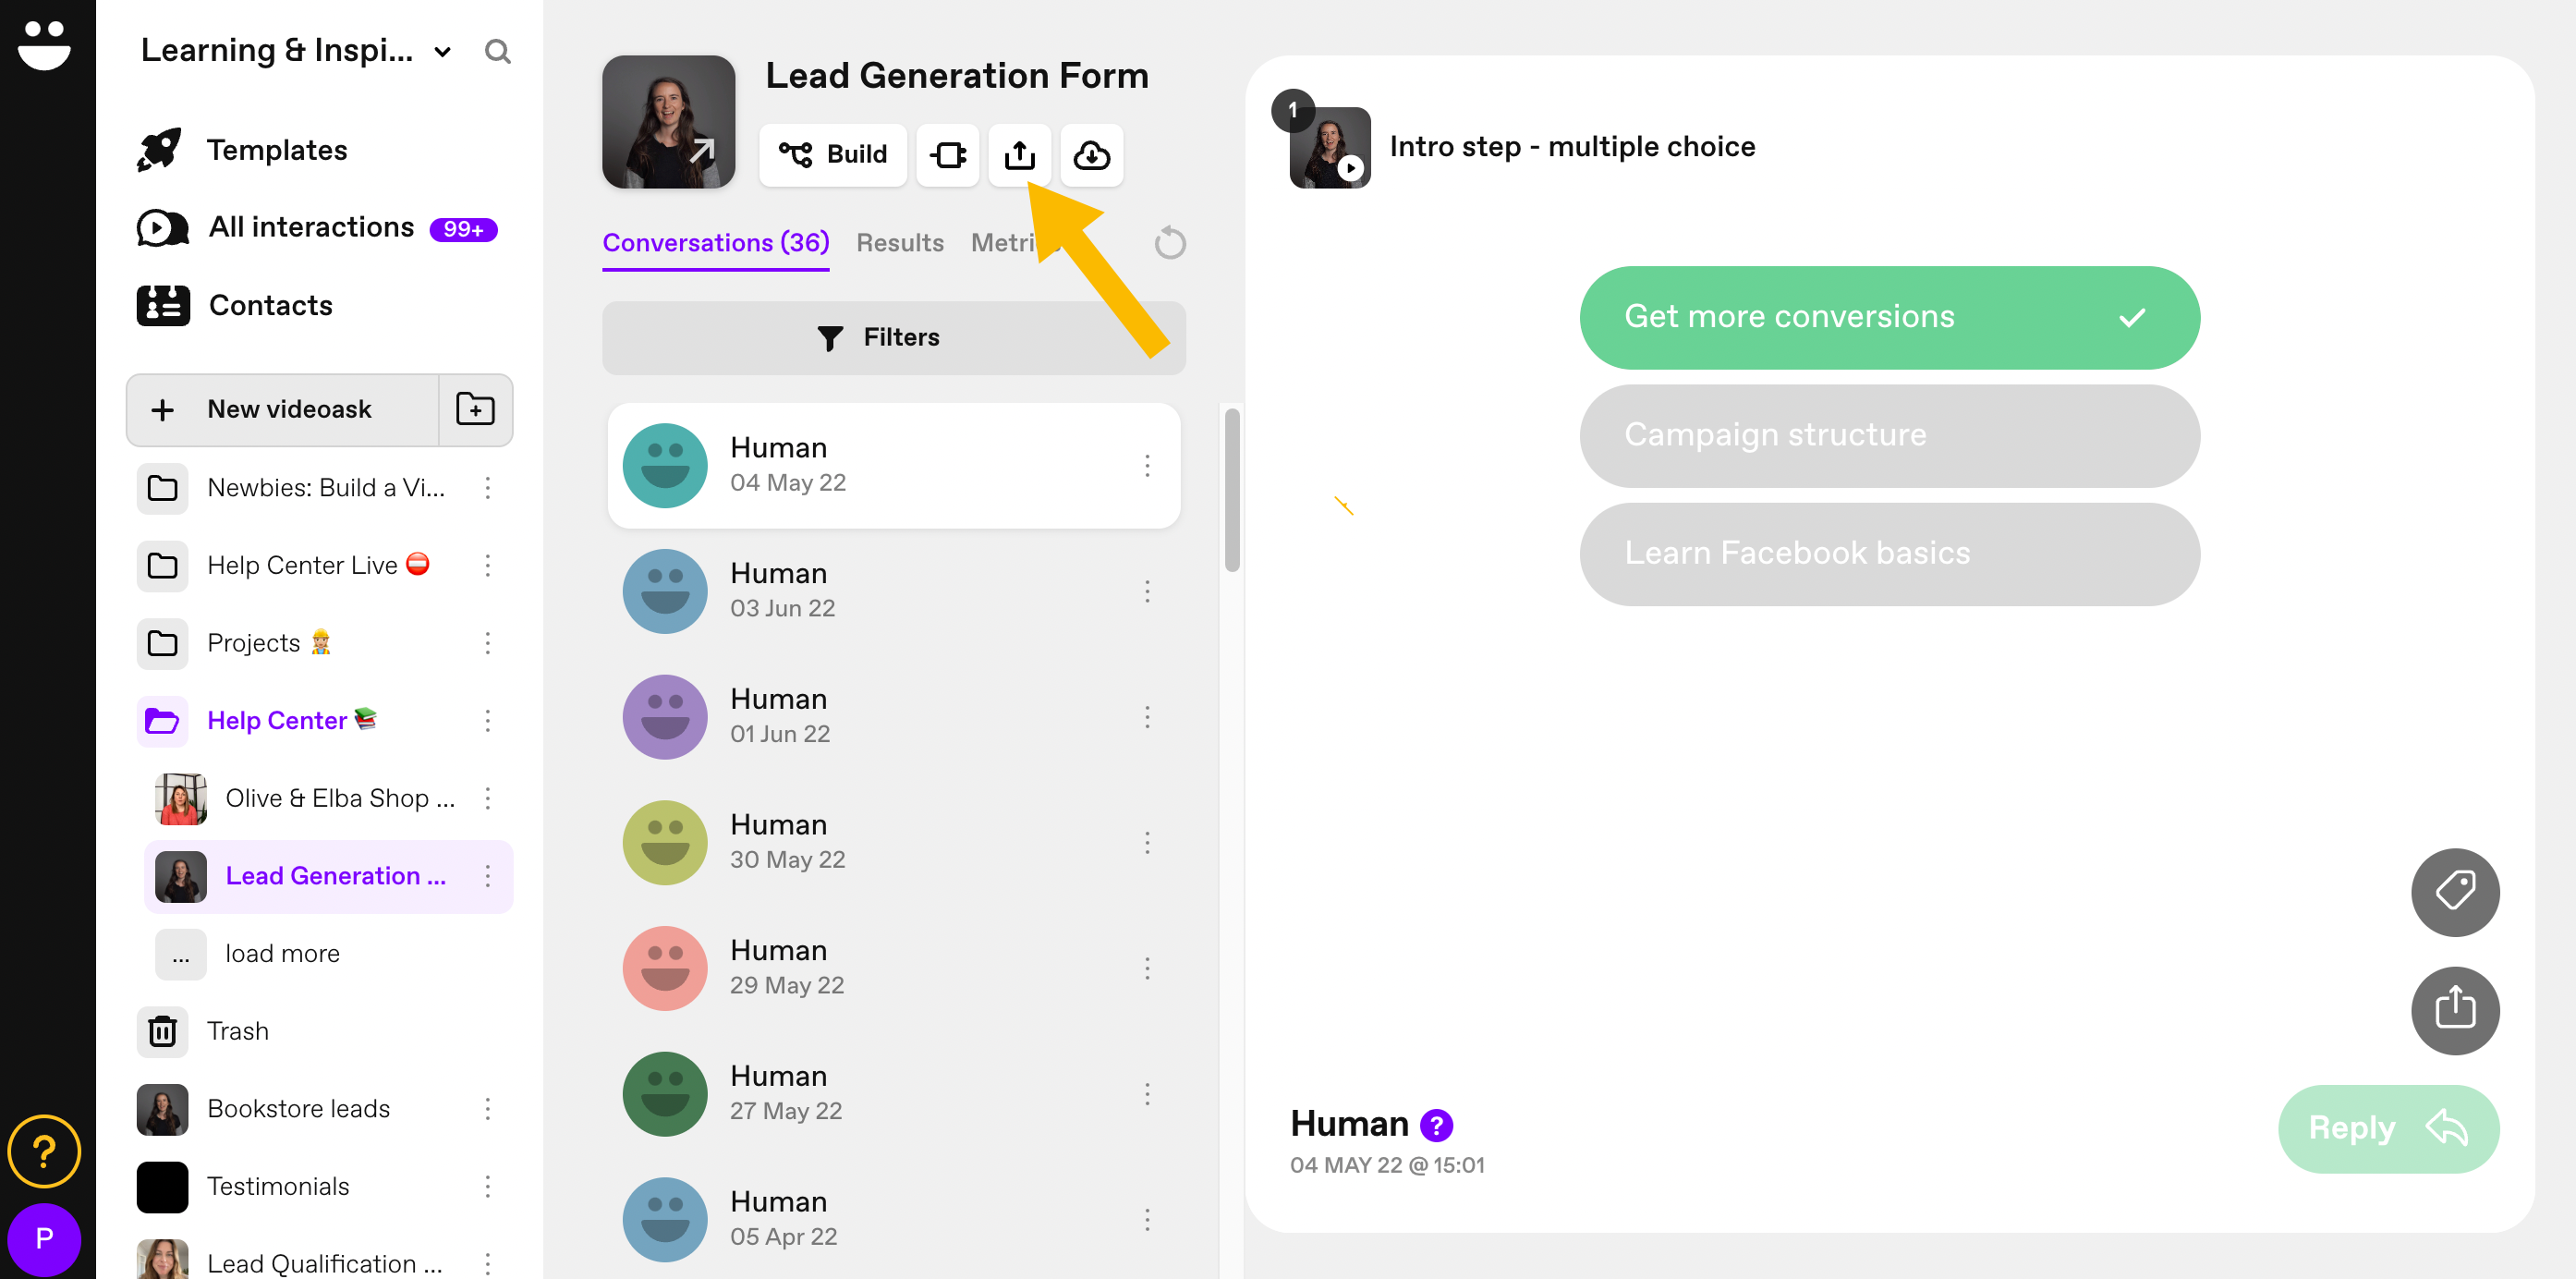
Click Embed in a website.
Make sure the dropdown is set to Widget.
Add Overlaying text and choose the style, color, and position. Click Copy embed code.
Note: Toggle on Make widget dismissible to give respondents the option to close the widget.
On your Webflow site, hit the + Add Elements button.
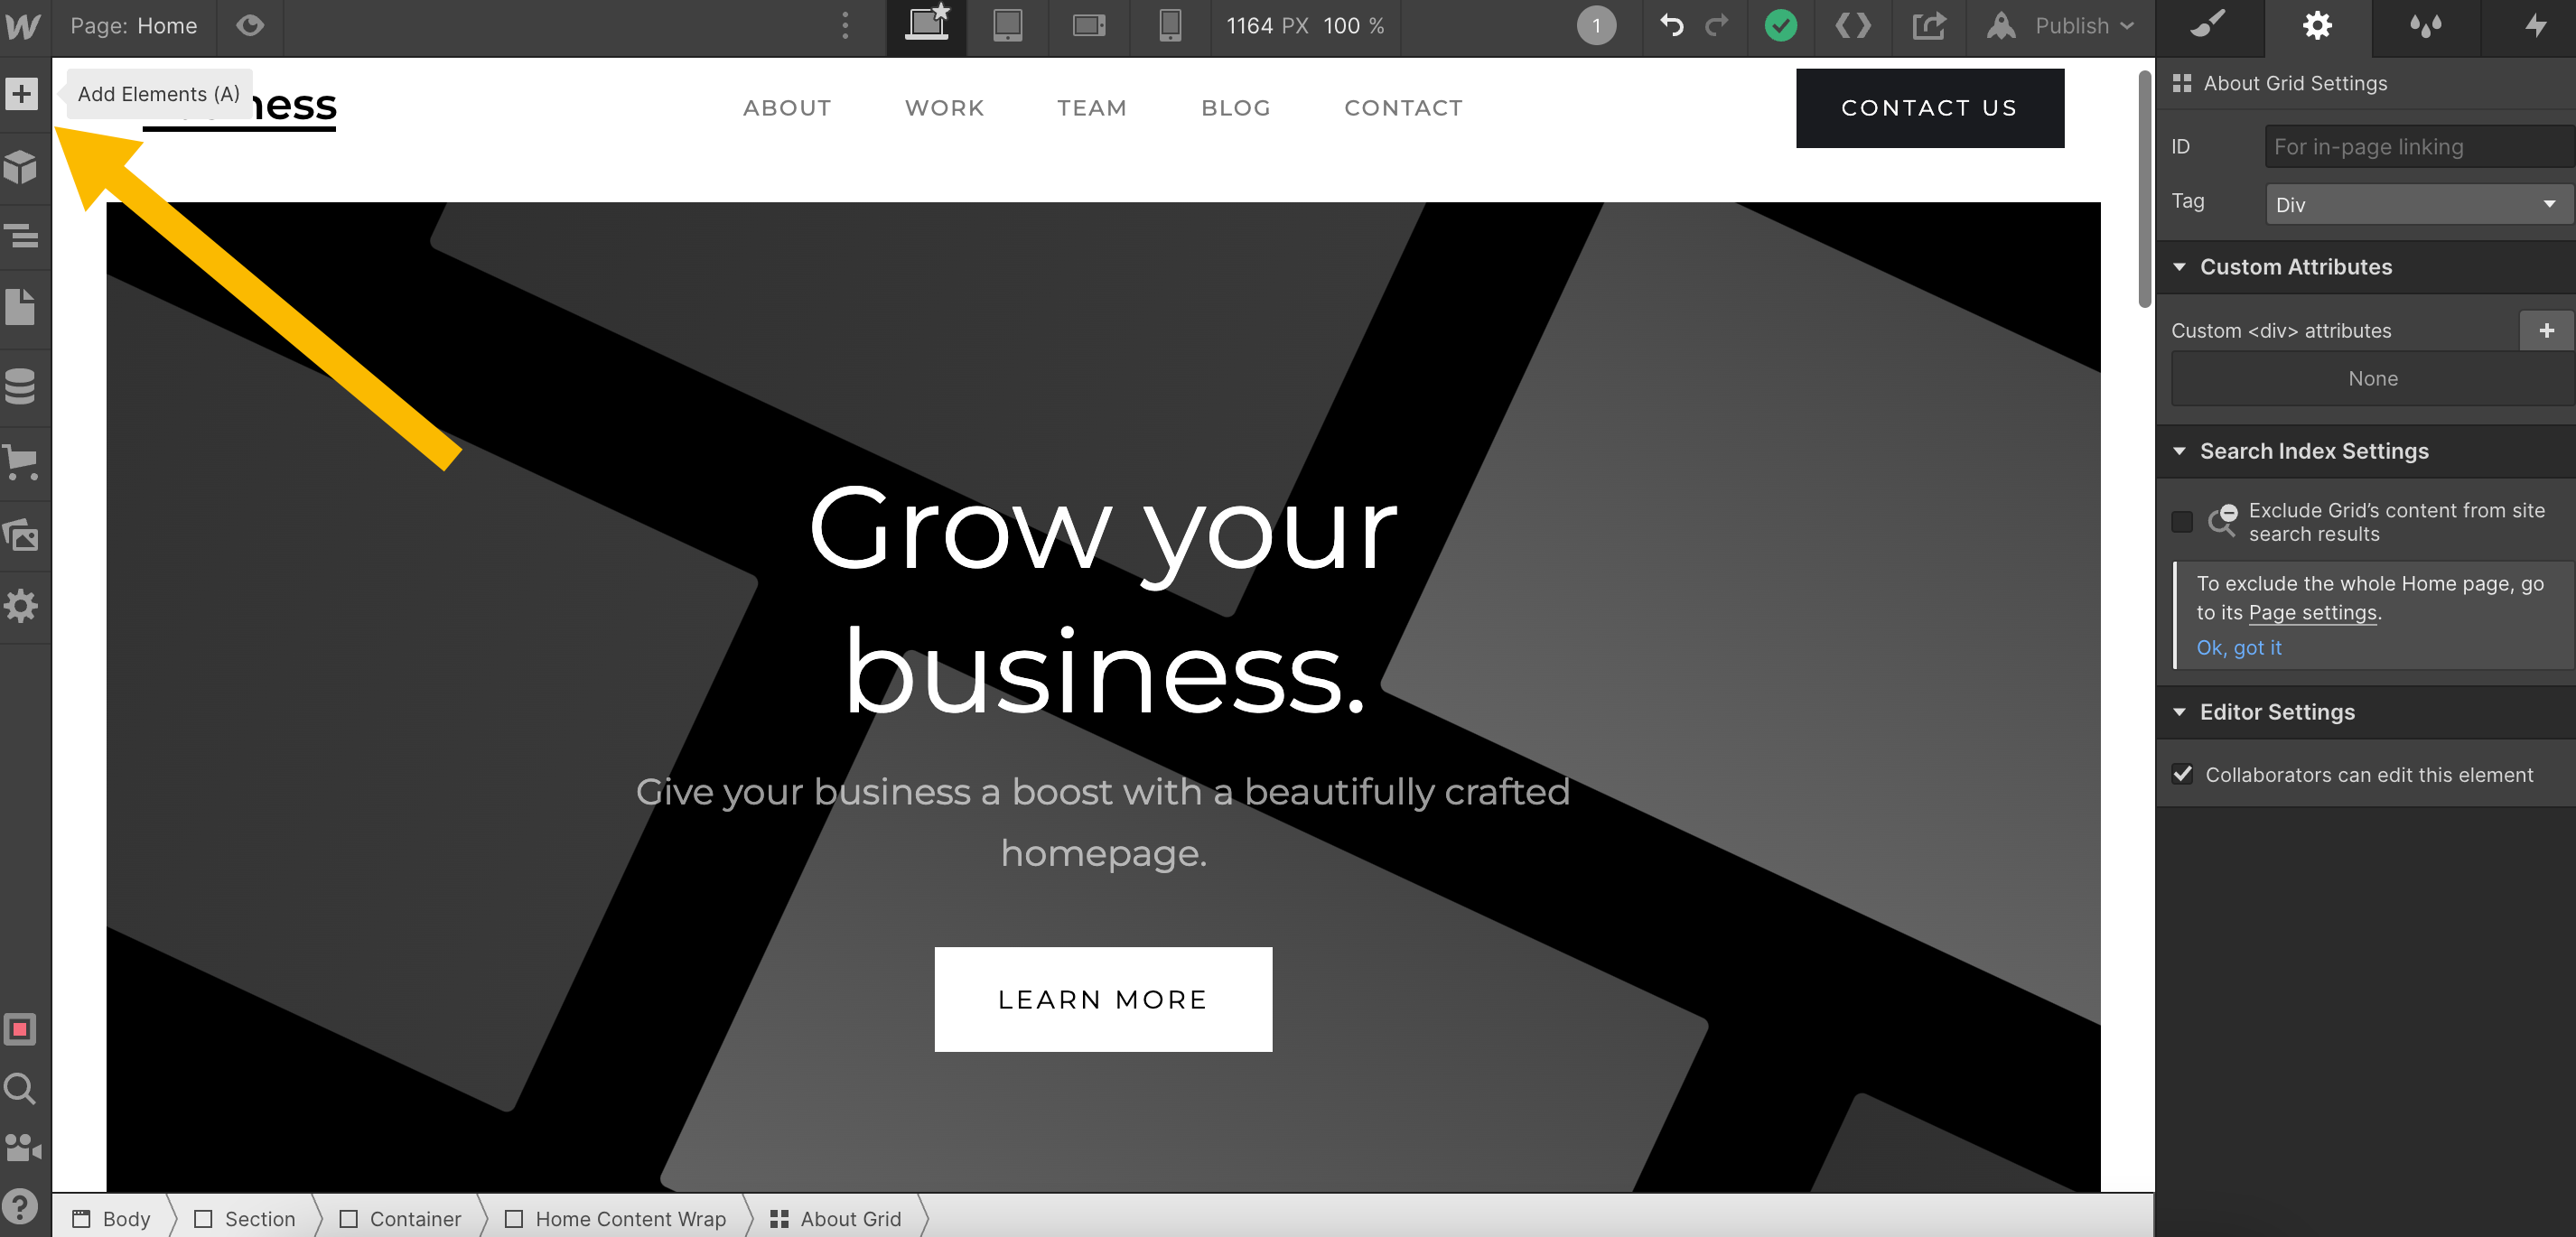
Scroll down to the Components section, and drag the Embed icon to the area of your site where you want to display your widget.
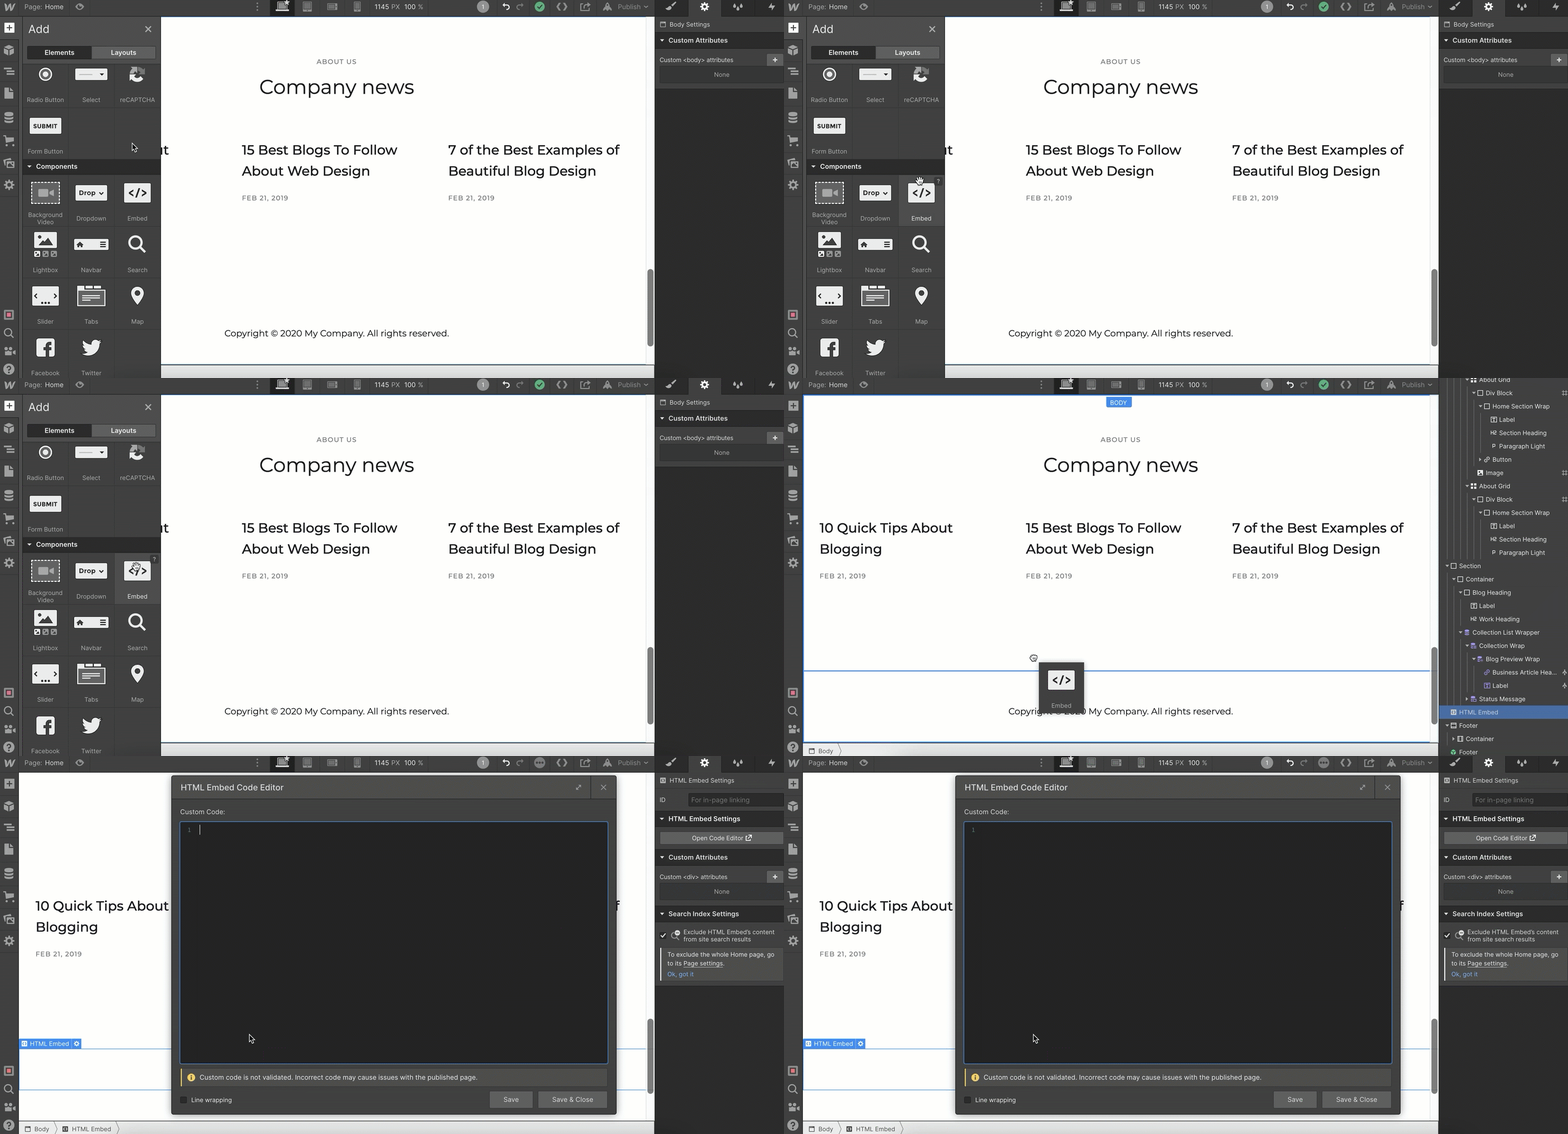
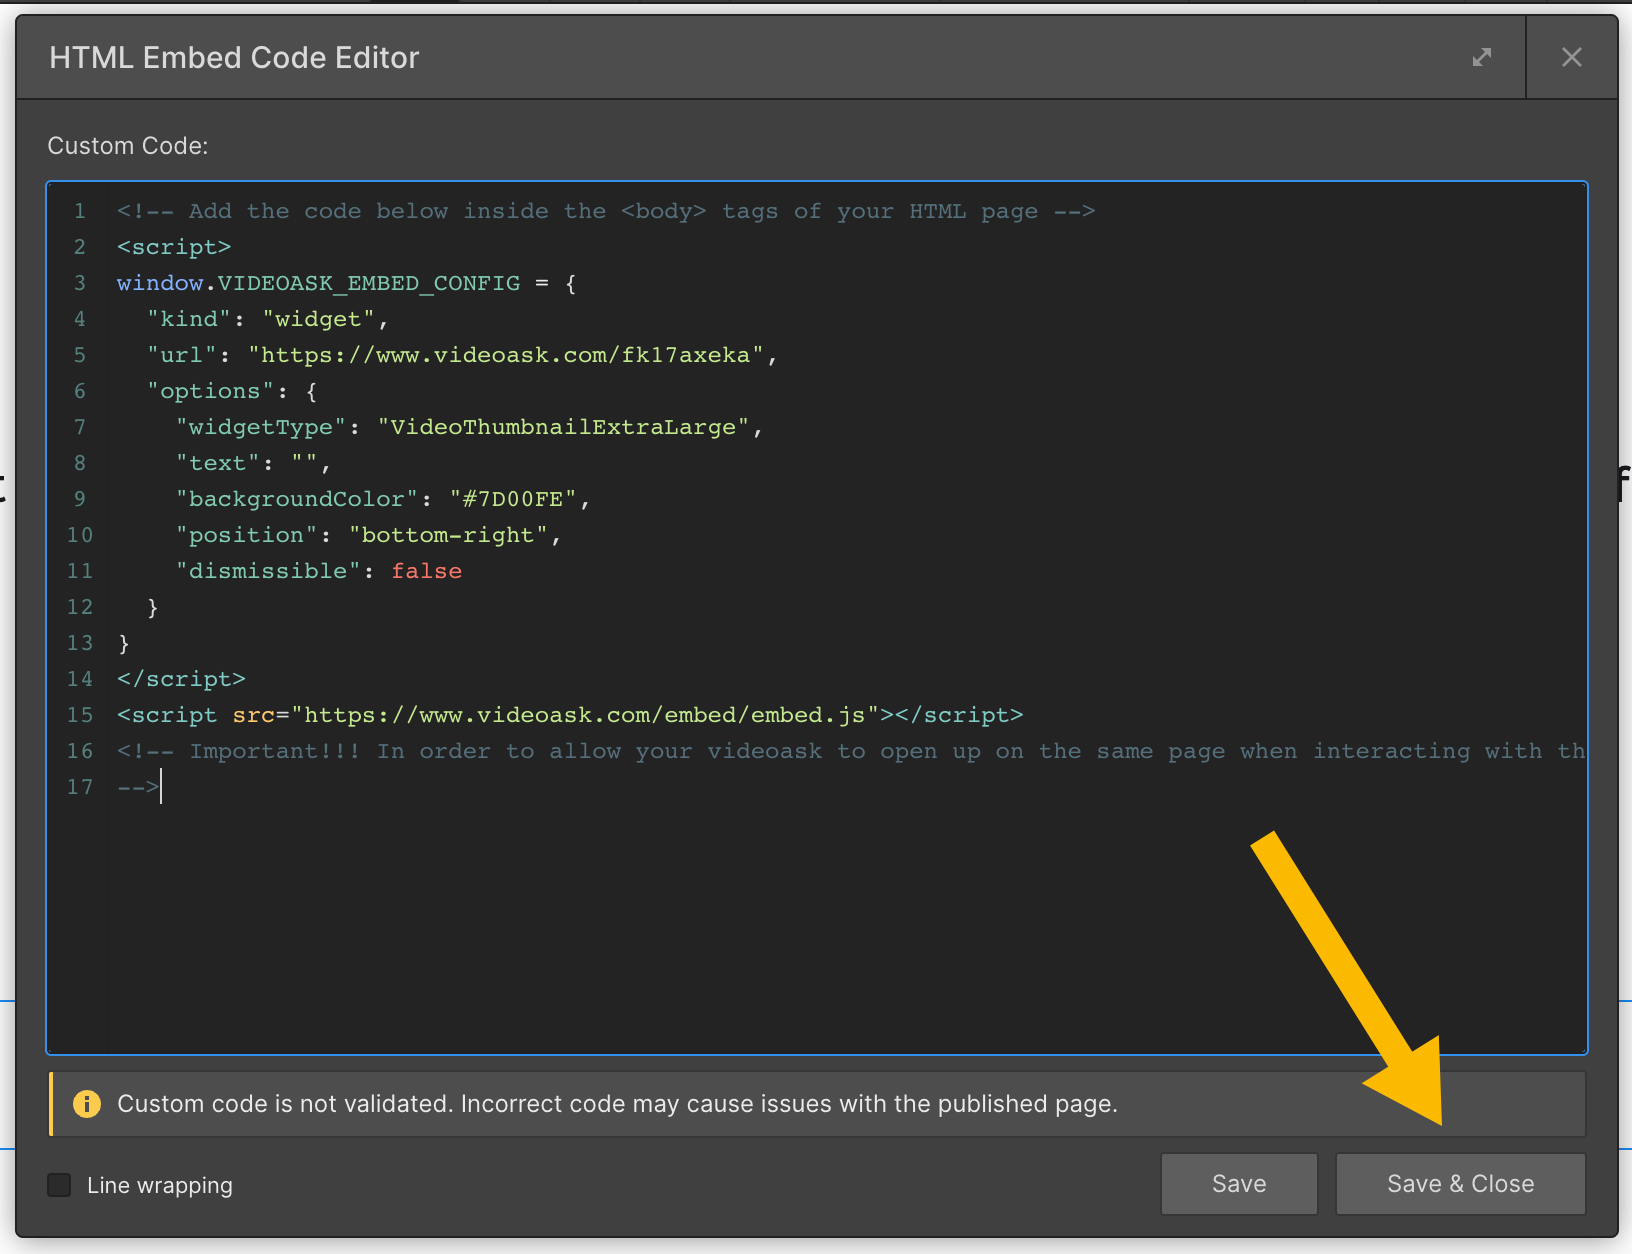
Paste the code you copied from VideoAsk into the code editor box that appears.
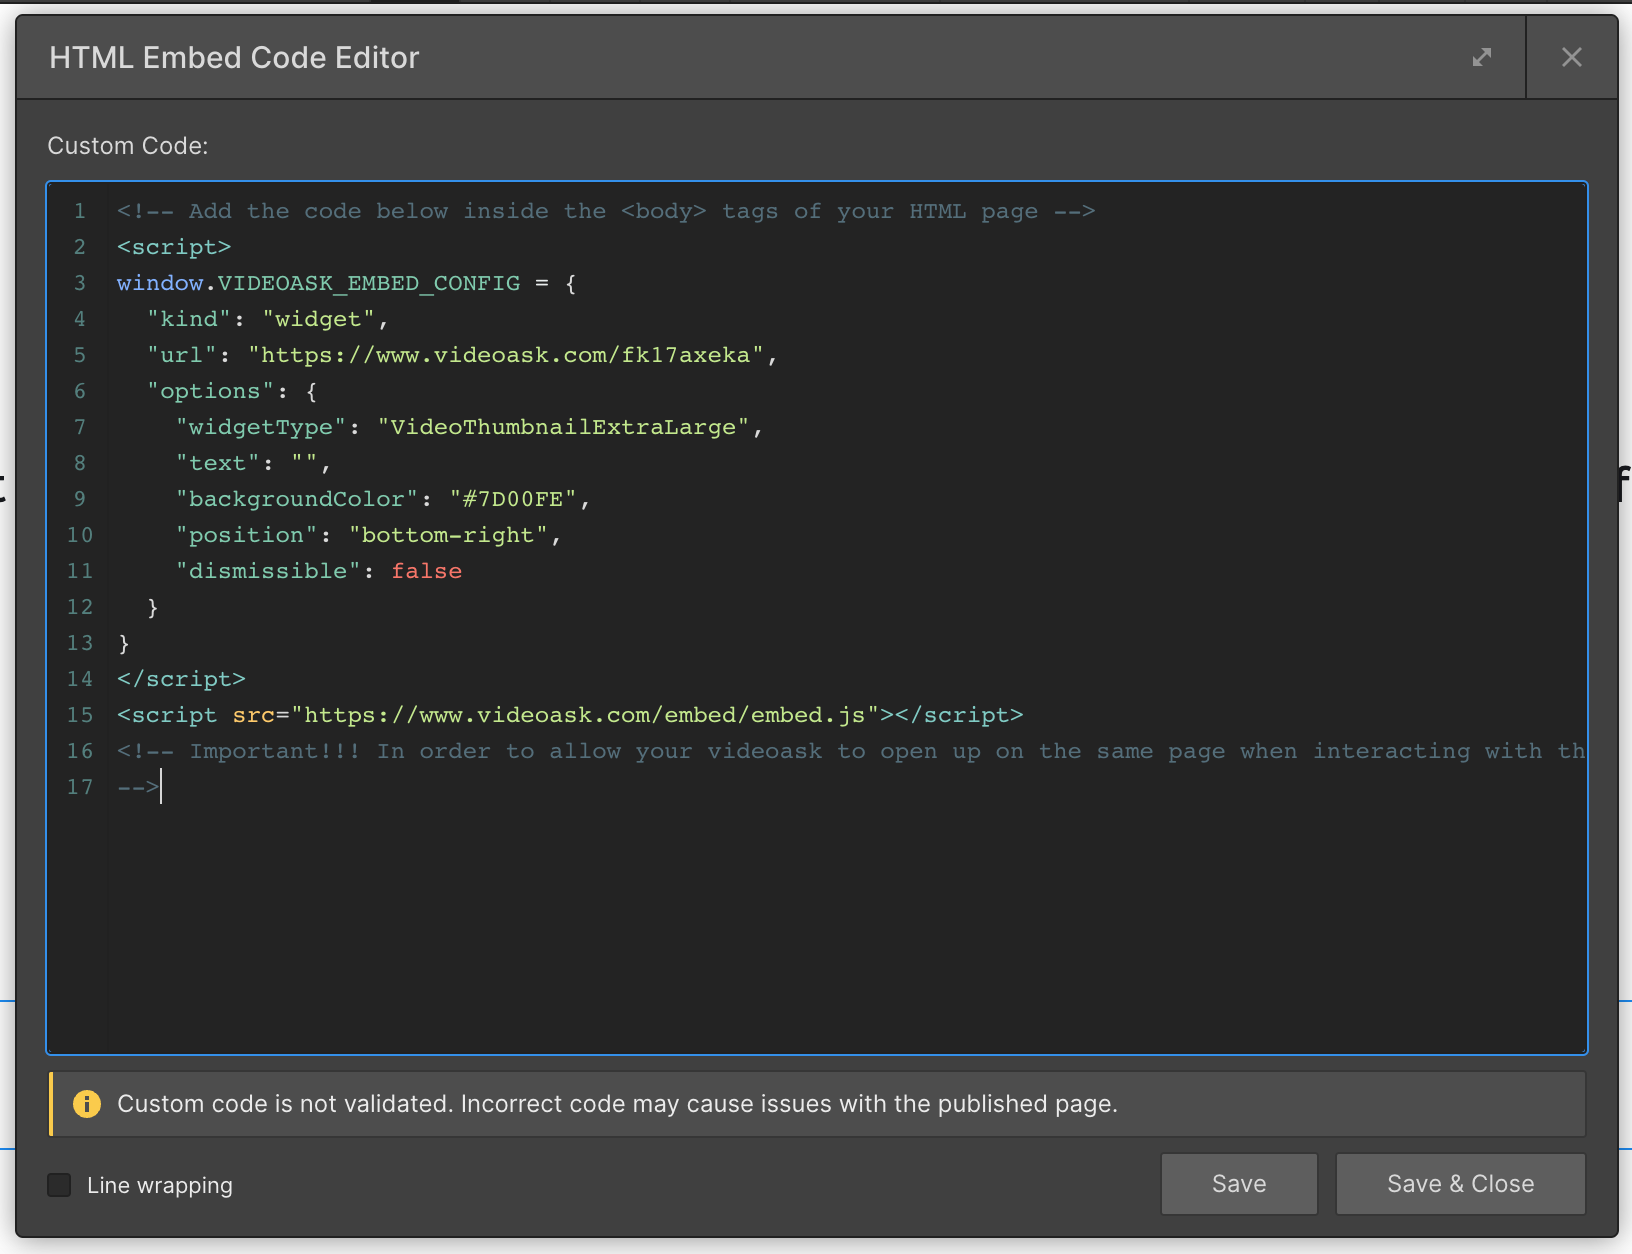
Hit Save & Close.
Now, all that's left to do is hit Publish, check everything displays as expected on your site, and wait for the responses to roll in. 🎉
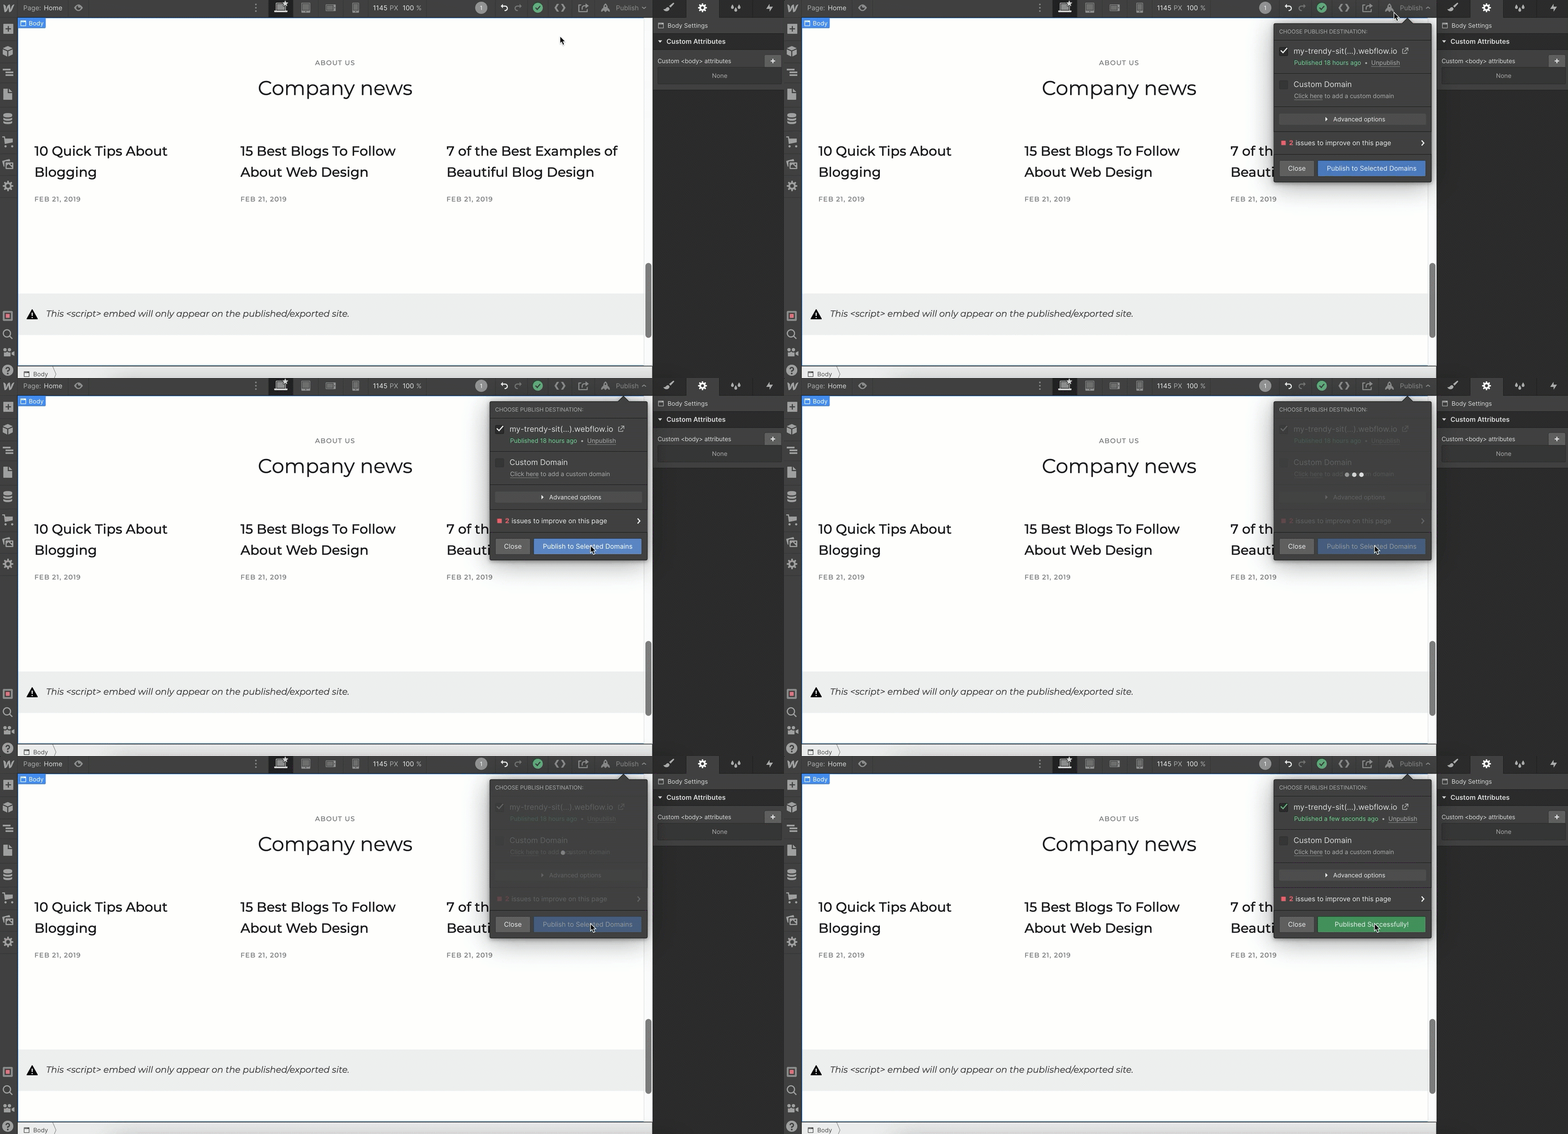
Note: You won't be able to see the widget in preview mode. It will only appear on your published site. We recommend checking it's behaving as expected after publishing.
Embed a videoask as a widget in all pages of your site
In this example, we're going to embed a lead-capturing videoask widget across all pages of our site.
From your VideoAsk account, go to the videoask you'd like to embed and click the Share & Embed icon.

Click Embed in a website.
Make sure the dropdown is set to Widget.
Add Overlaying text and choose the style, color, and position. Click Copy embed code.
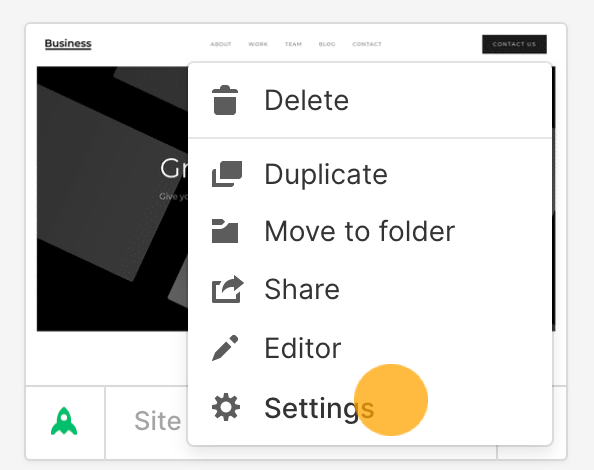
From your Webflow dashboard click the three dots on the thumbnail of the site where you'd like the widget to appear on all pages.
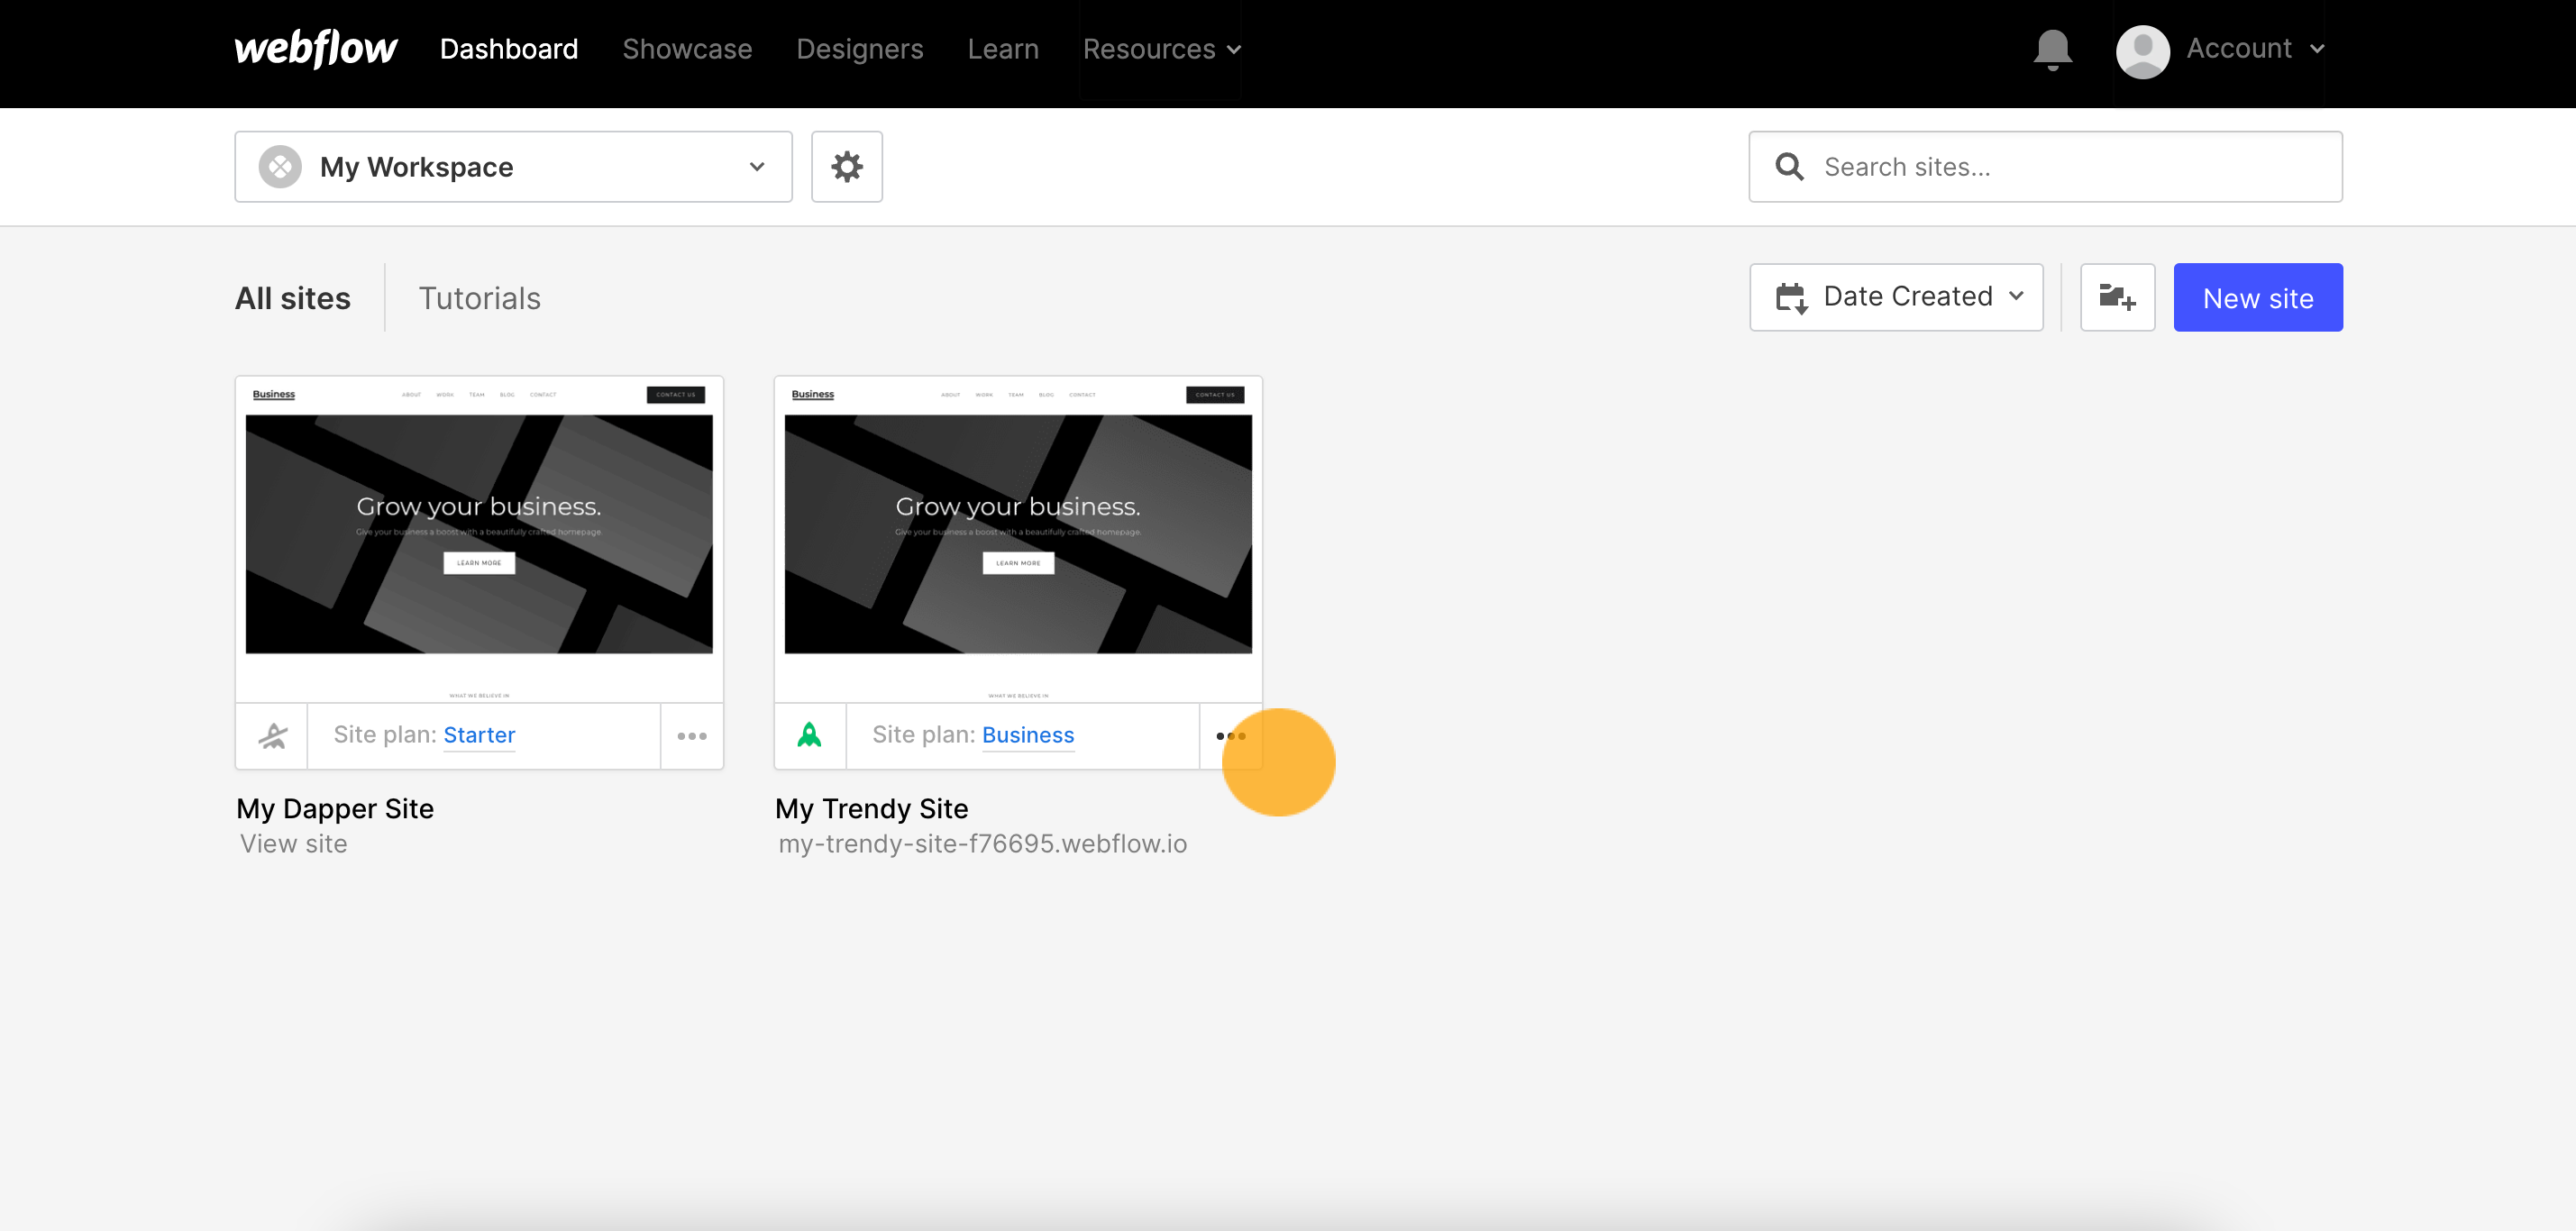
Choose Settings in the menu that appears.
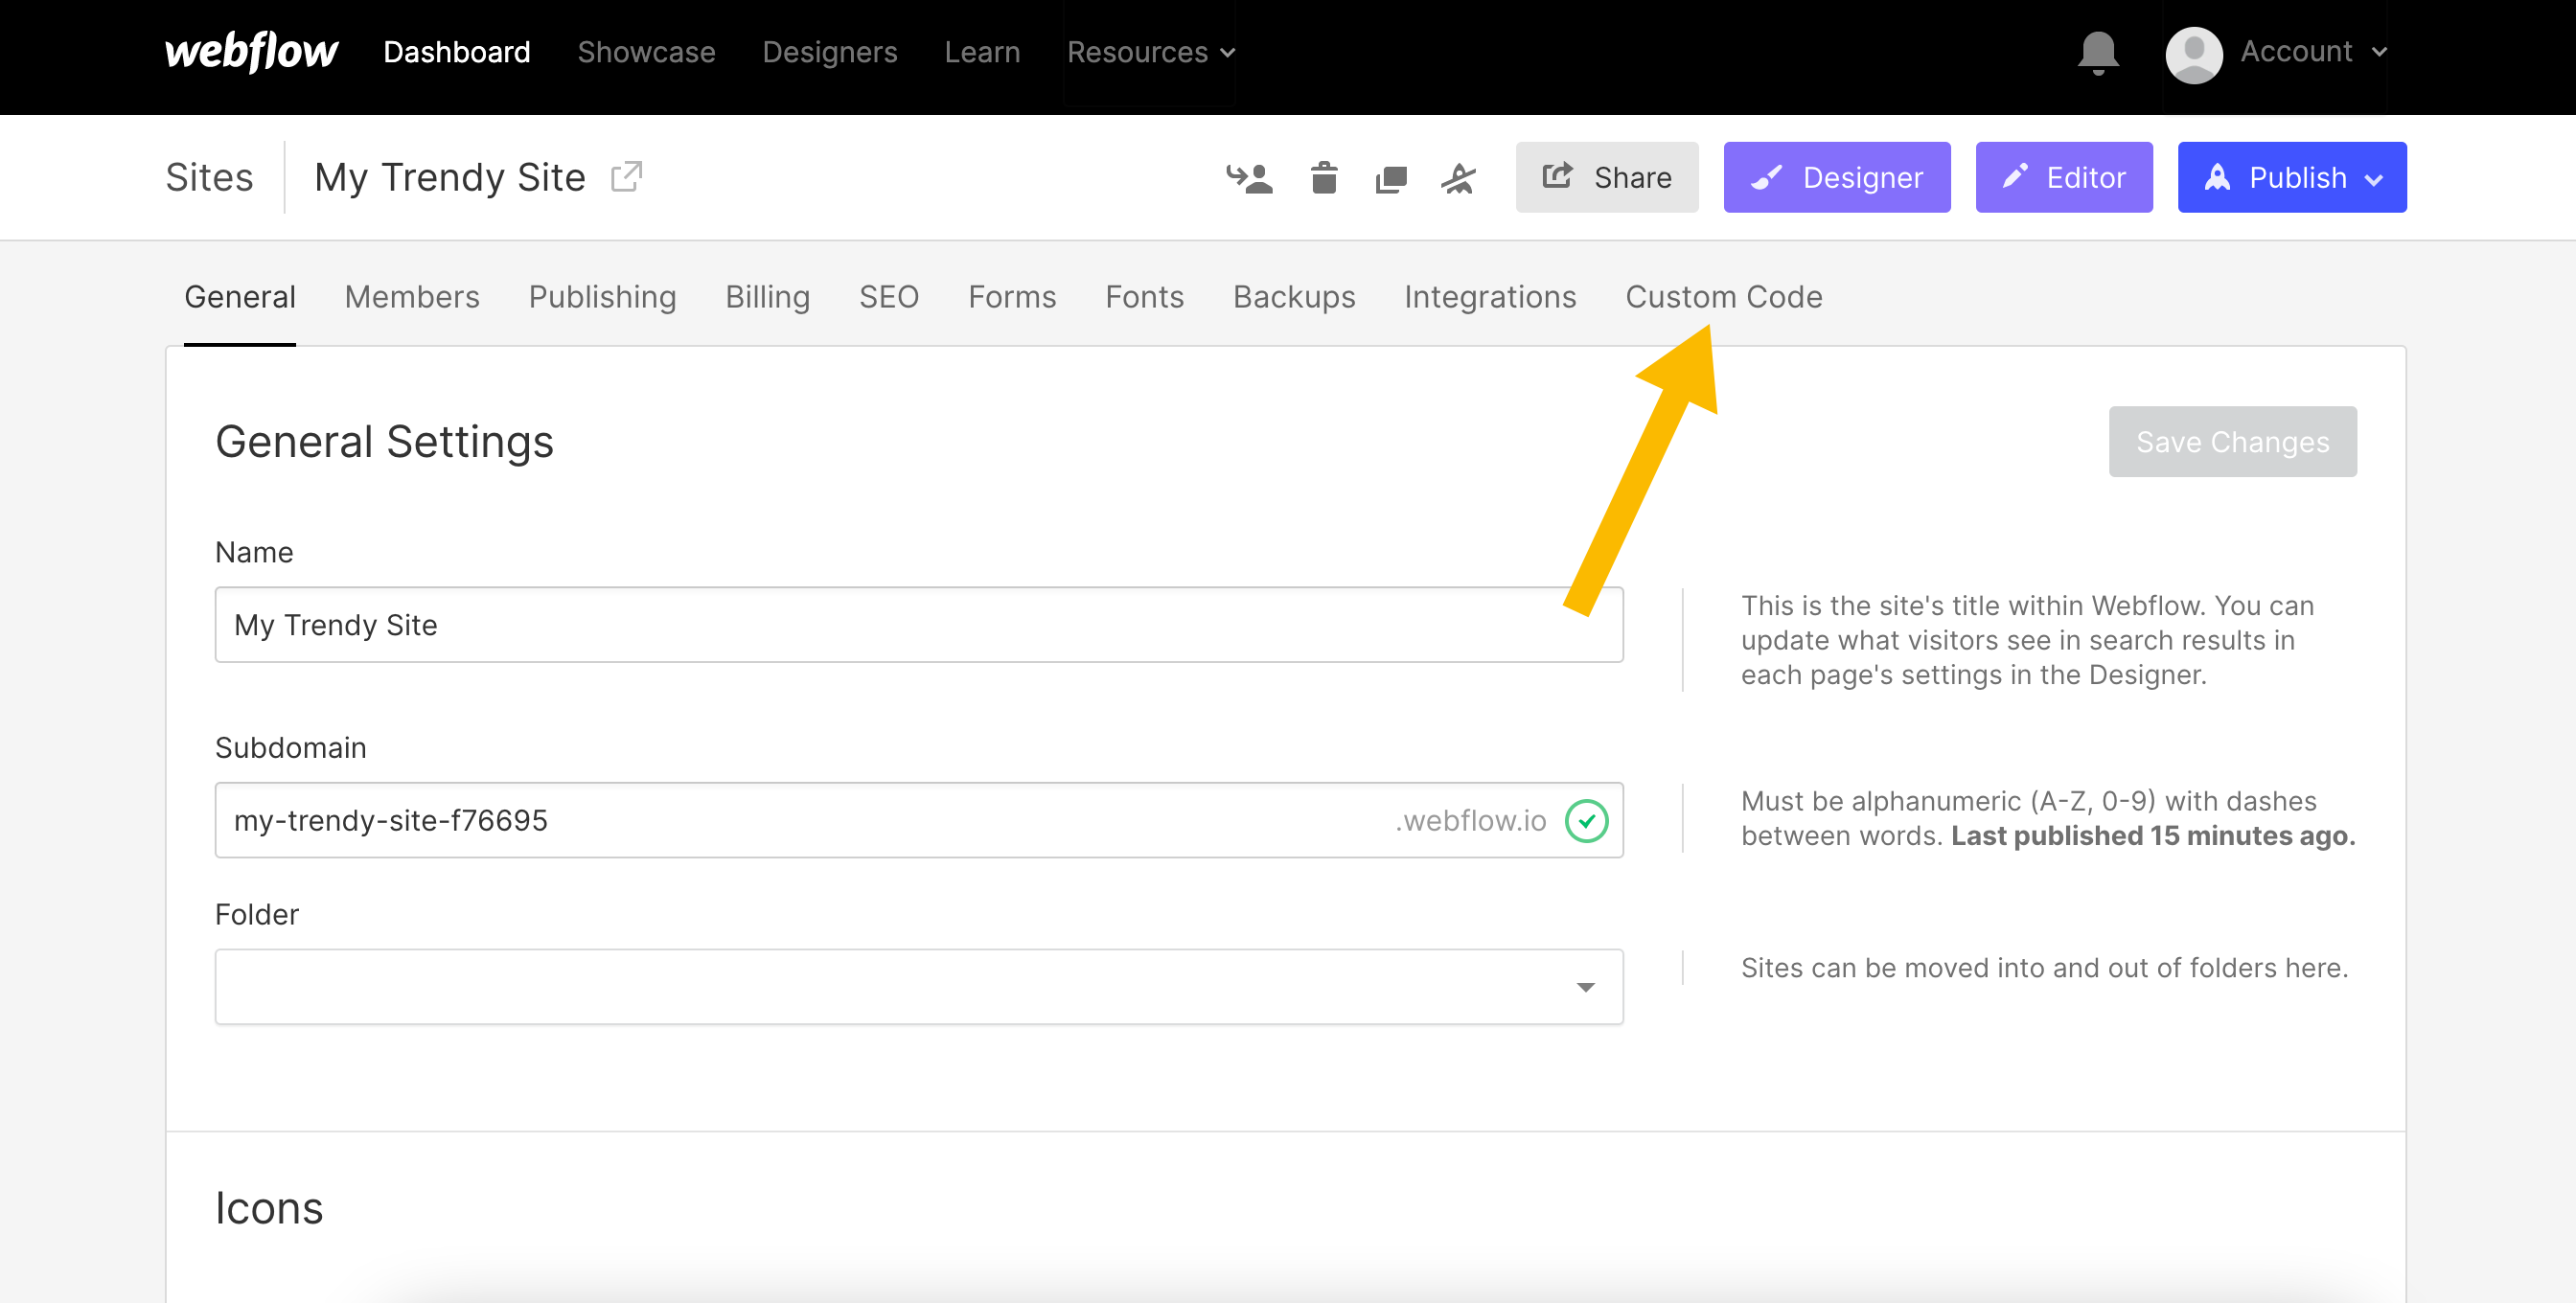
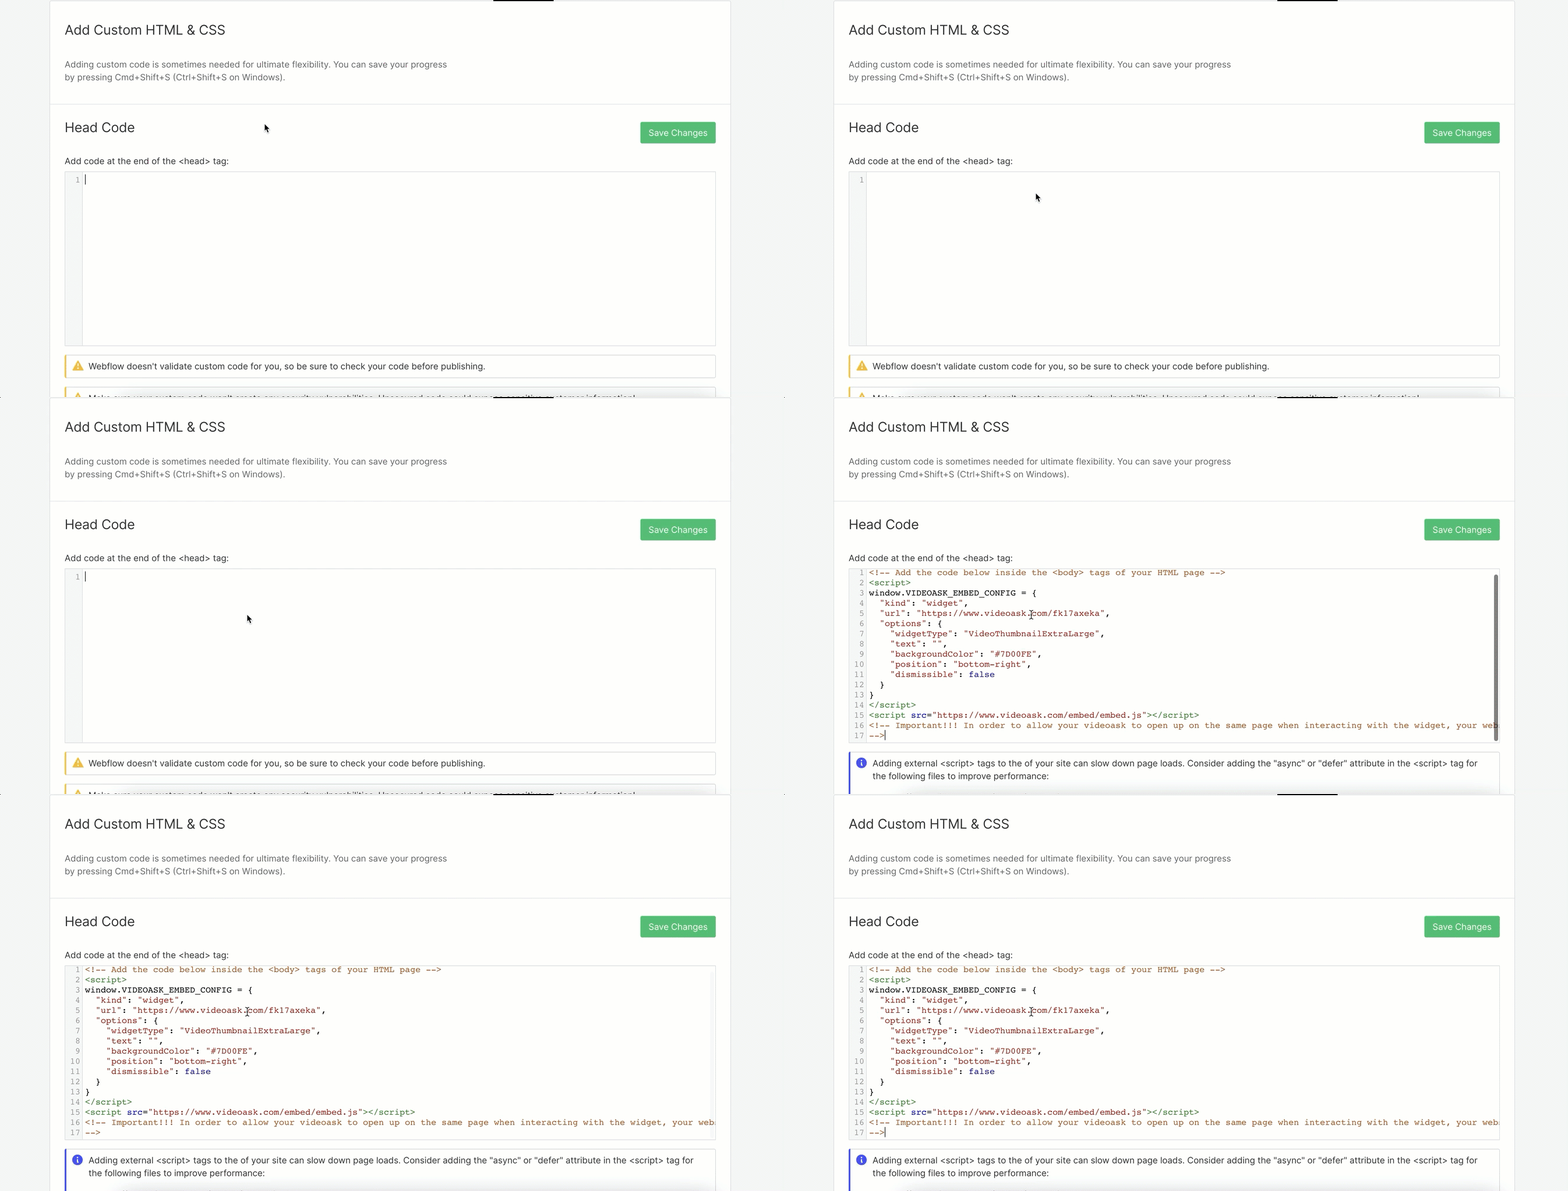
Click Custom Code.
Paste the code you copied from VideoAsk into the Head Code box.
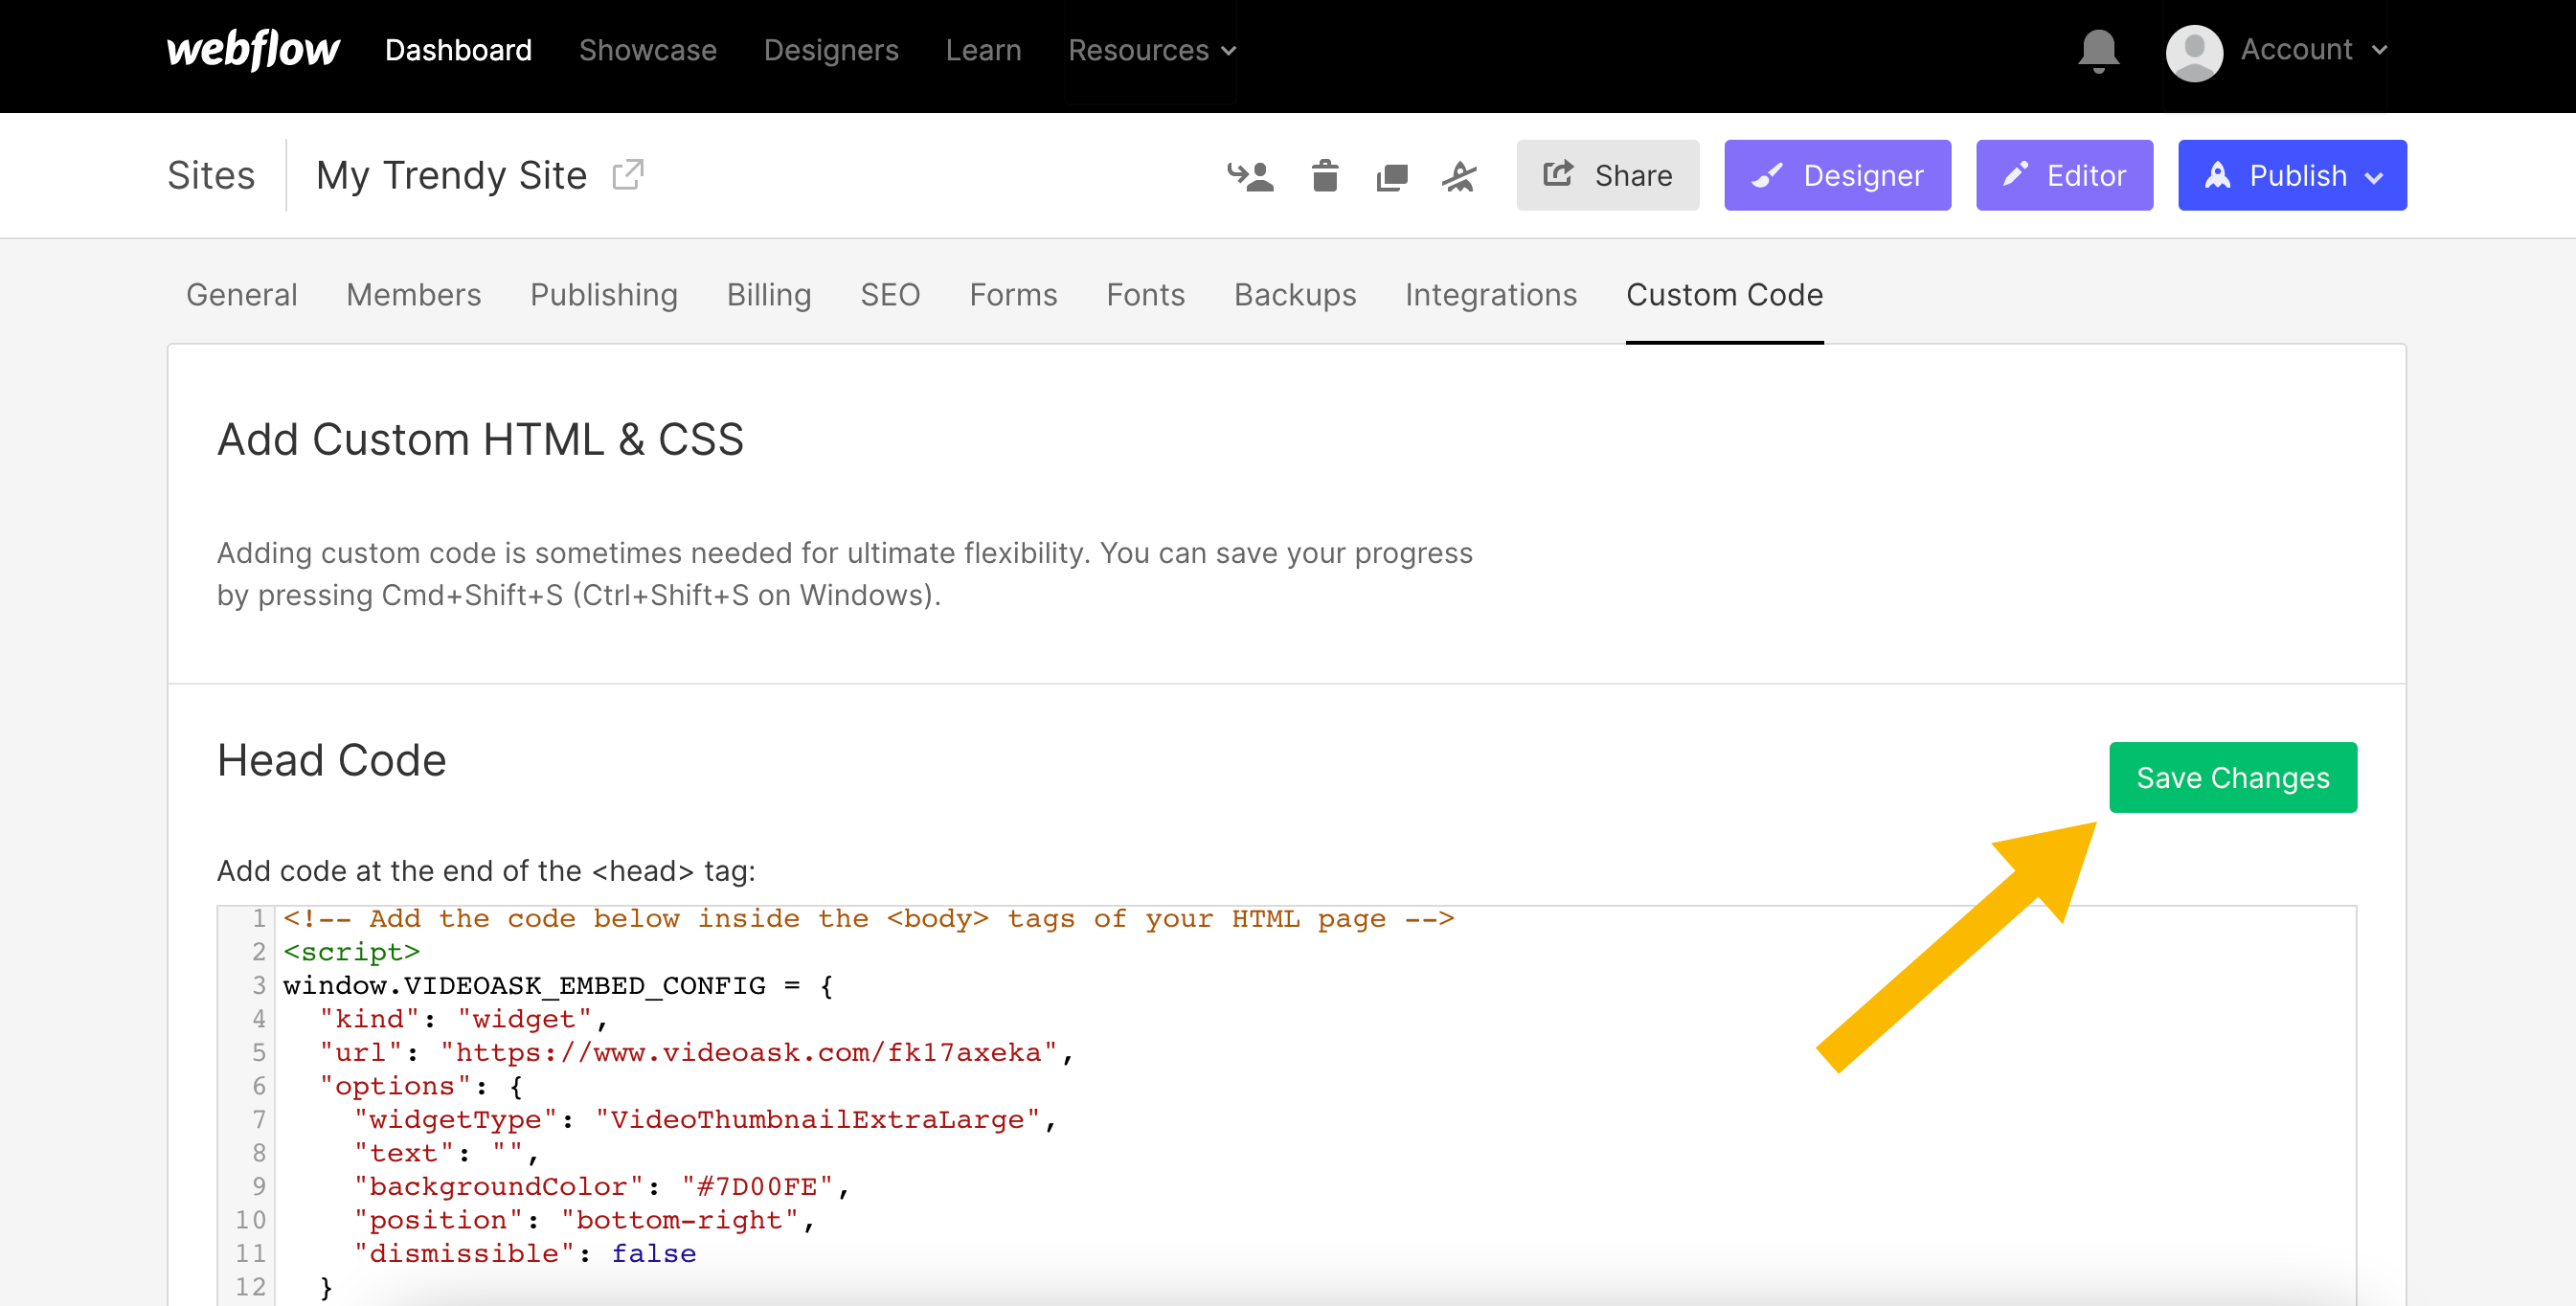
Press Save Changes.
Now, all that's left to do is hit Publish, check everything displays as expected on your site, and wait for the responses to roll in. 🎉
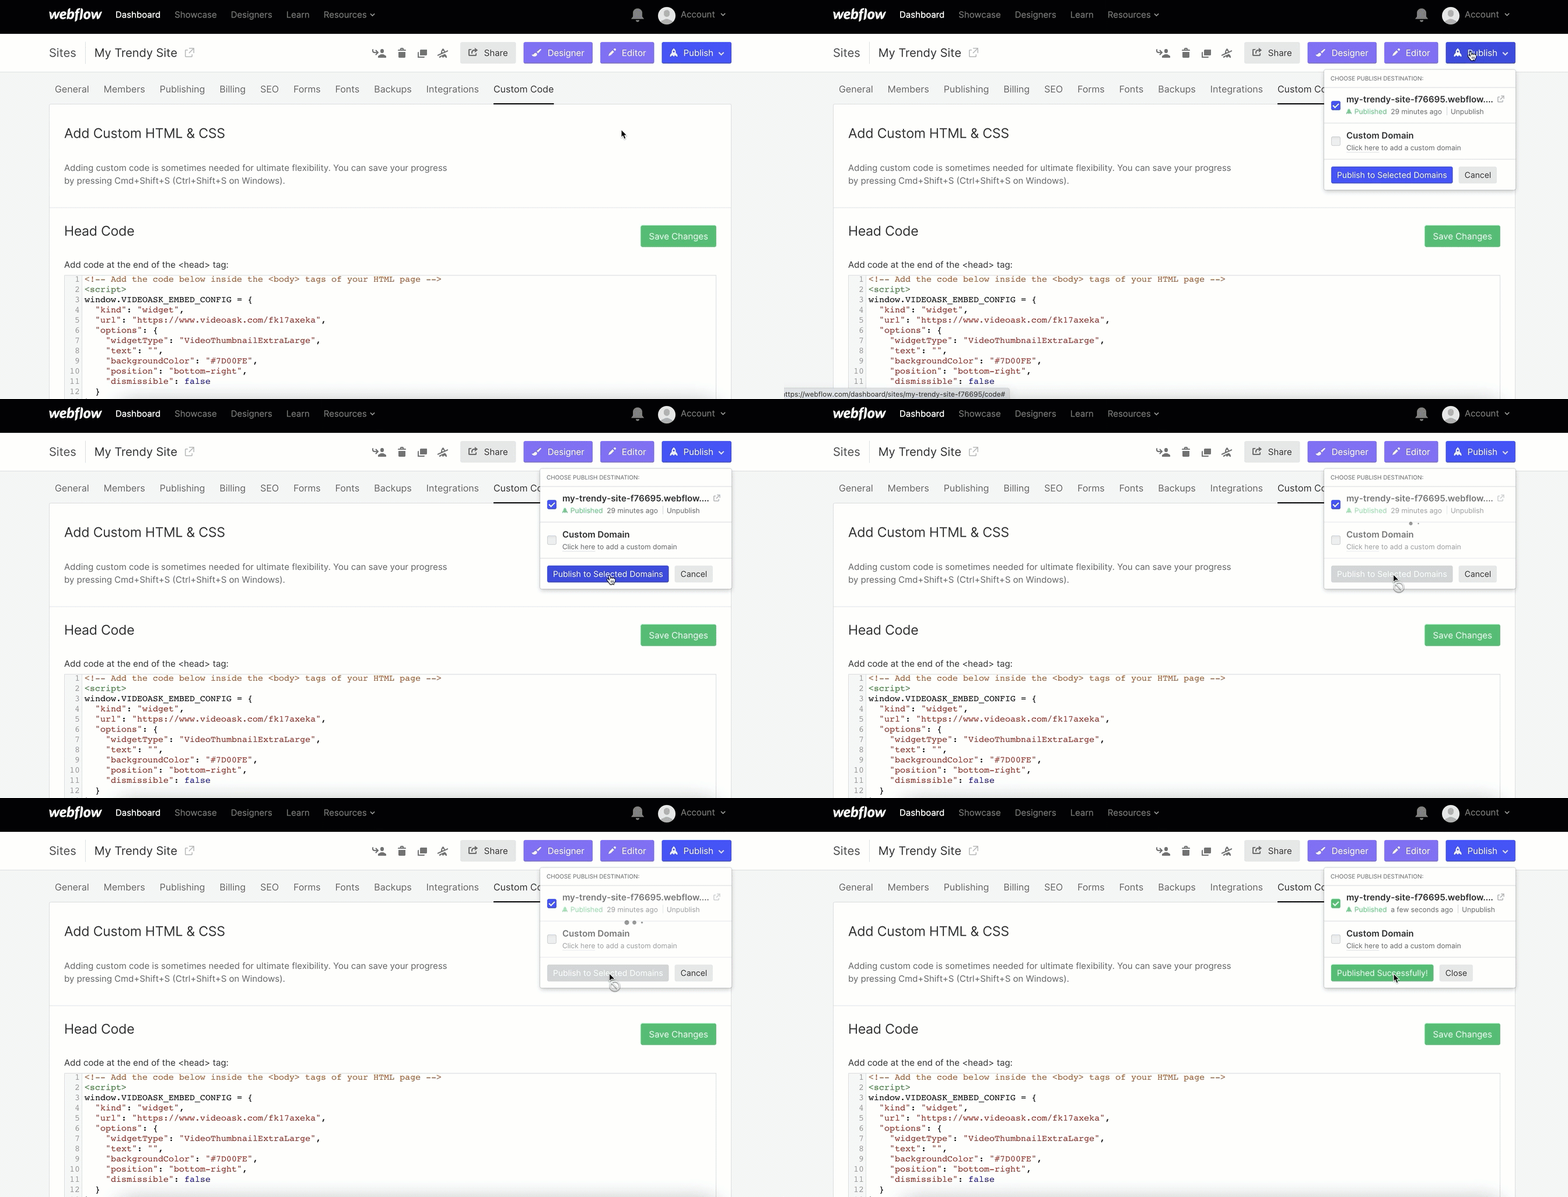
Note: You won't be able to see the widget in preview mode. It will only appear on your published site. We recommend checking it's behaving as expected after publishing.
Embed a videoask as an iframe
In this example, we're going to embed a lead-capturing videoask as an iframe on our site's homepage.
From your VideoAsk account, go to the videoask you'd like to embed and click the Share & Embed icon.

Click Embed in a website.
Make sure the dropdown is set to Iframe and click Copy embed code.
Now it's time to head over to your Webflow site builder. Decide where you want to add your videoask, then hit the + Add Elements button.

Scroll down to the Components section, and drag the Embed icon to the area of your site where you want to display your videoask iframe.
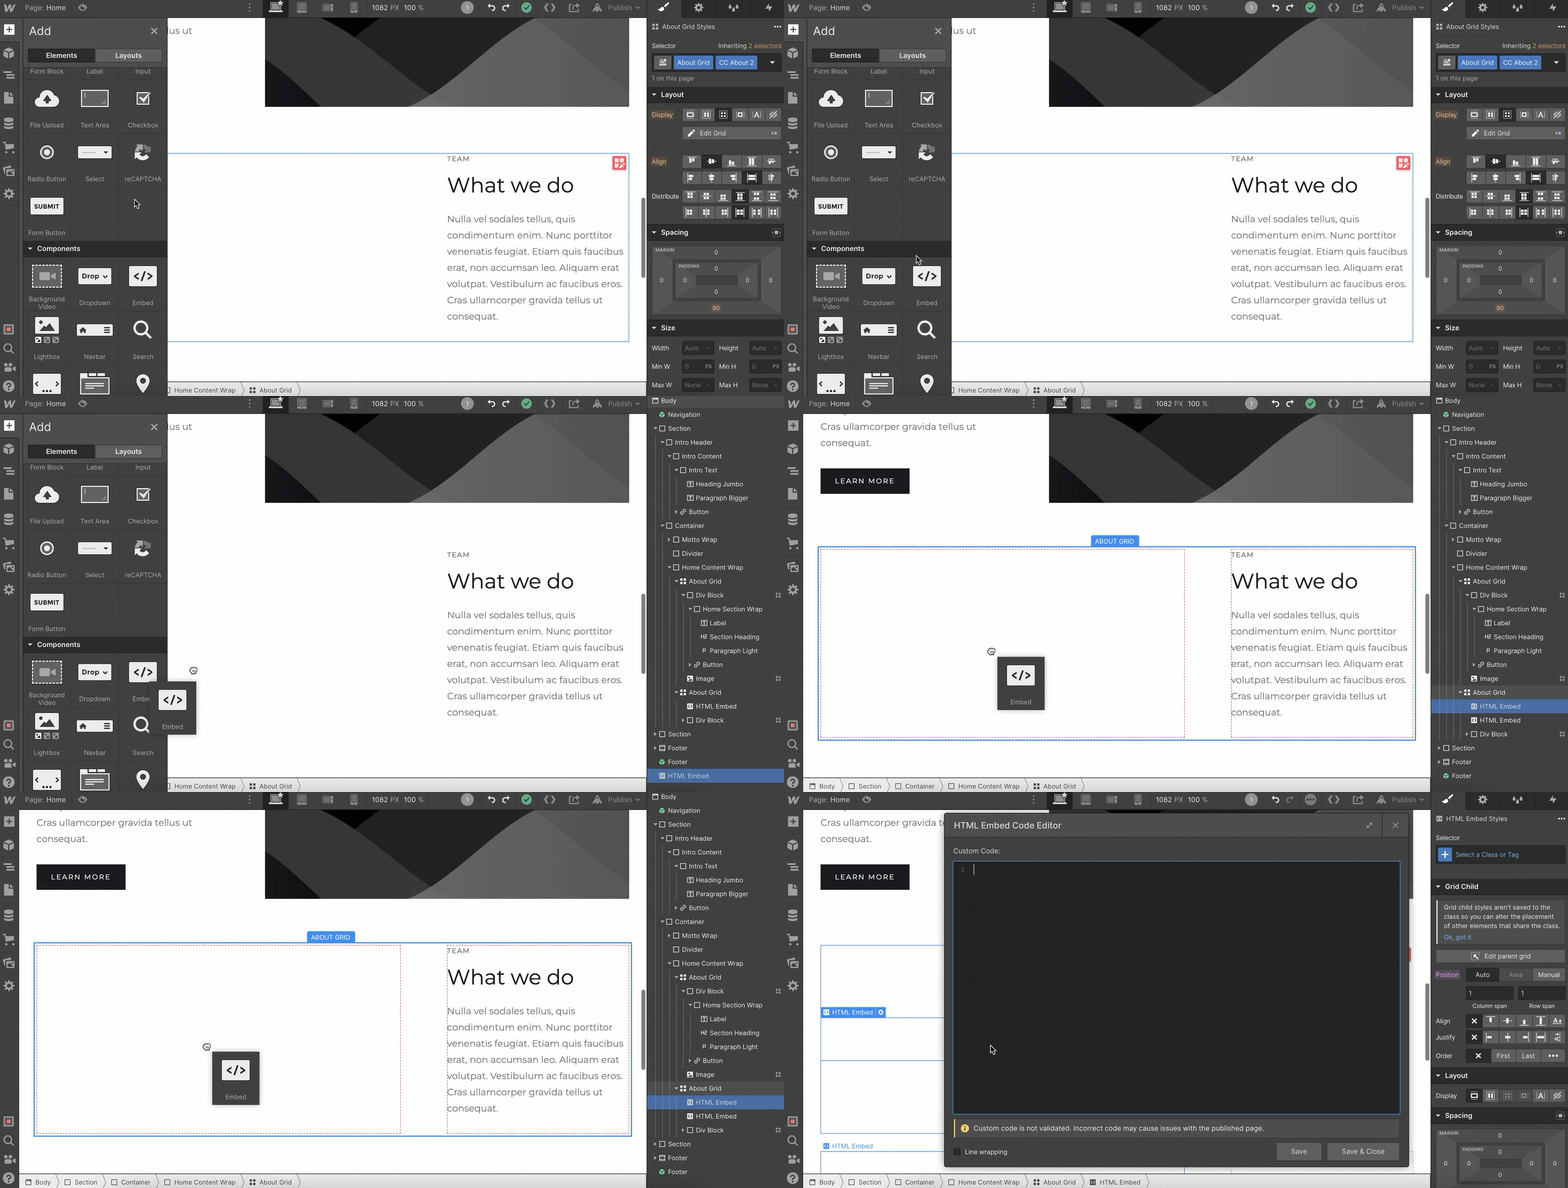
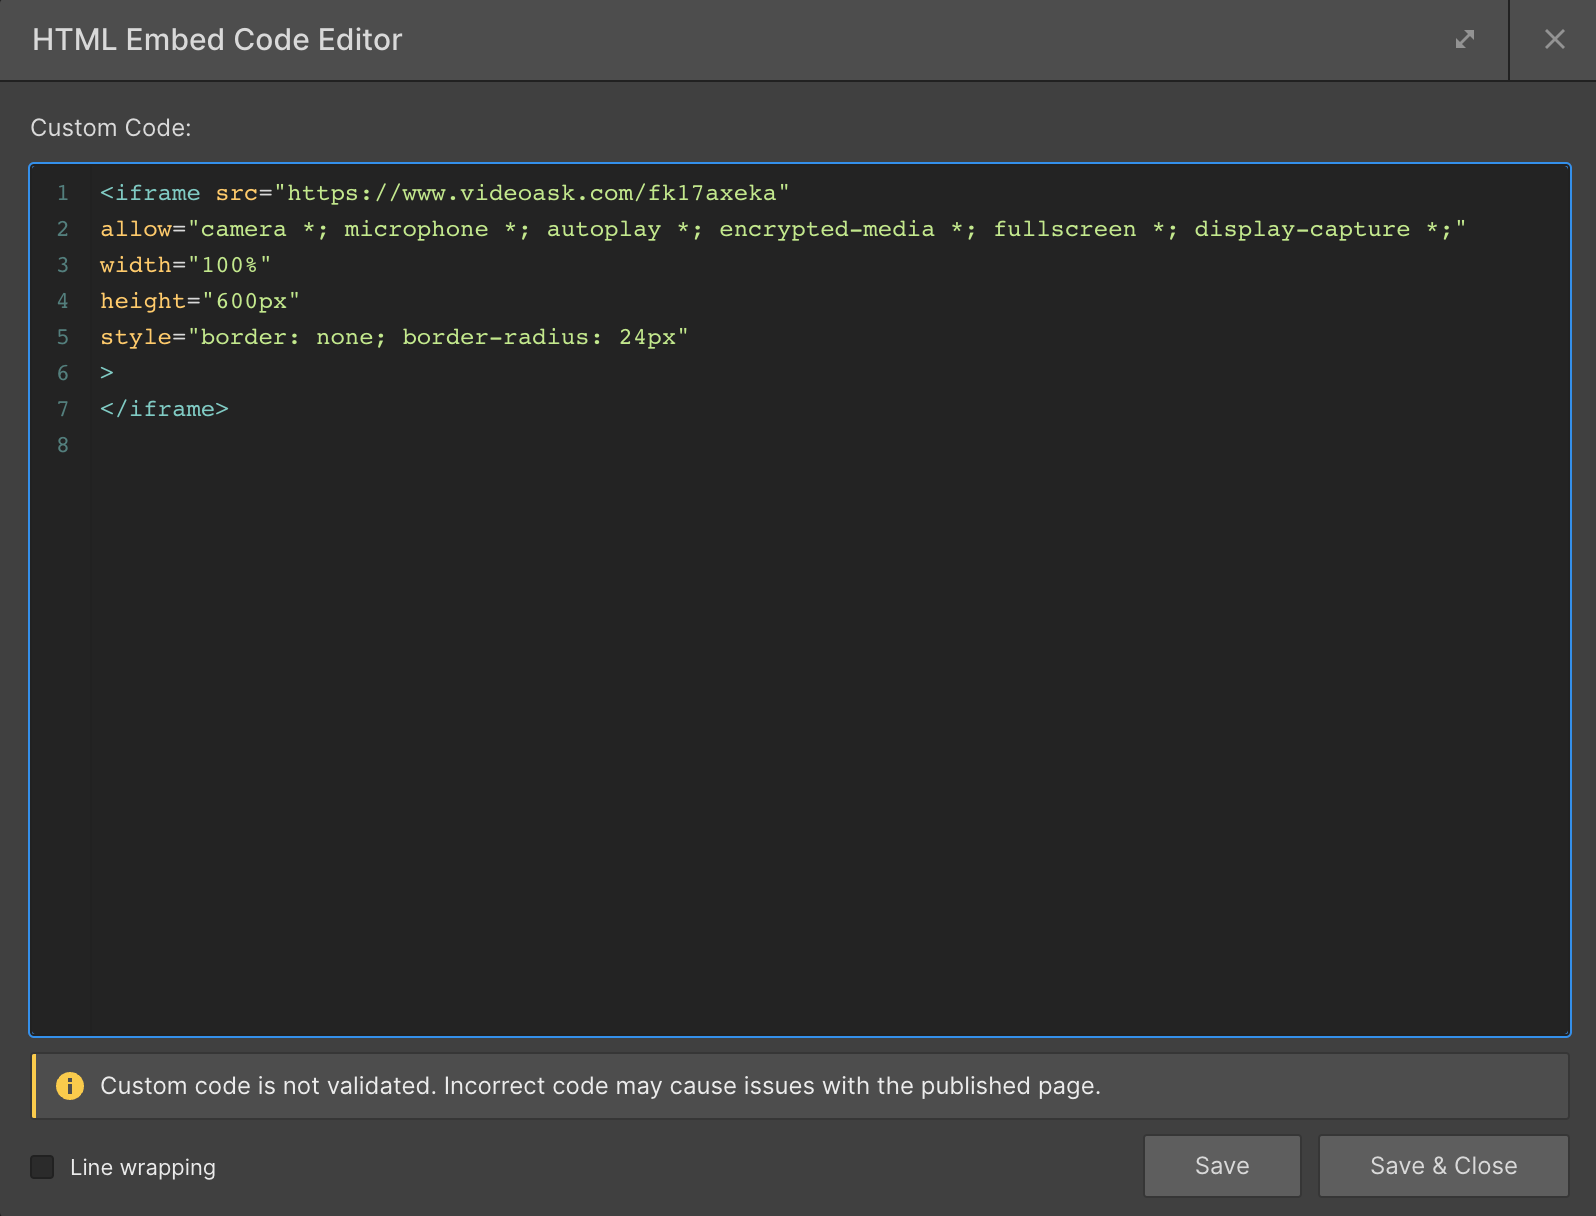
Paste the code you just copied from VideoAsk into the code editor box that appears.
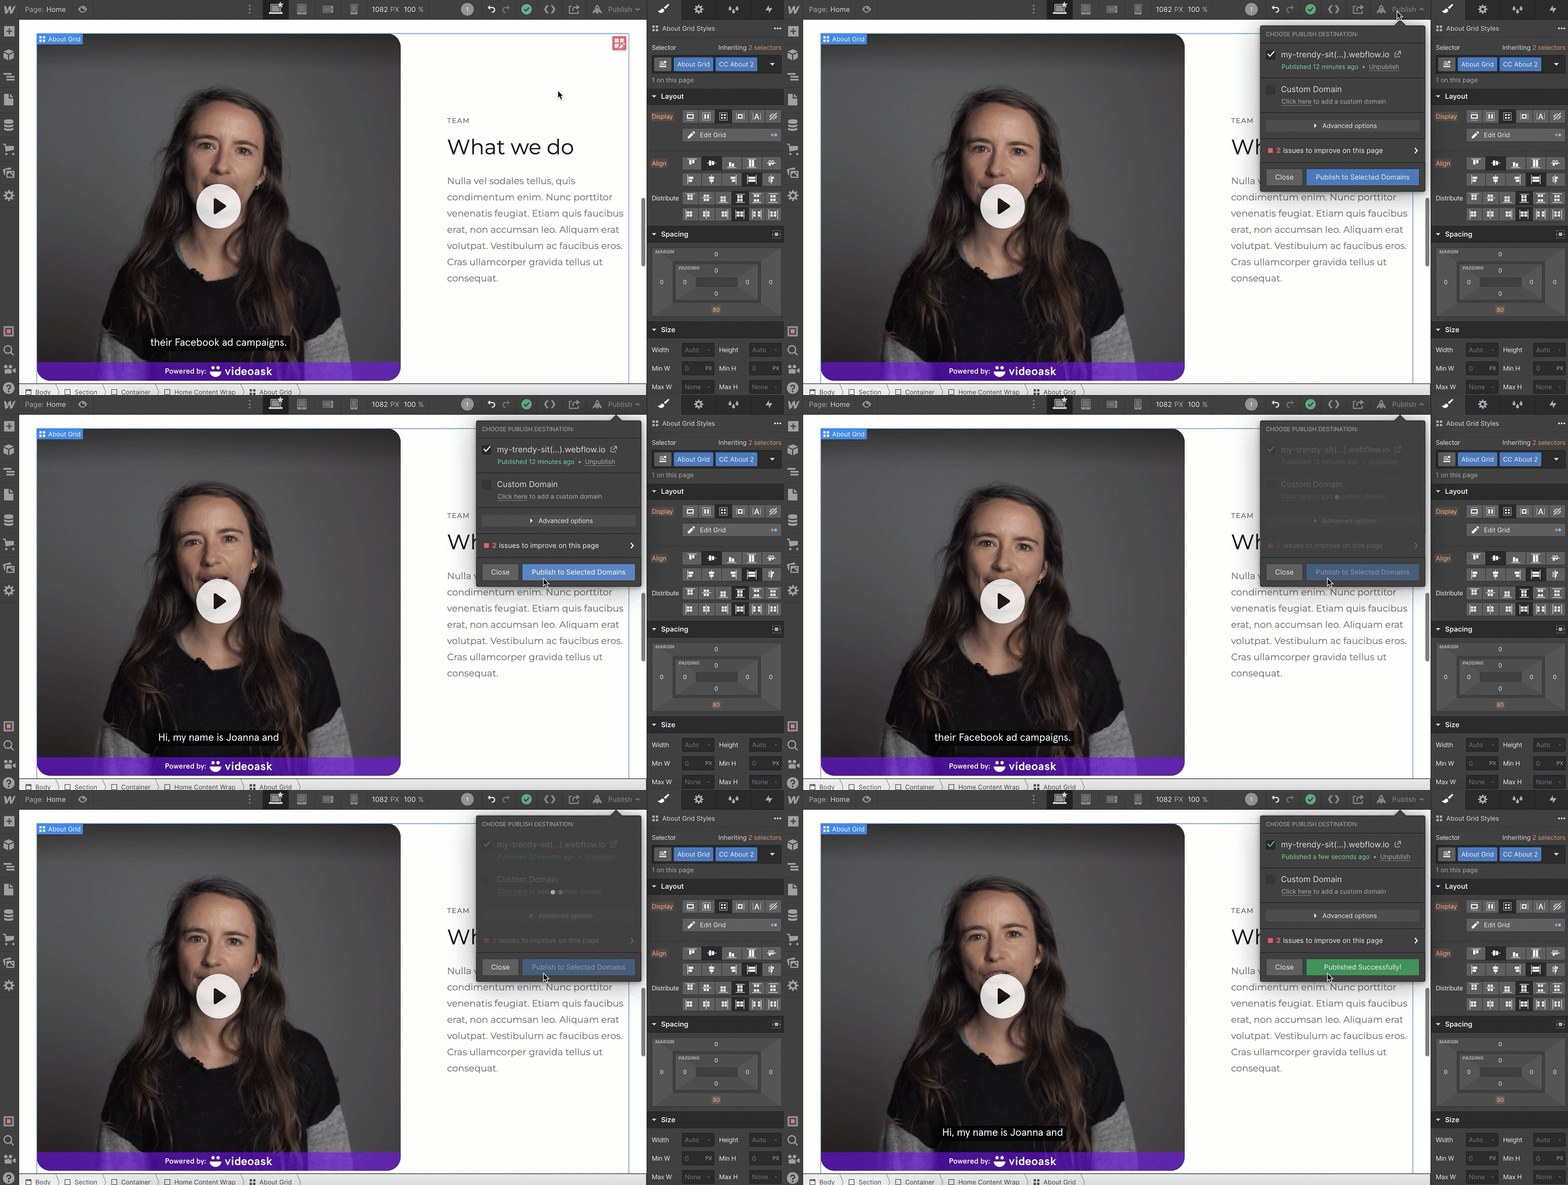
Hit Save & Close.

Looking good! You should be able to see your videoask iframe preview in the Designer area of your site.
Now, all that's left to do is hit Publish and wait for the responses to roll in. 🎉
Add a videoask as a Video element (workaround for users with a free Webflow plan)
If you're not signed up for a paid Webflow plan, you can still embed a videoask as an iframe in your site by adding a Video element instead of an Embed element.
It's important to note that if your videoask contains an Open-ended answer type, respondents will be redirected to a new tab or browser to respond to your videoask.
This has to do with Webflow being unable to access the camera and microphone permissions with this setup.
However, if your videoask only contains steps with closed-ended answer types, like multiple-choice or button, respondents will be able to interact with your videoask directly from your site, so this is a great option for Webflow users on a free plan.
Here's how to set this up:
From your VideoAsk account, go to the videoask you'd like to embed and click the Share & Embed icon.

Click Copy next to your videoask link.
Now it's time to head over to your Webflow site. Decide where you want to add your videoask, then hit the + Add Elements button.

Scroll down to the Media section, and drag and drop the Video element to the area of the site where you'd like your videoask to display.
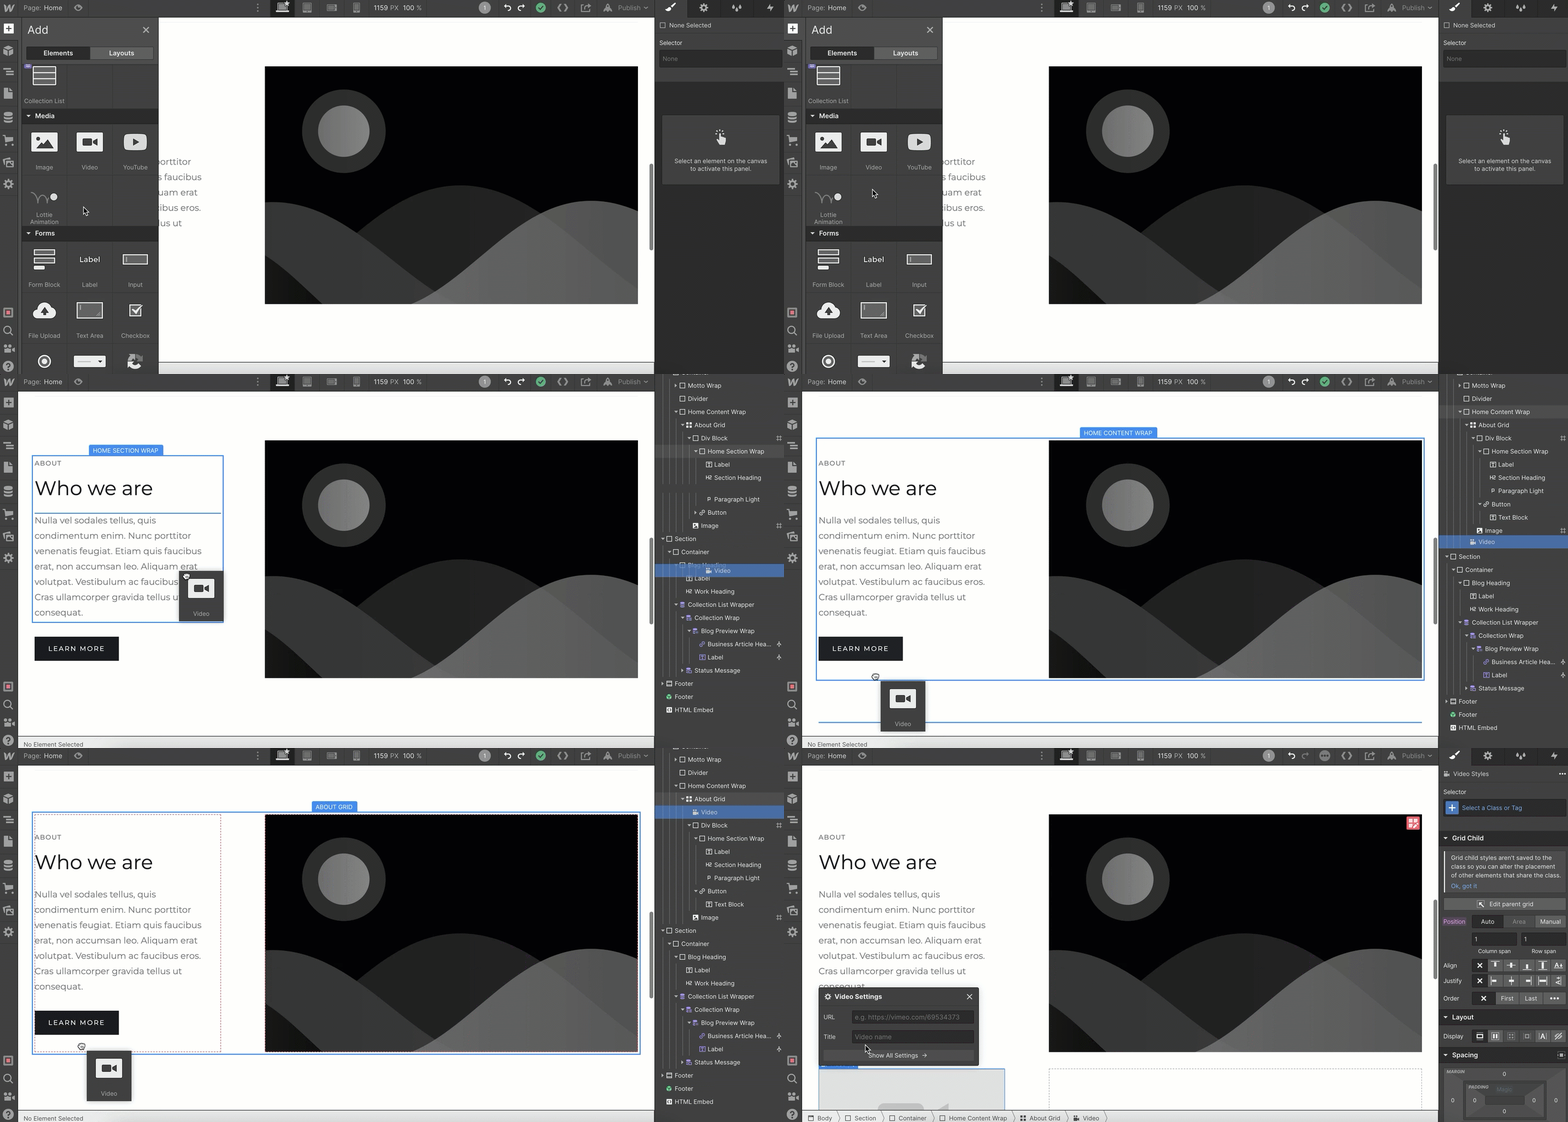
Paste the videoask URL into the URL box and hit your enter key.
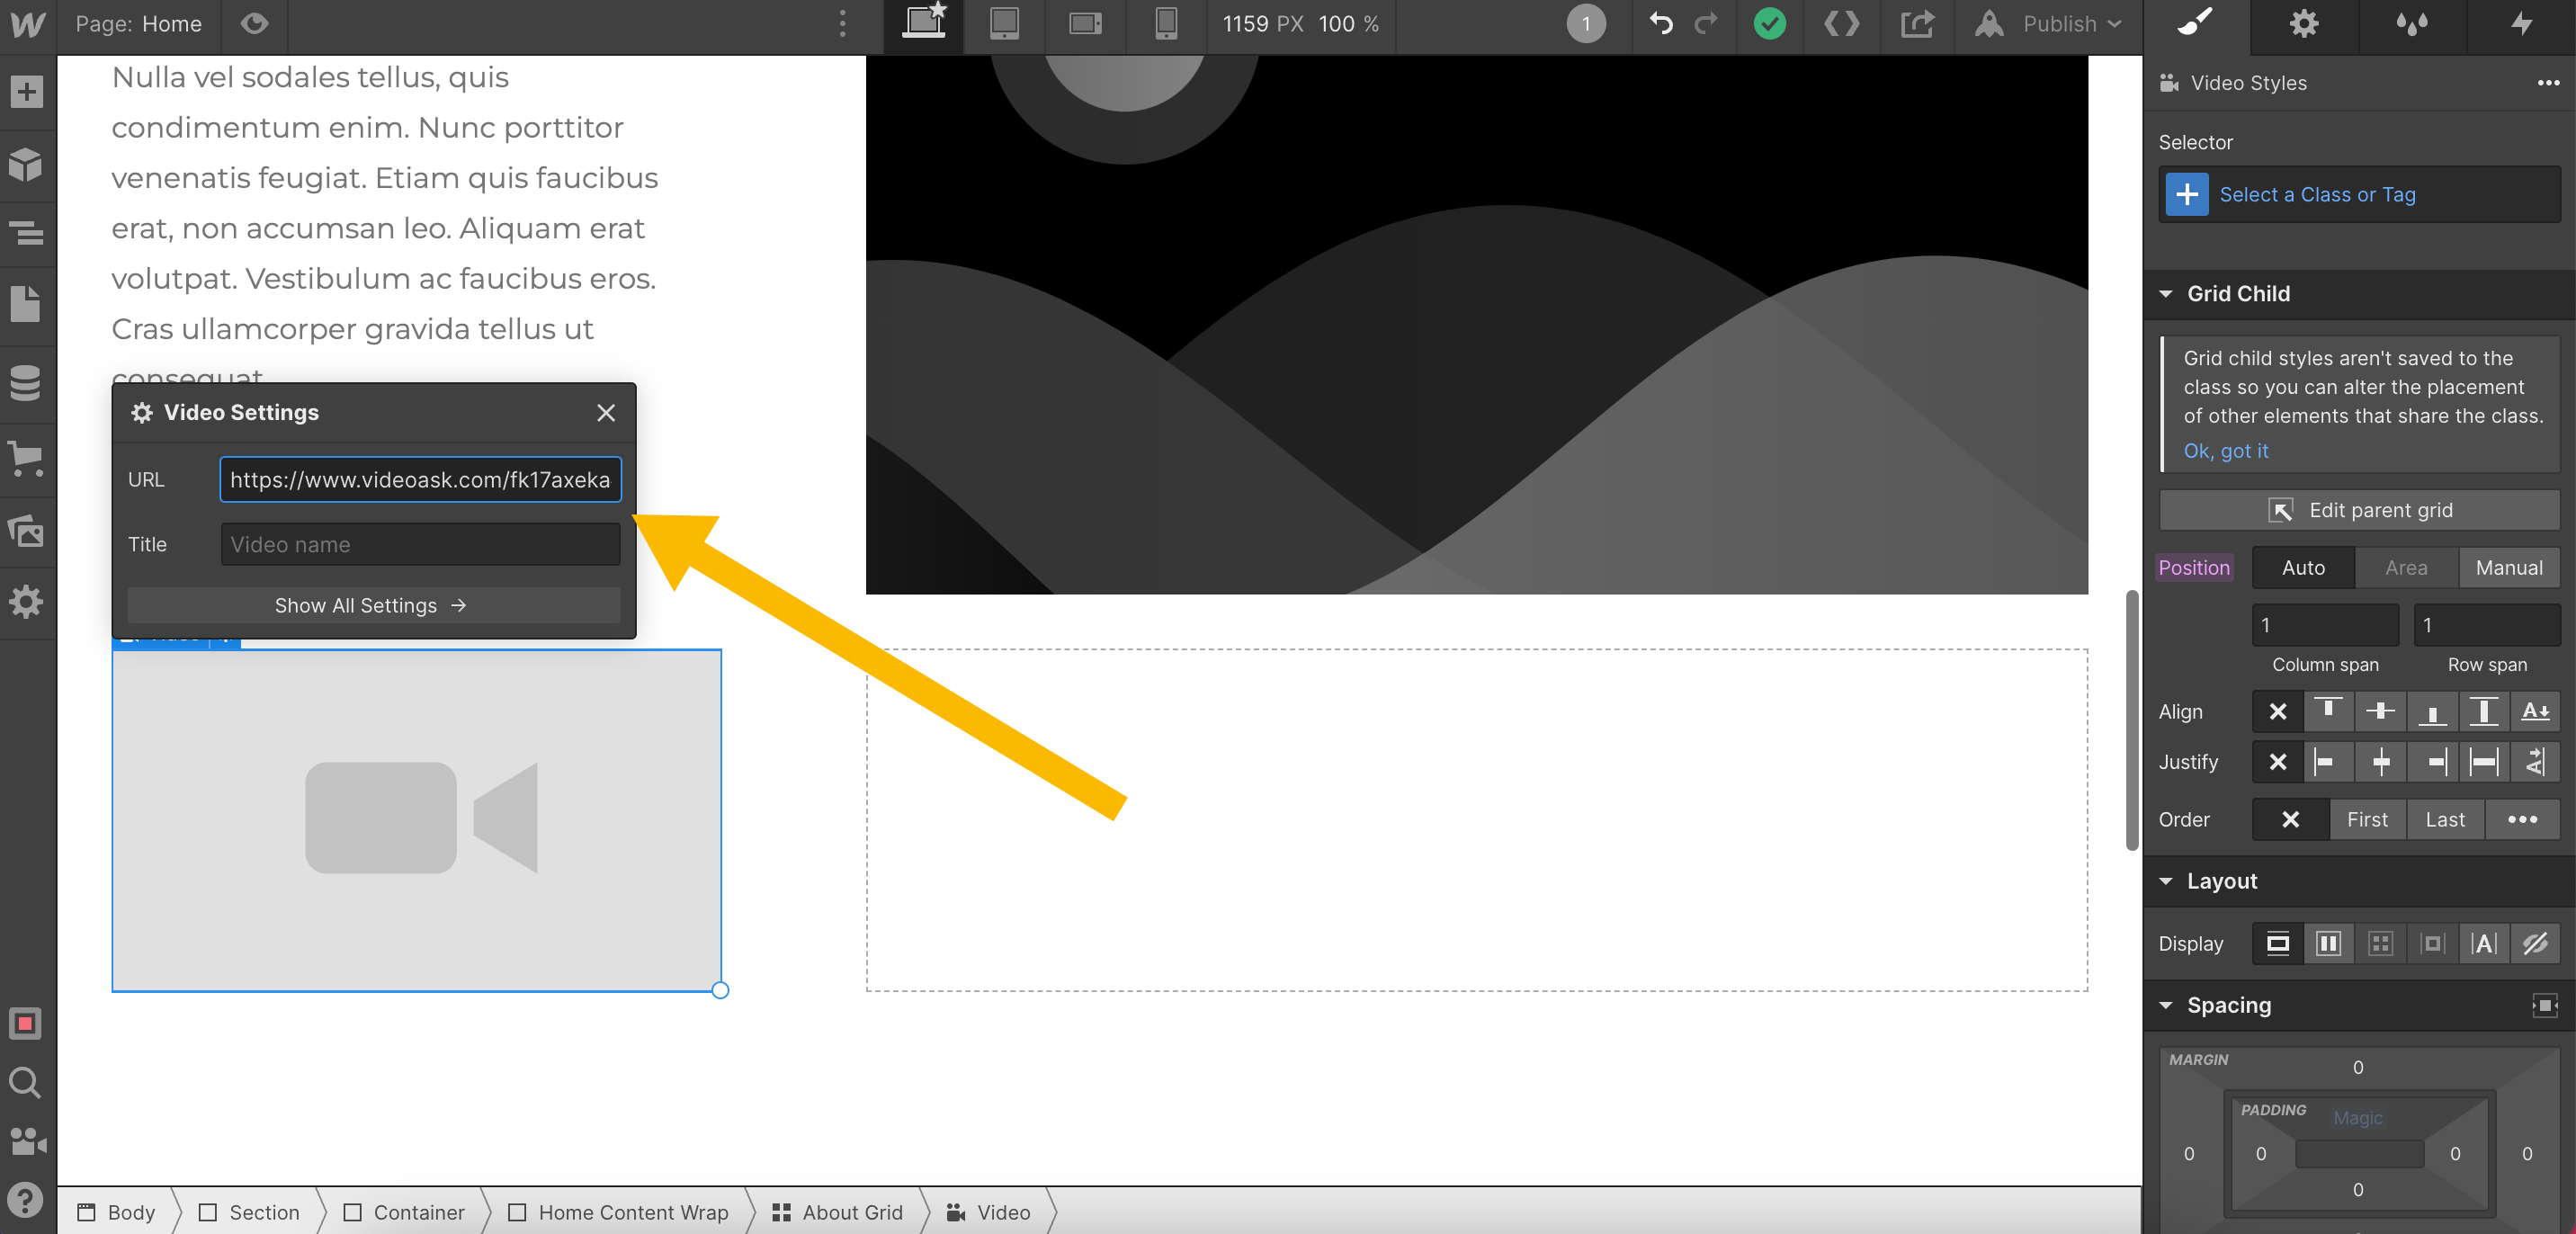
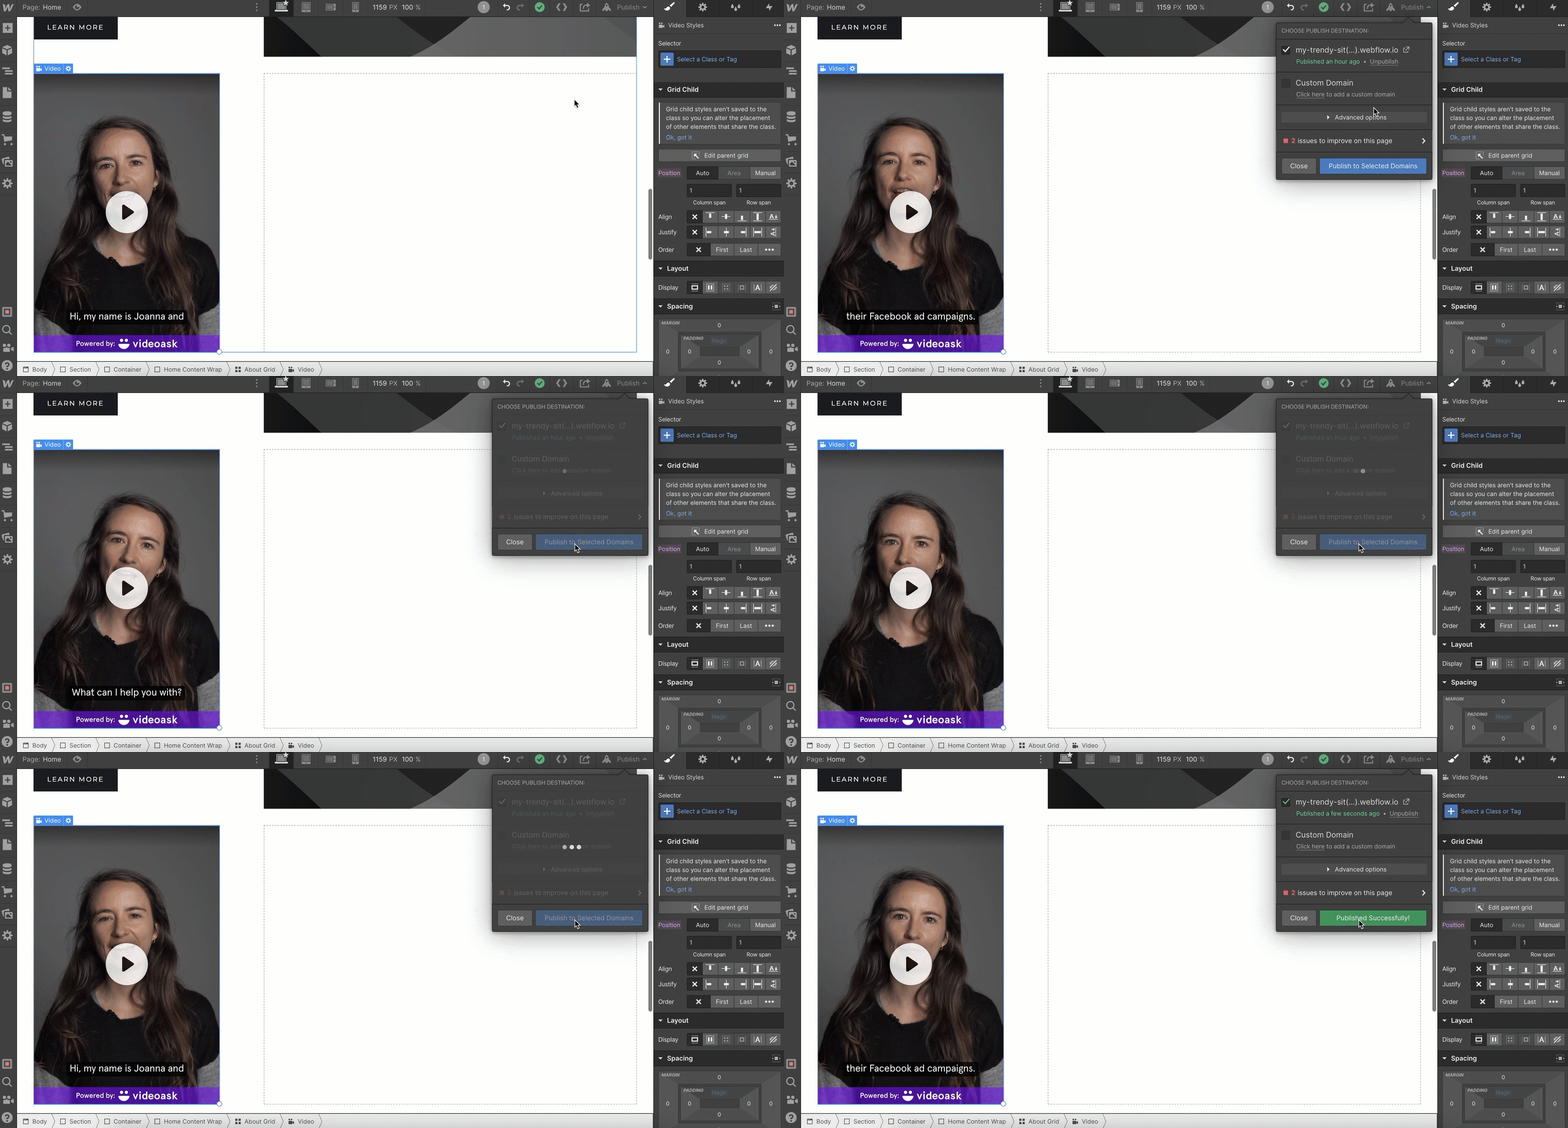
Looking good! You should be able to see your videoask iframe preview in the Designer area of your site.
Now, all that's left to do is hit Publish and wait for the responses to roll in. 🎉
For more information on embedding in Webflow, check out Weflow University.
