If you want to centralize all your video and audio responses outside of VideoAsk as you receive them, you can automatically send them to a Google Drive or Dropbox folder using Zapier.
We recommend setting up this workflow before sharing the videoask with your audience. If you set up the Zap after having received some responses, those you've already received (before setting up the automated workflow) won't be sent across.
The instructions in this article detail how to send video and/or audio responses to Google Drive or Dropbox and won't send responses from other answer types like multiple choice or NPS®.
💡 Tip: If you're looking to download video responses that you've already received, you can easily download the .mp4 files of any of your video responses from within your videoask inbox.
Looking to use Make (formerly Integromat) instead? Check out our article on how to send your video responses to Google Drive with Make.
Set up a VideoAsk to Google Drive Zap in Zapier
For this example, we'll use Google Drive. The Zap configuration for Dropbox is similar except where noted.
⚠️ Important: Before starting, make sure to set all interactions as shareable so you're able to view the files in Google Drive or Dropbox when they're sent across. 🤗
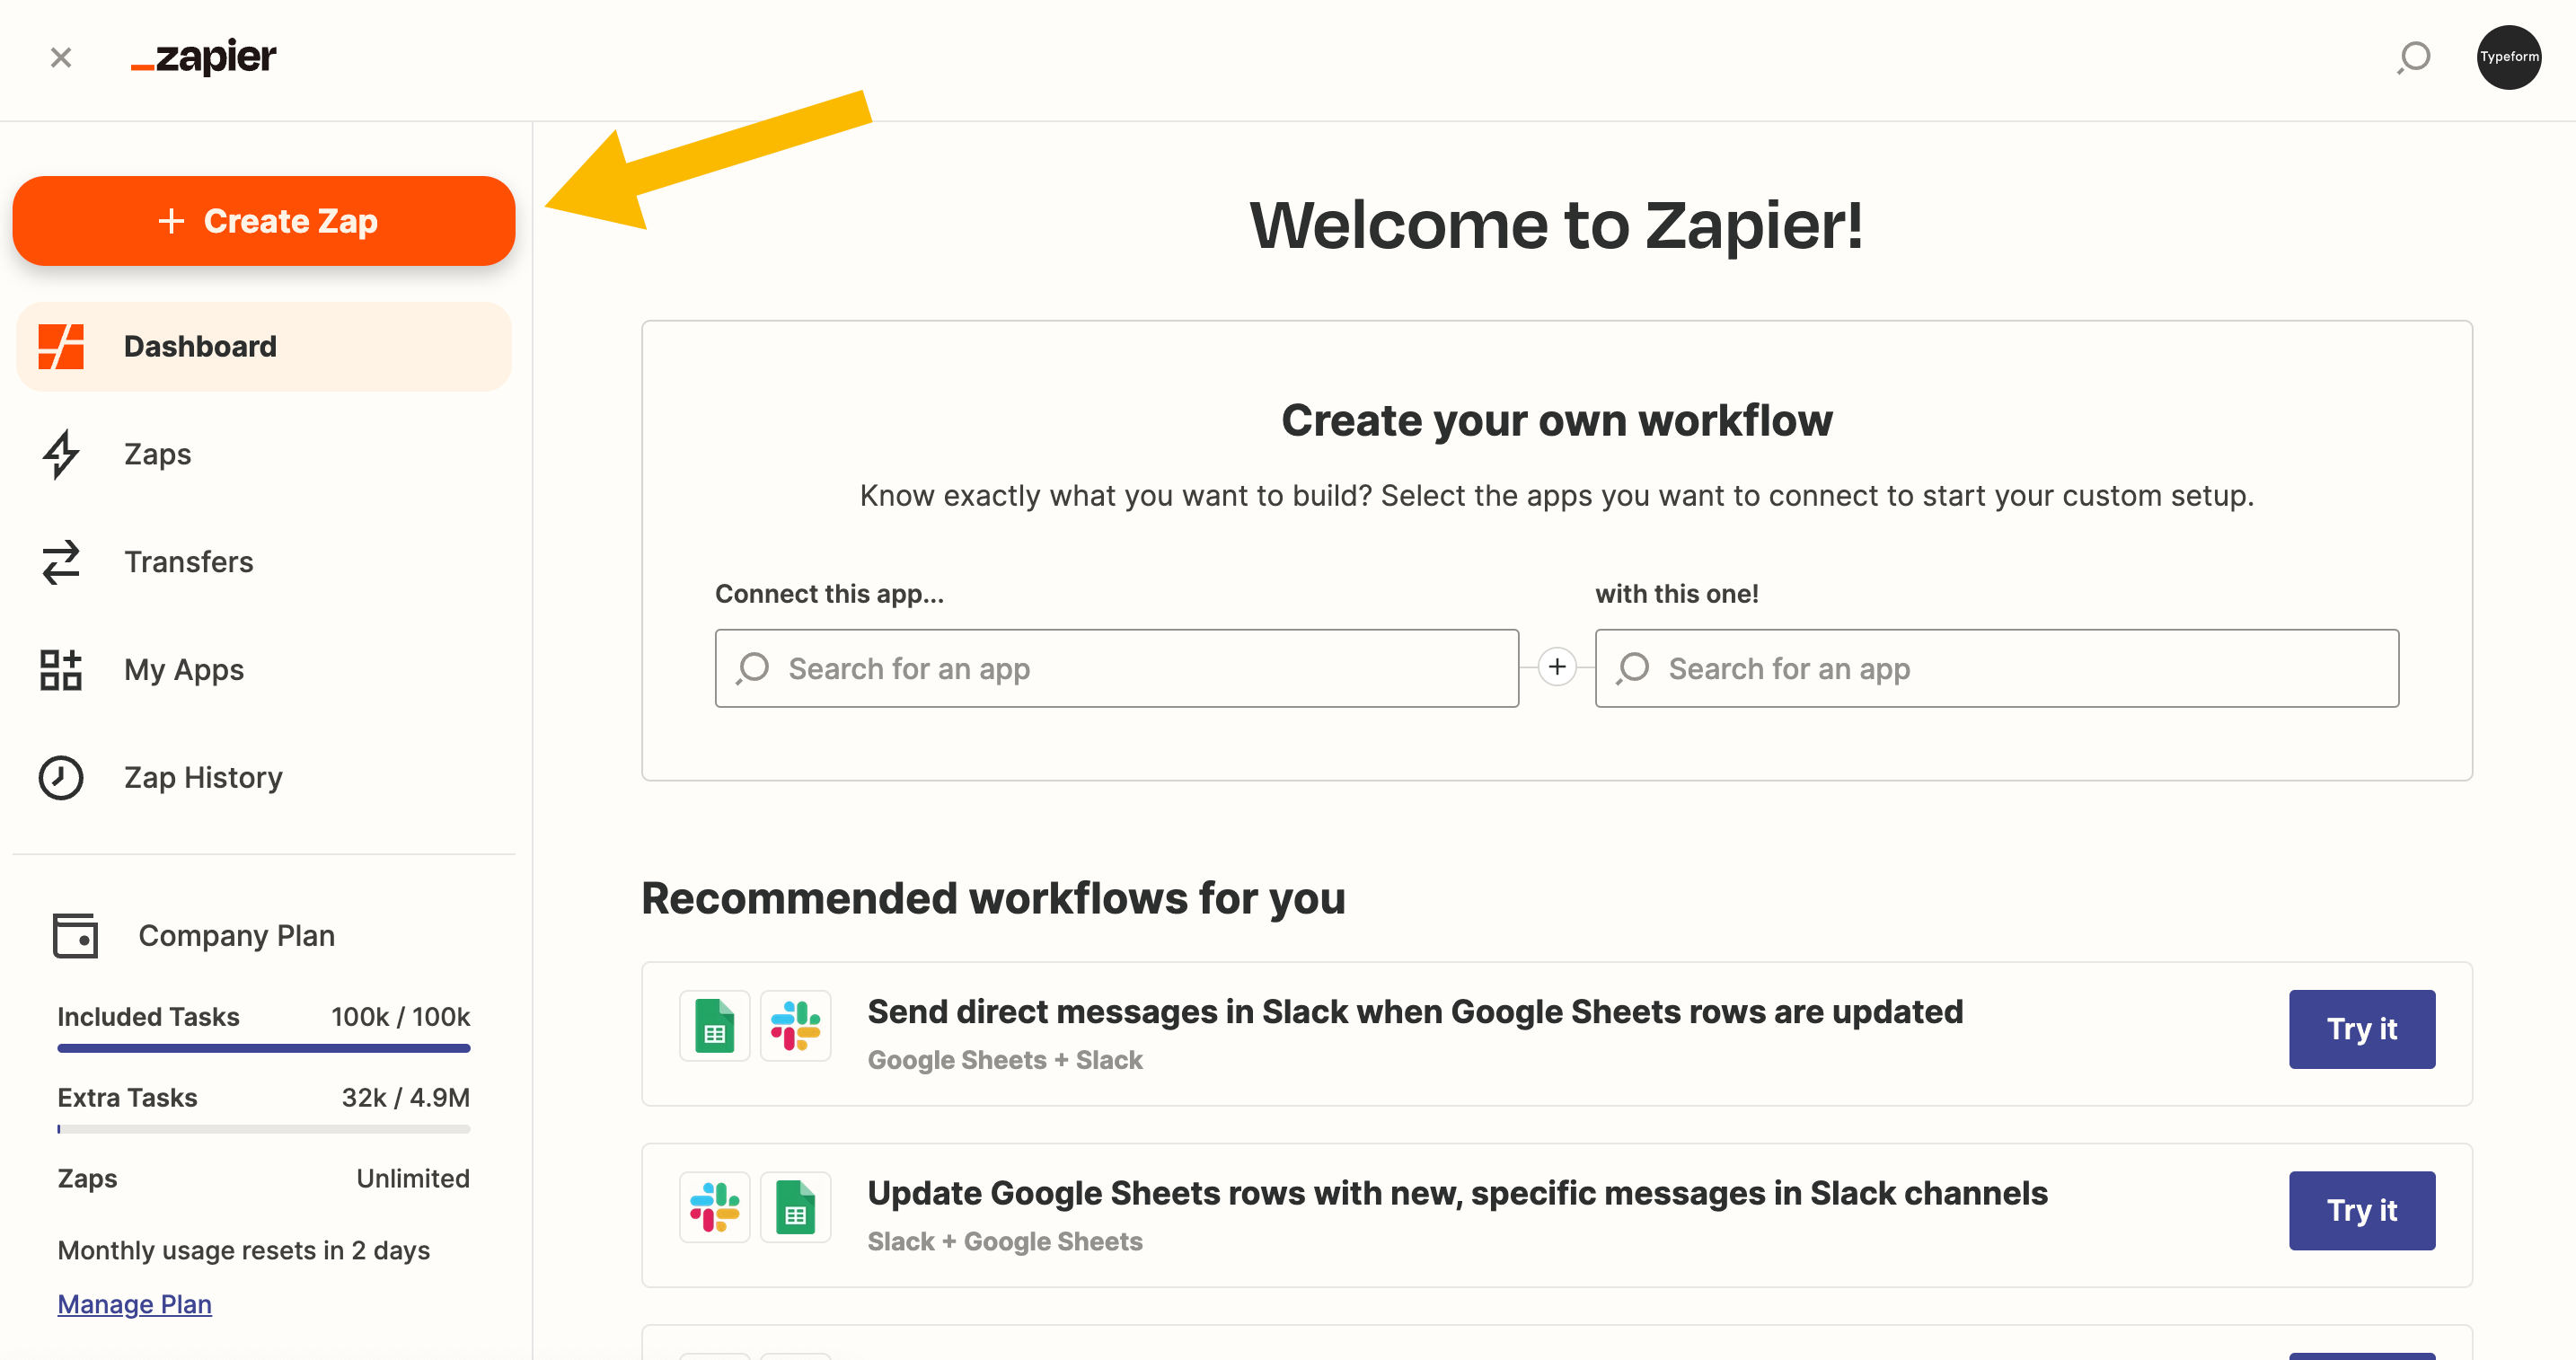
Go to Zapier.com and log in to your account. Then, click + Create Zap.
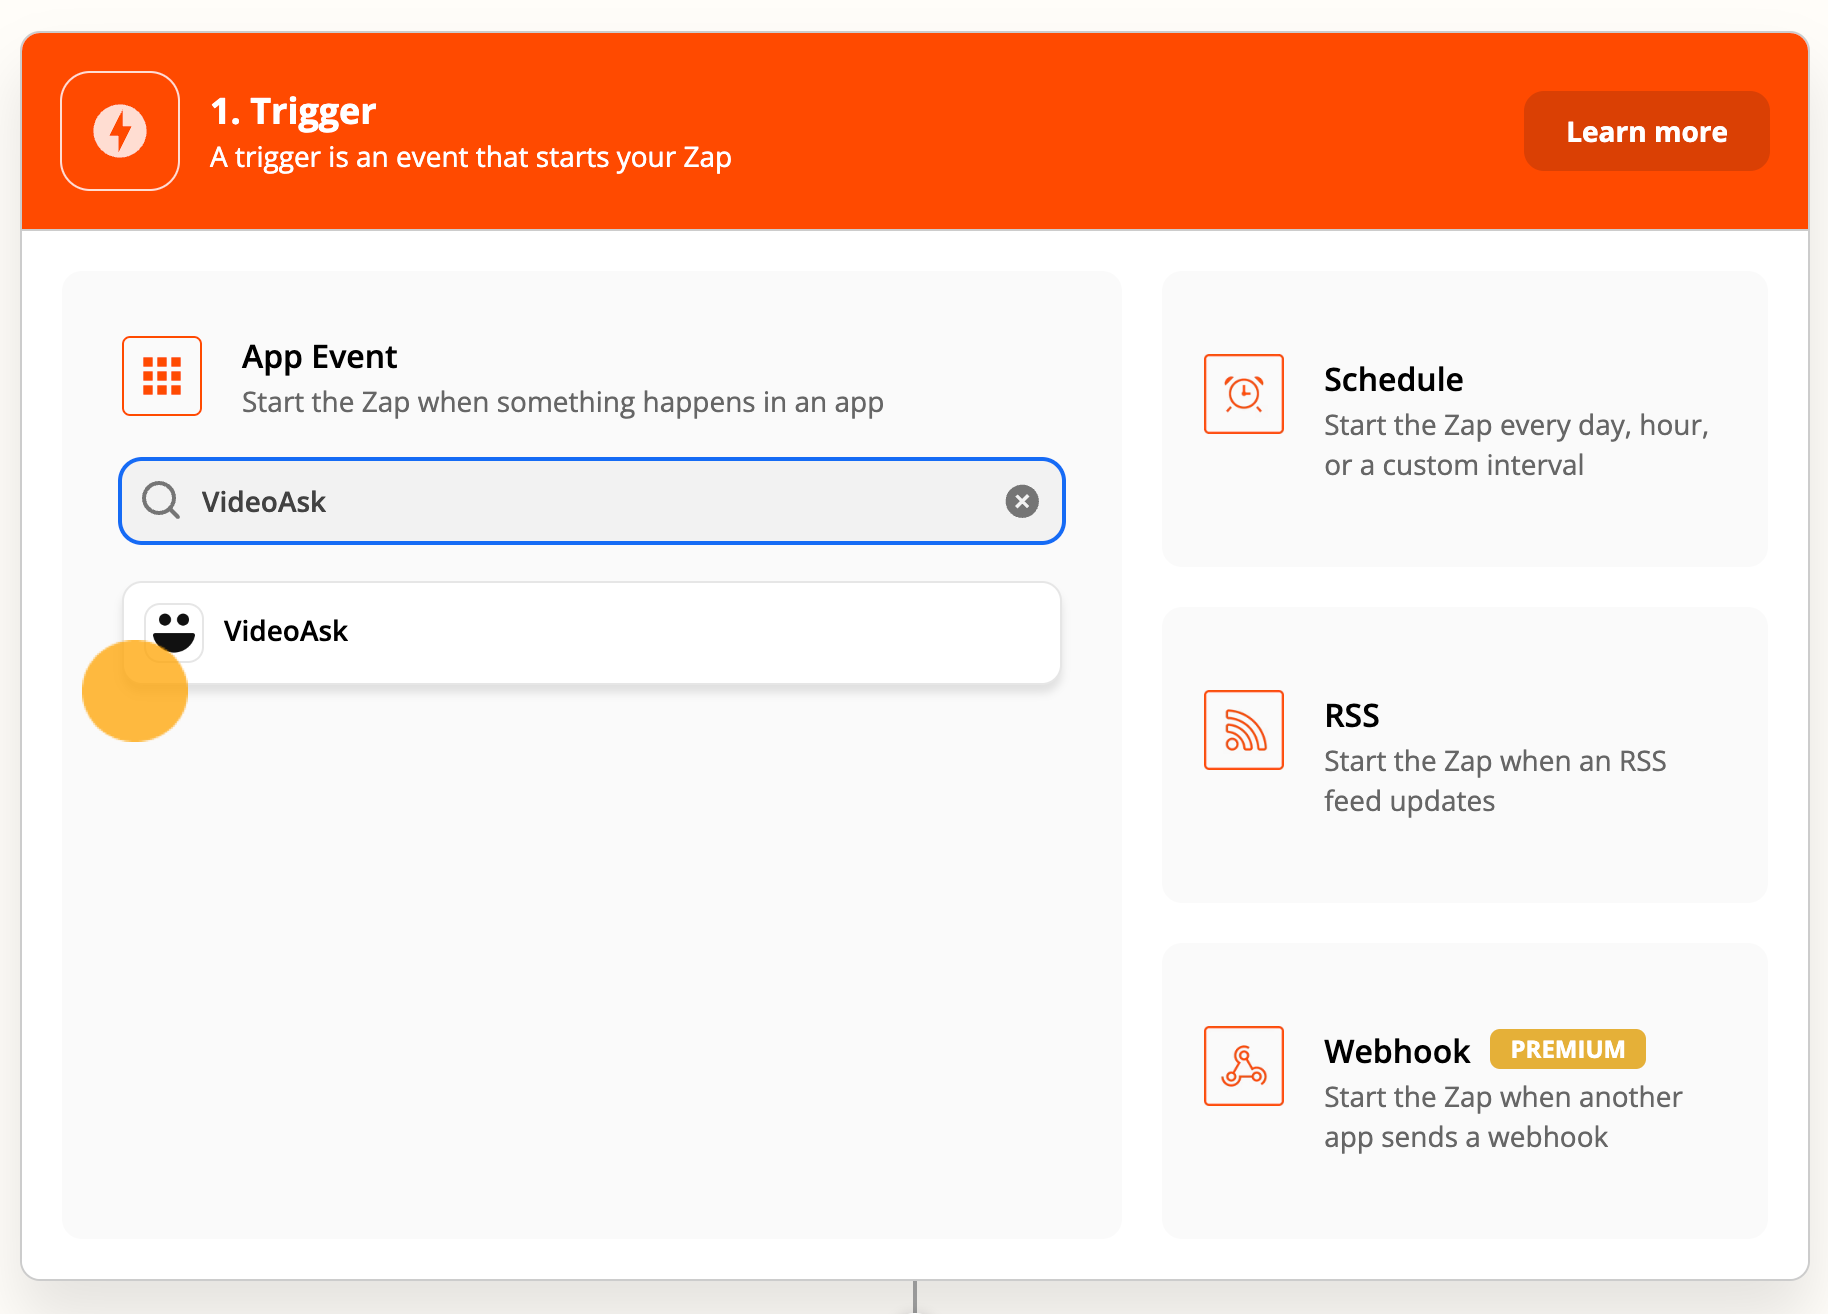
Search for VideoAsk in the search bar and select it as the trigger.
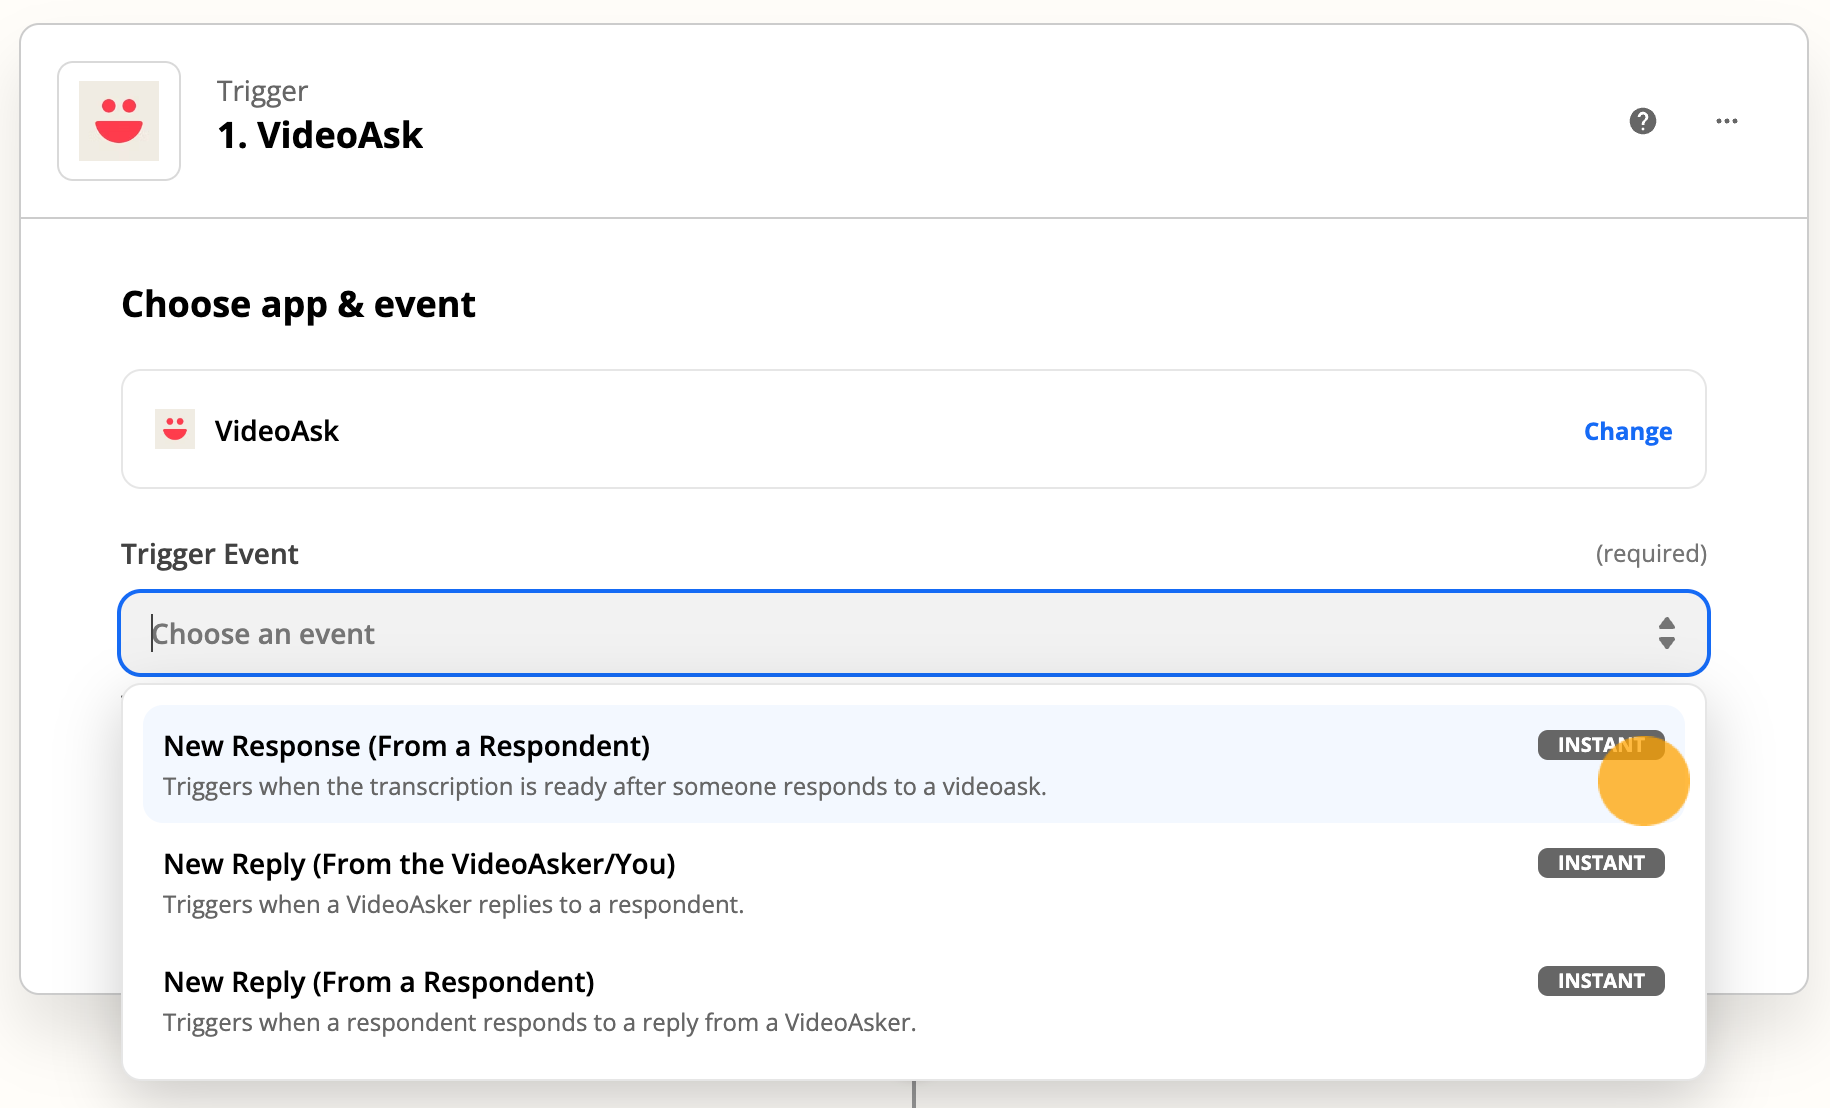
Select New Response (From a Respondent) as your Trigger Event.
Don't worry - even though the description mentions a transcription, selecting this Trigger Event will pull through the video or audio response.
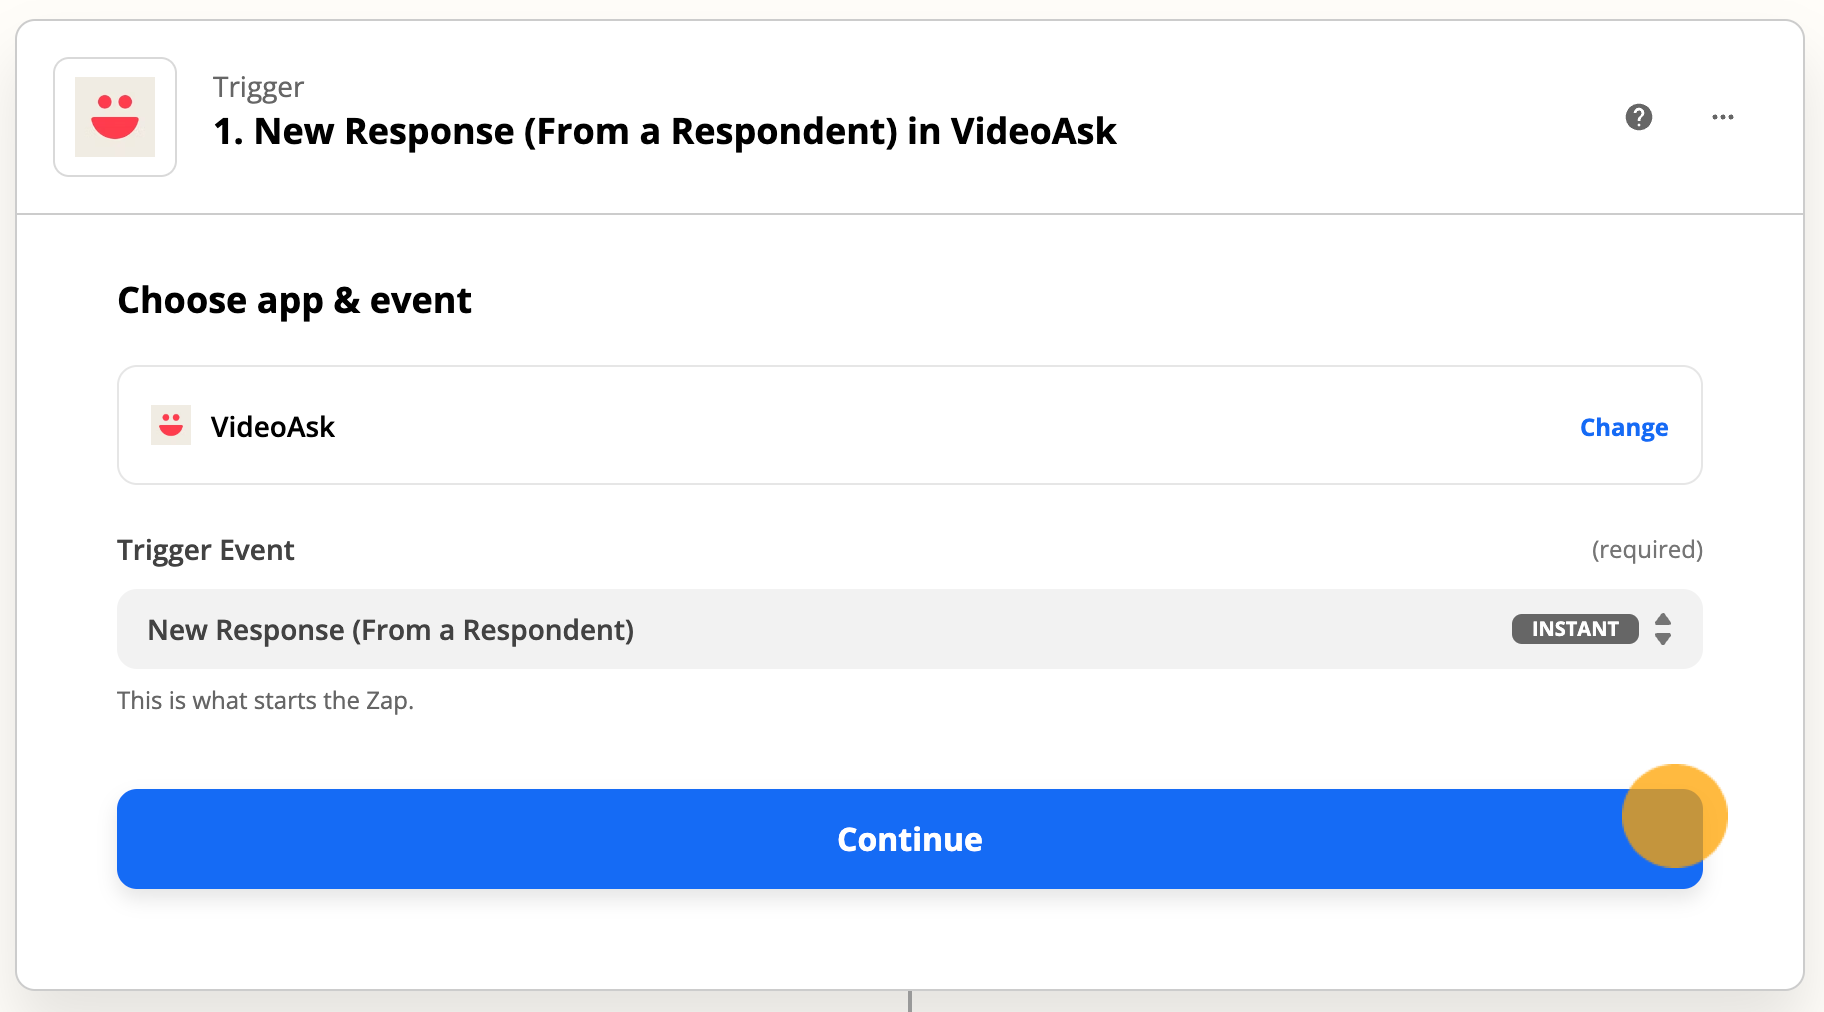
Hit Continue.
Choose which VideoAsk account you'd like to receive responses from and hit Continue.

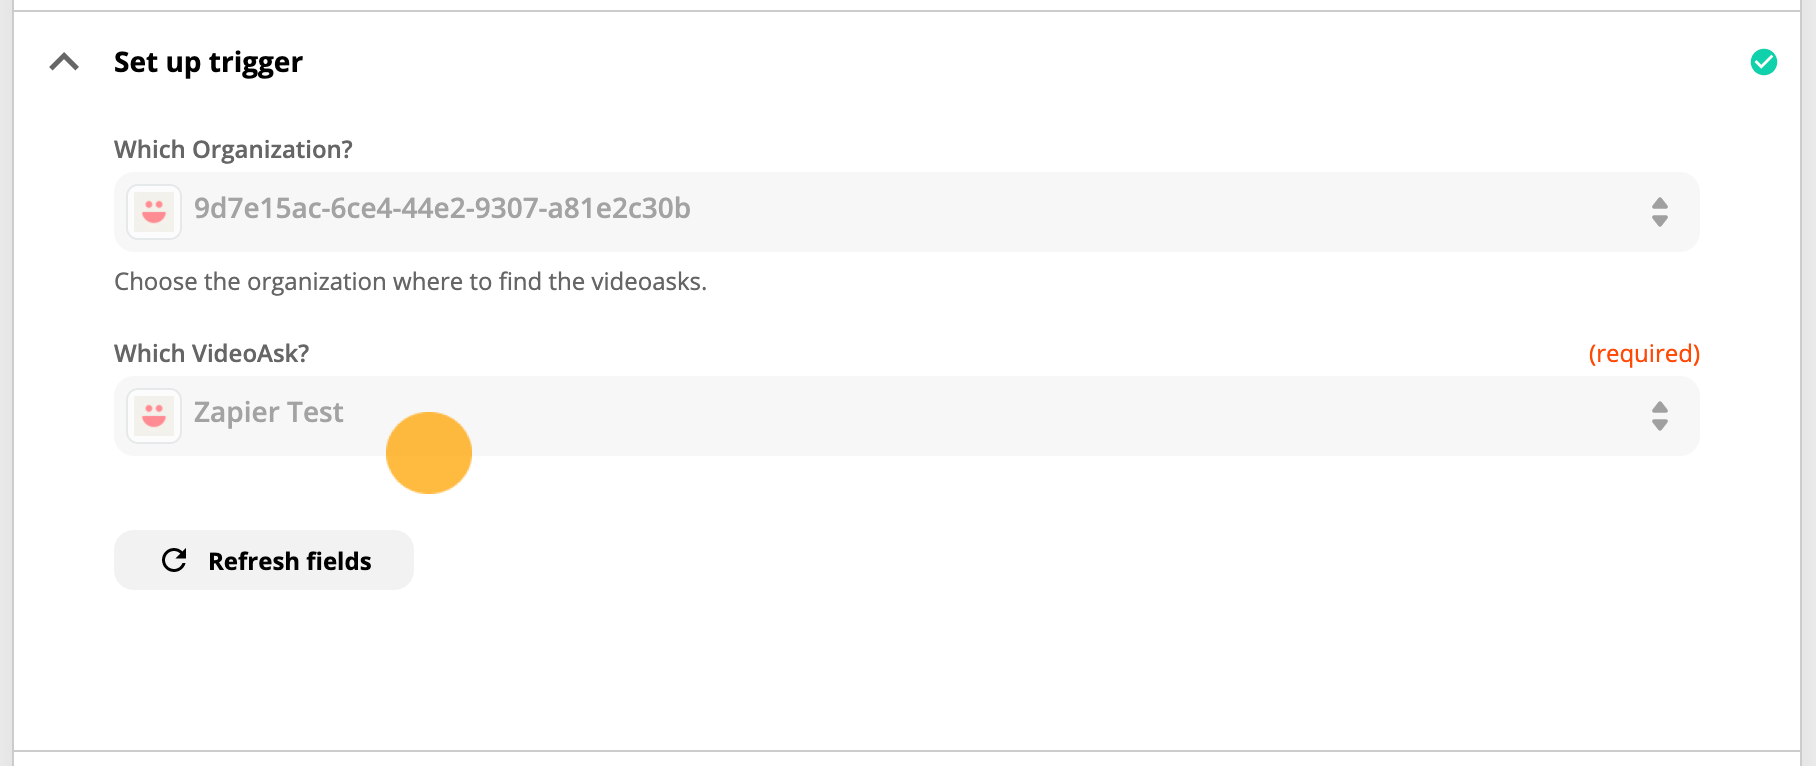
Select which Organization and which VideoAsk you'd like to receive responses from.
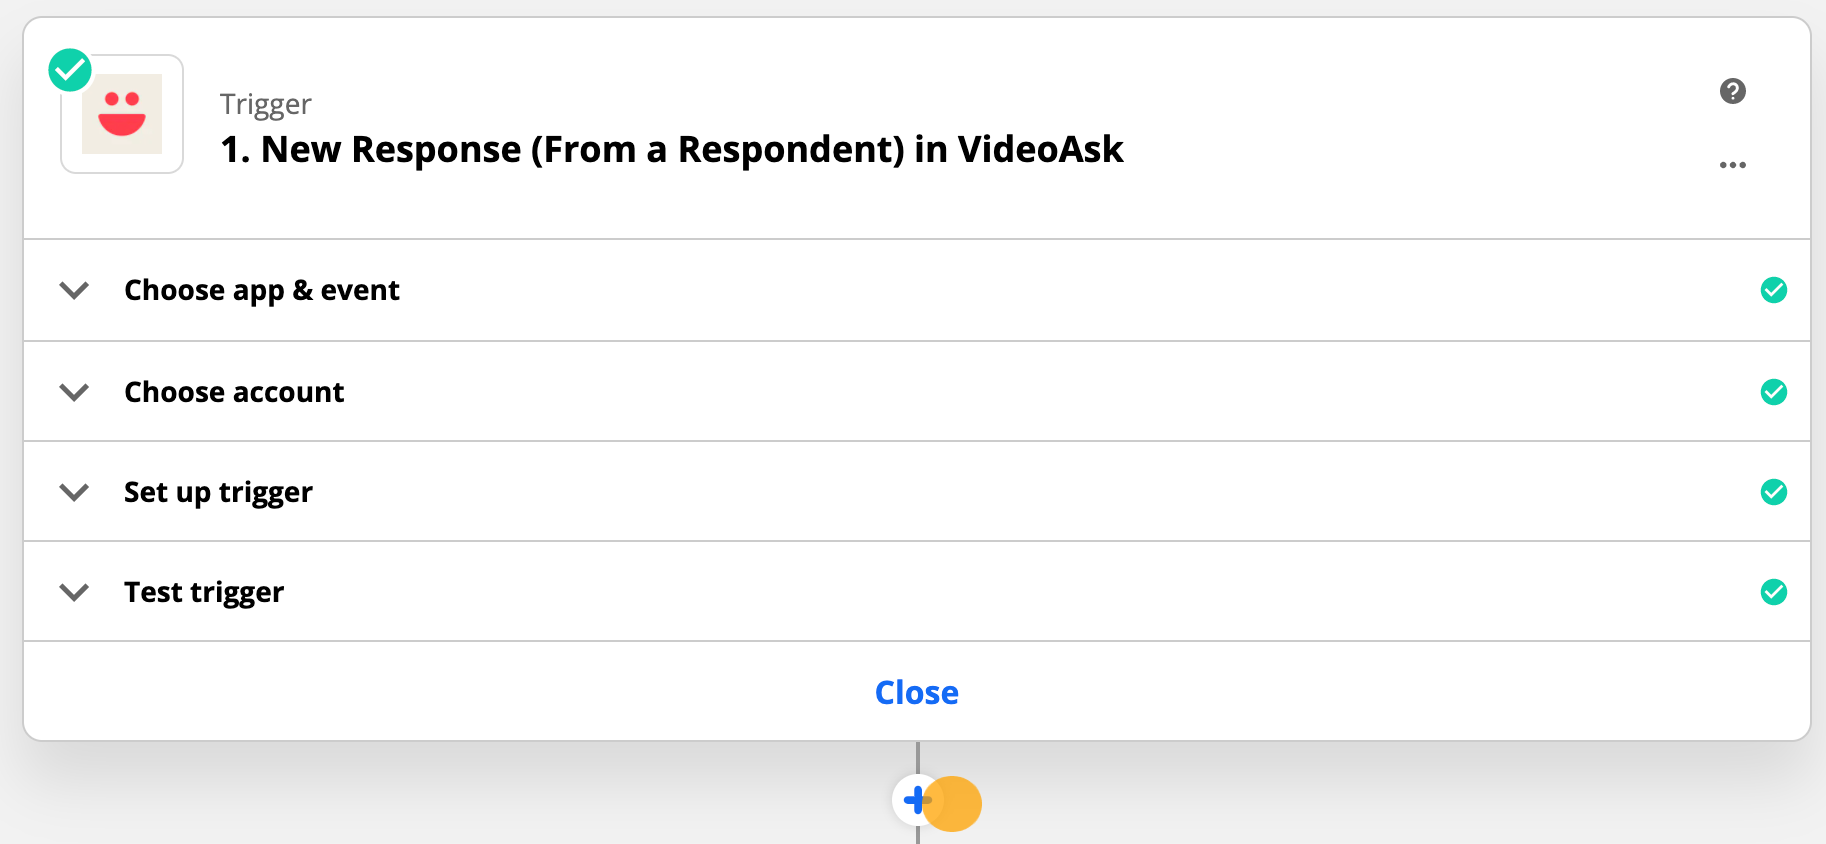
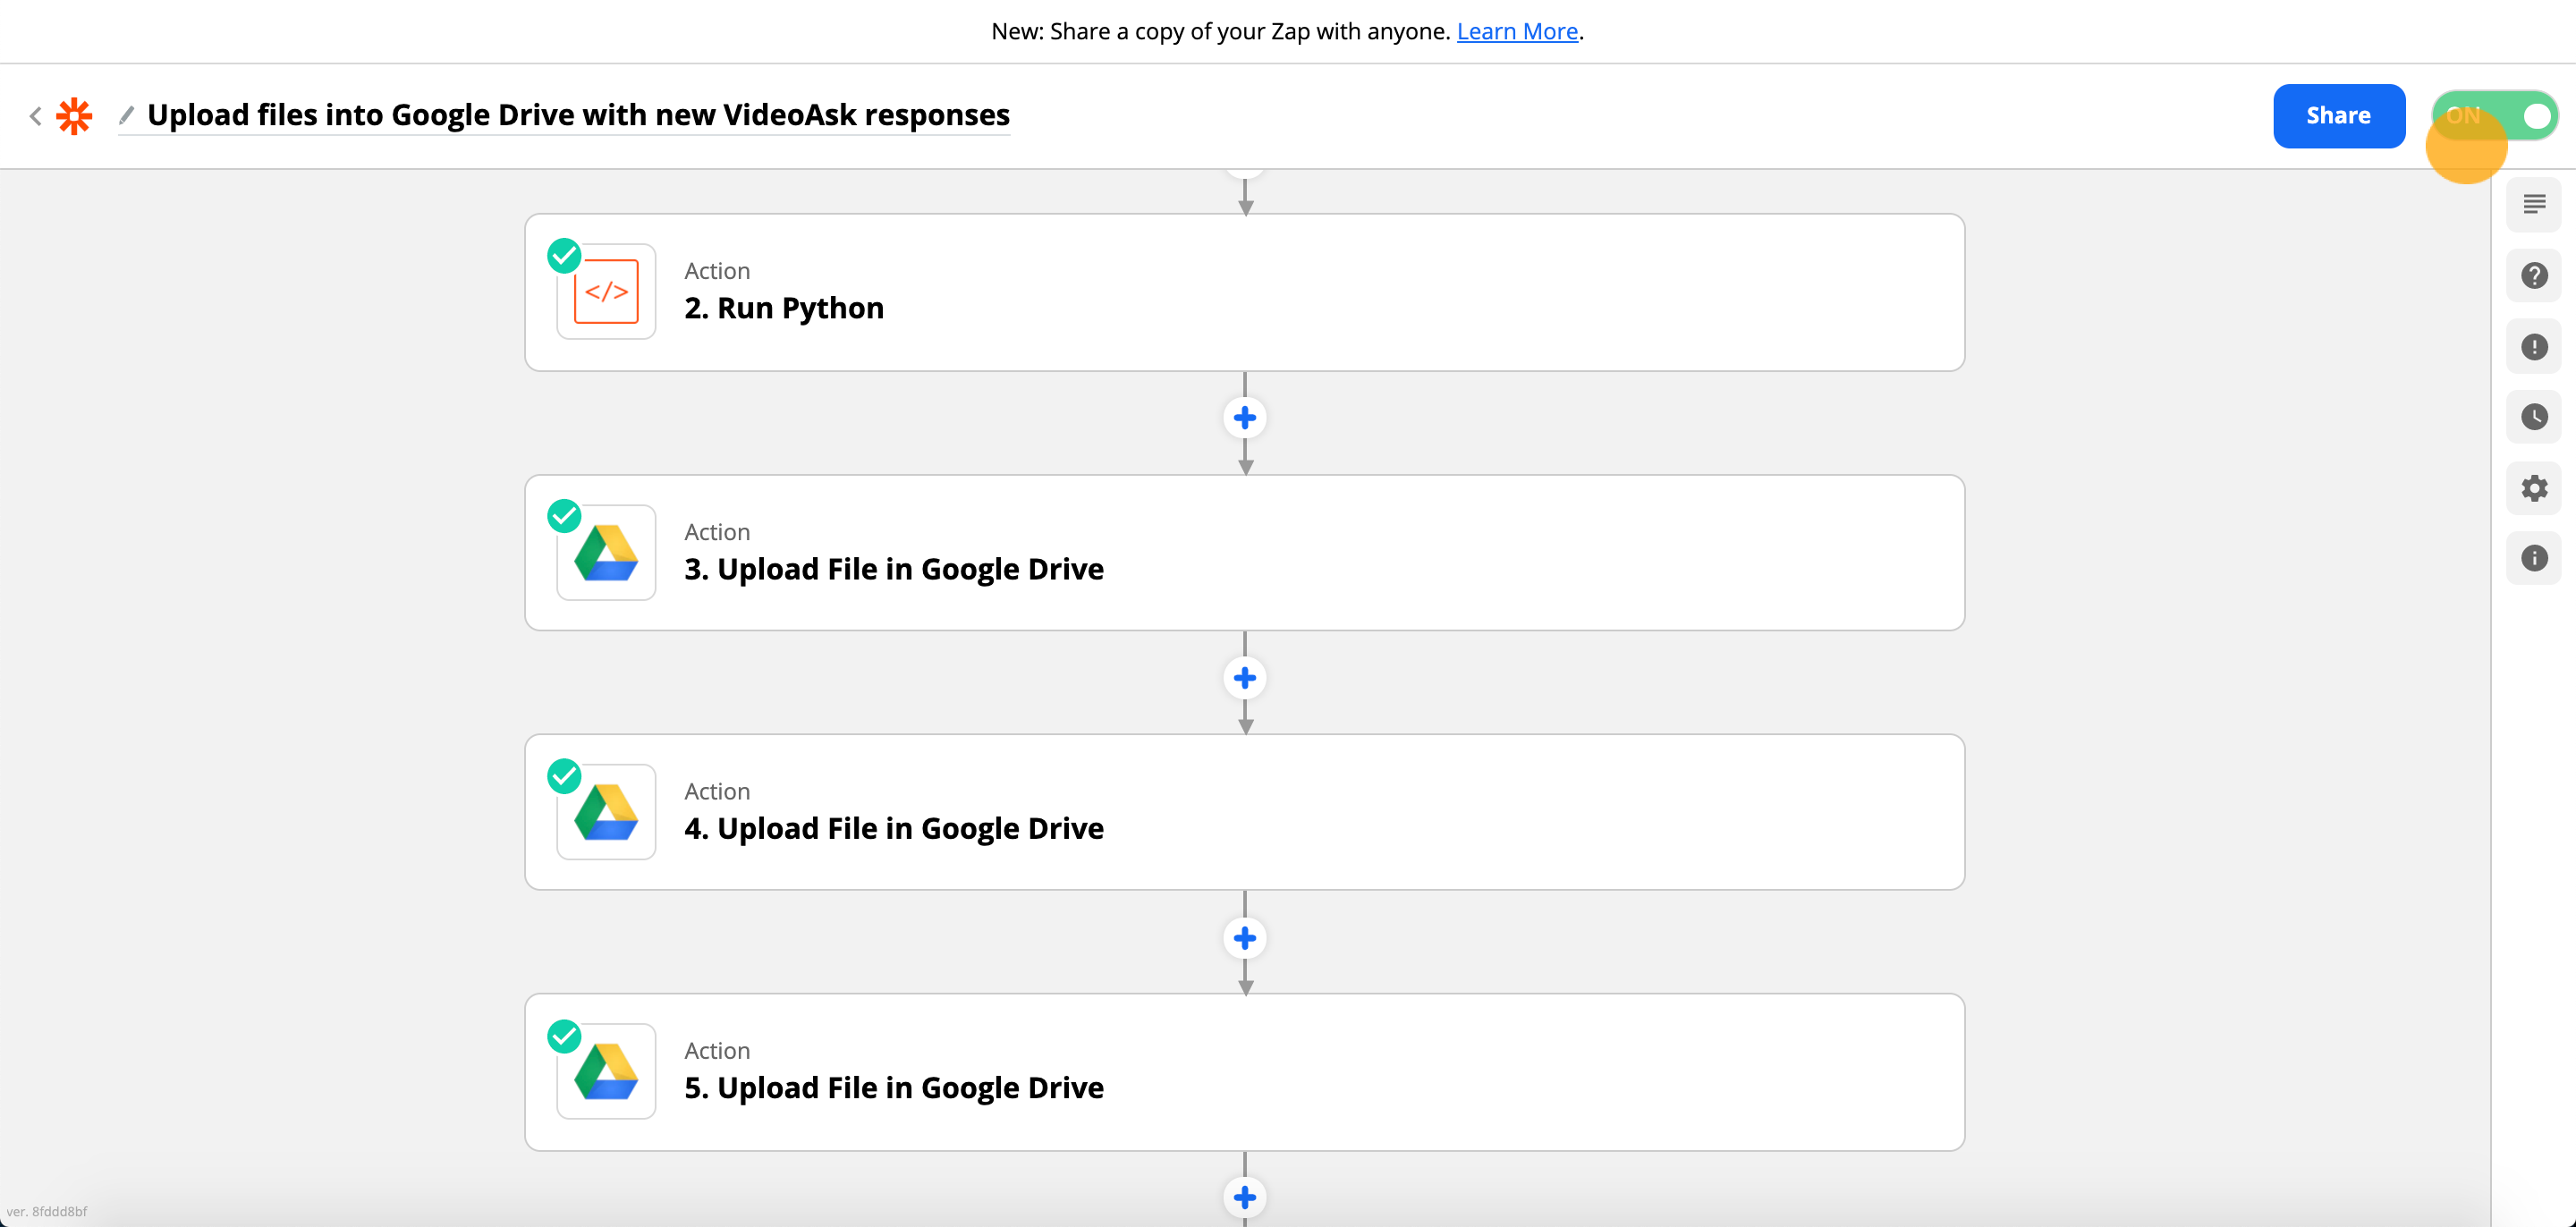
If you have more than 1 step in your videoask you'll need to add a code snippet (provided below) for your Zap to work correctly. To do this, add another action to your zap by clicking the + icon.
If you have a single-step videoask, you don't need to do this and you can now jump to step 12.
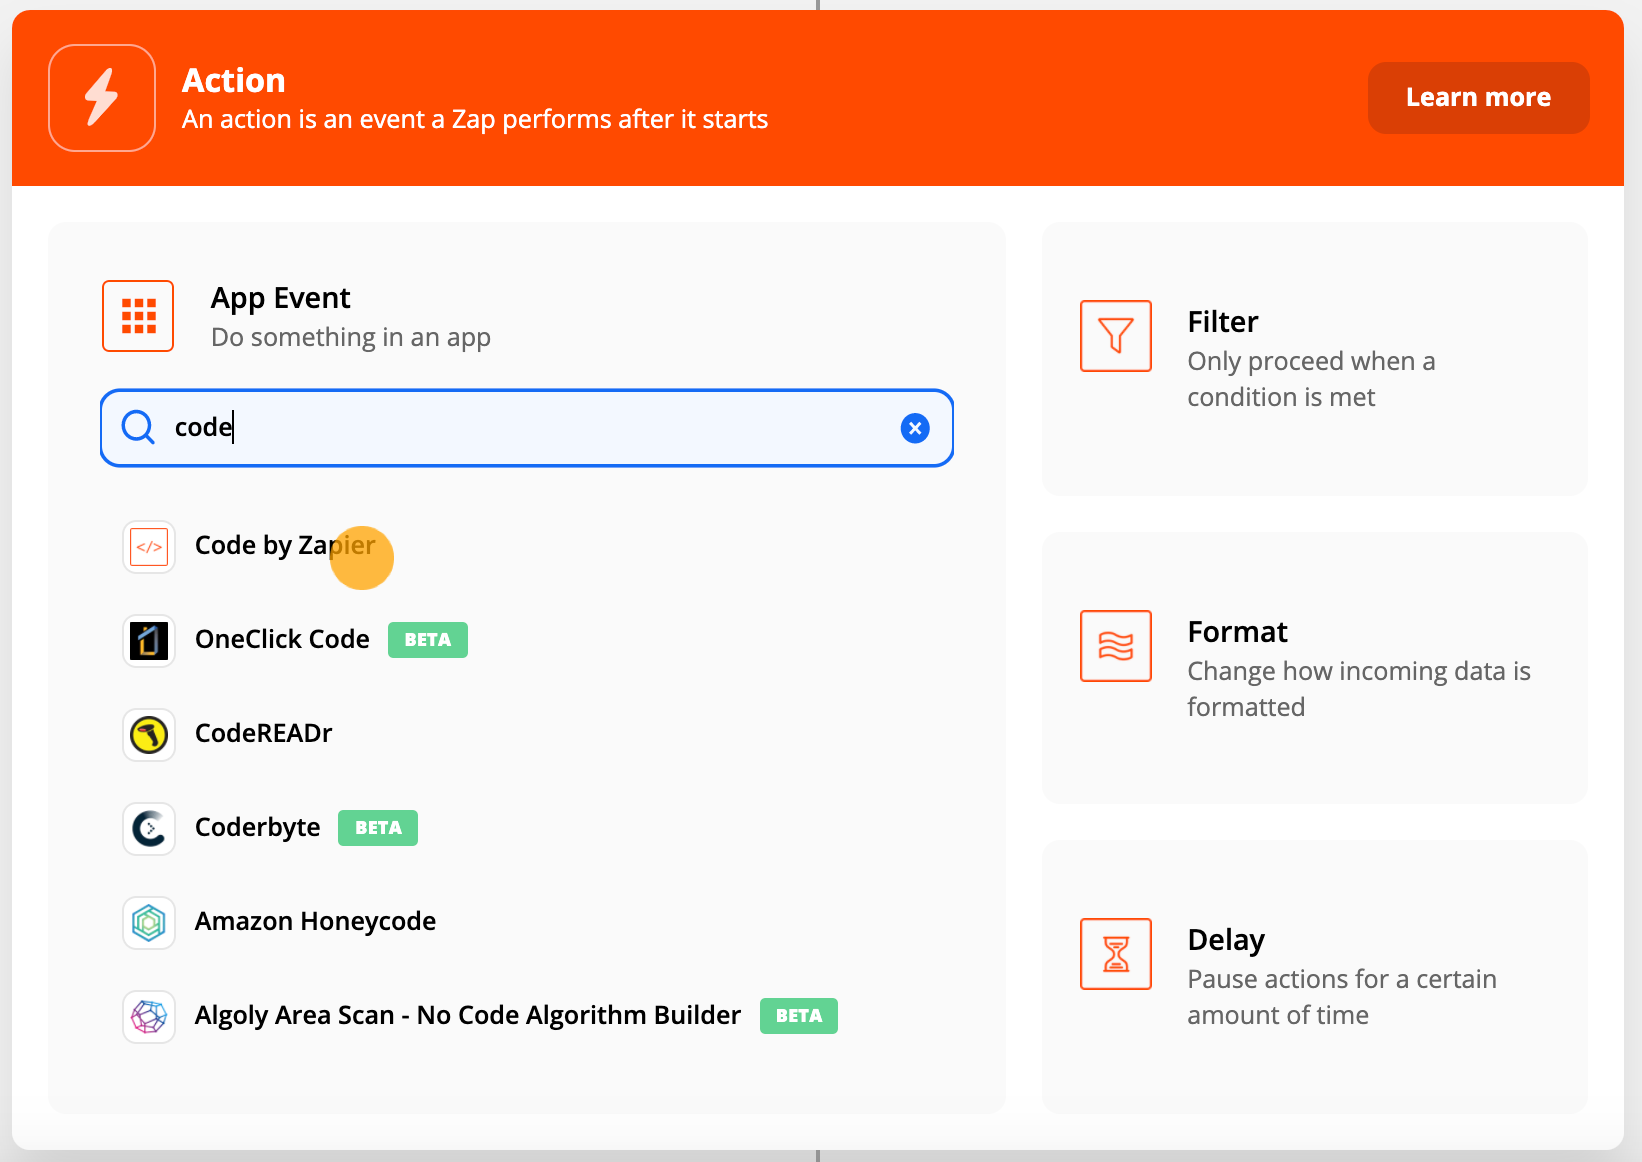
Select the Code by Zapier action.
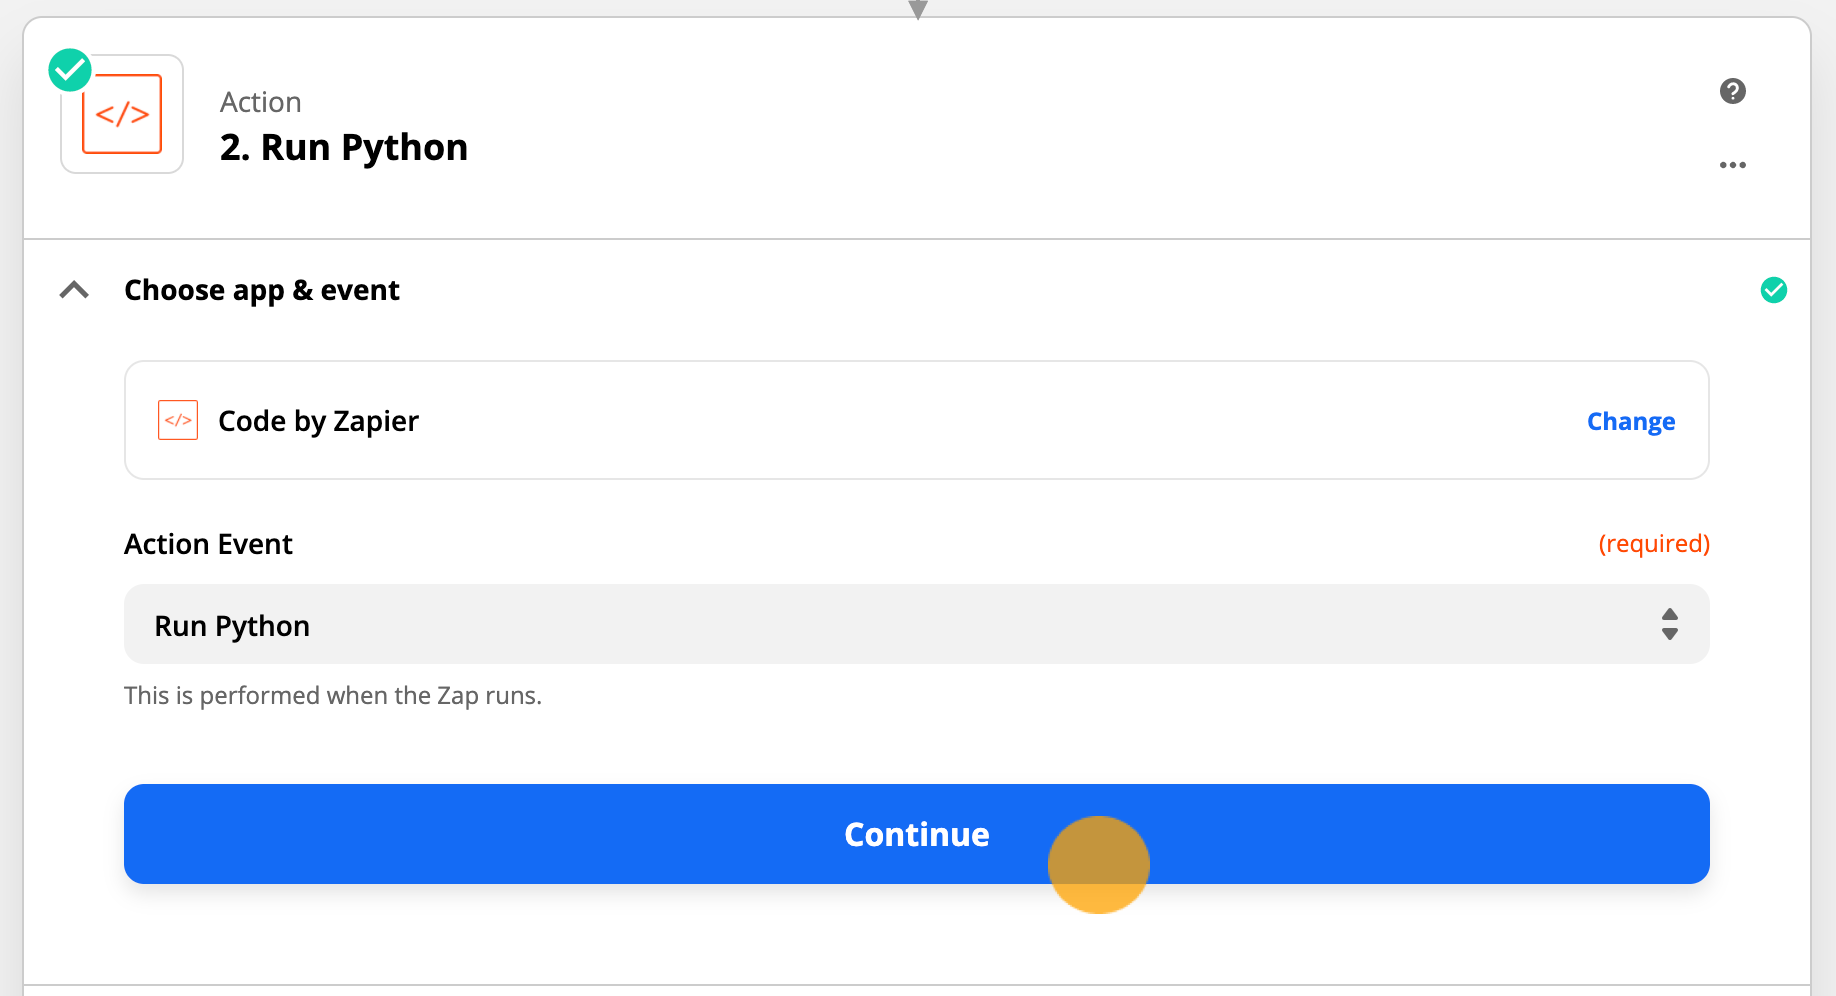
Select Run Python as the Action Event and click Continue.
Add contact_name and contact_id as the Input Data.
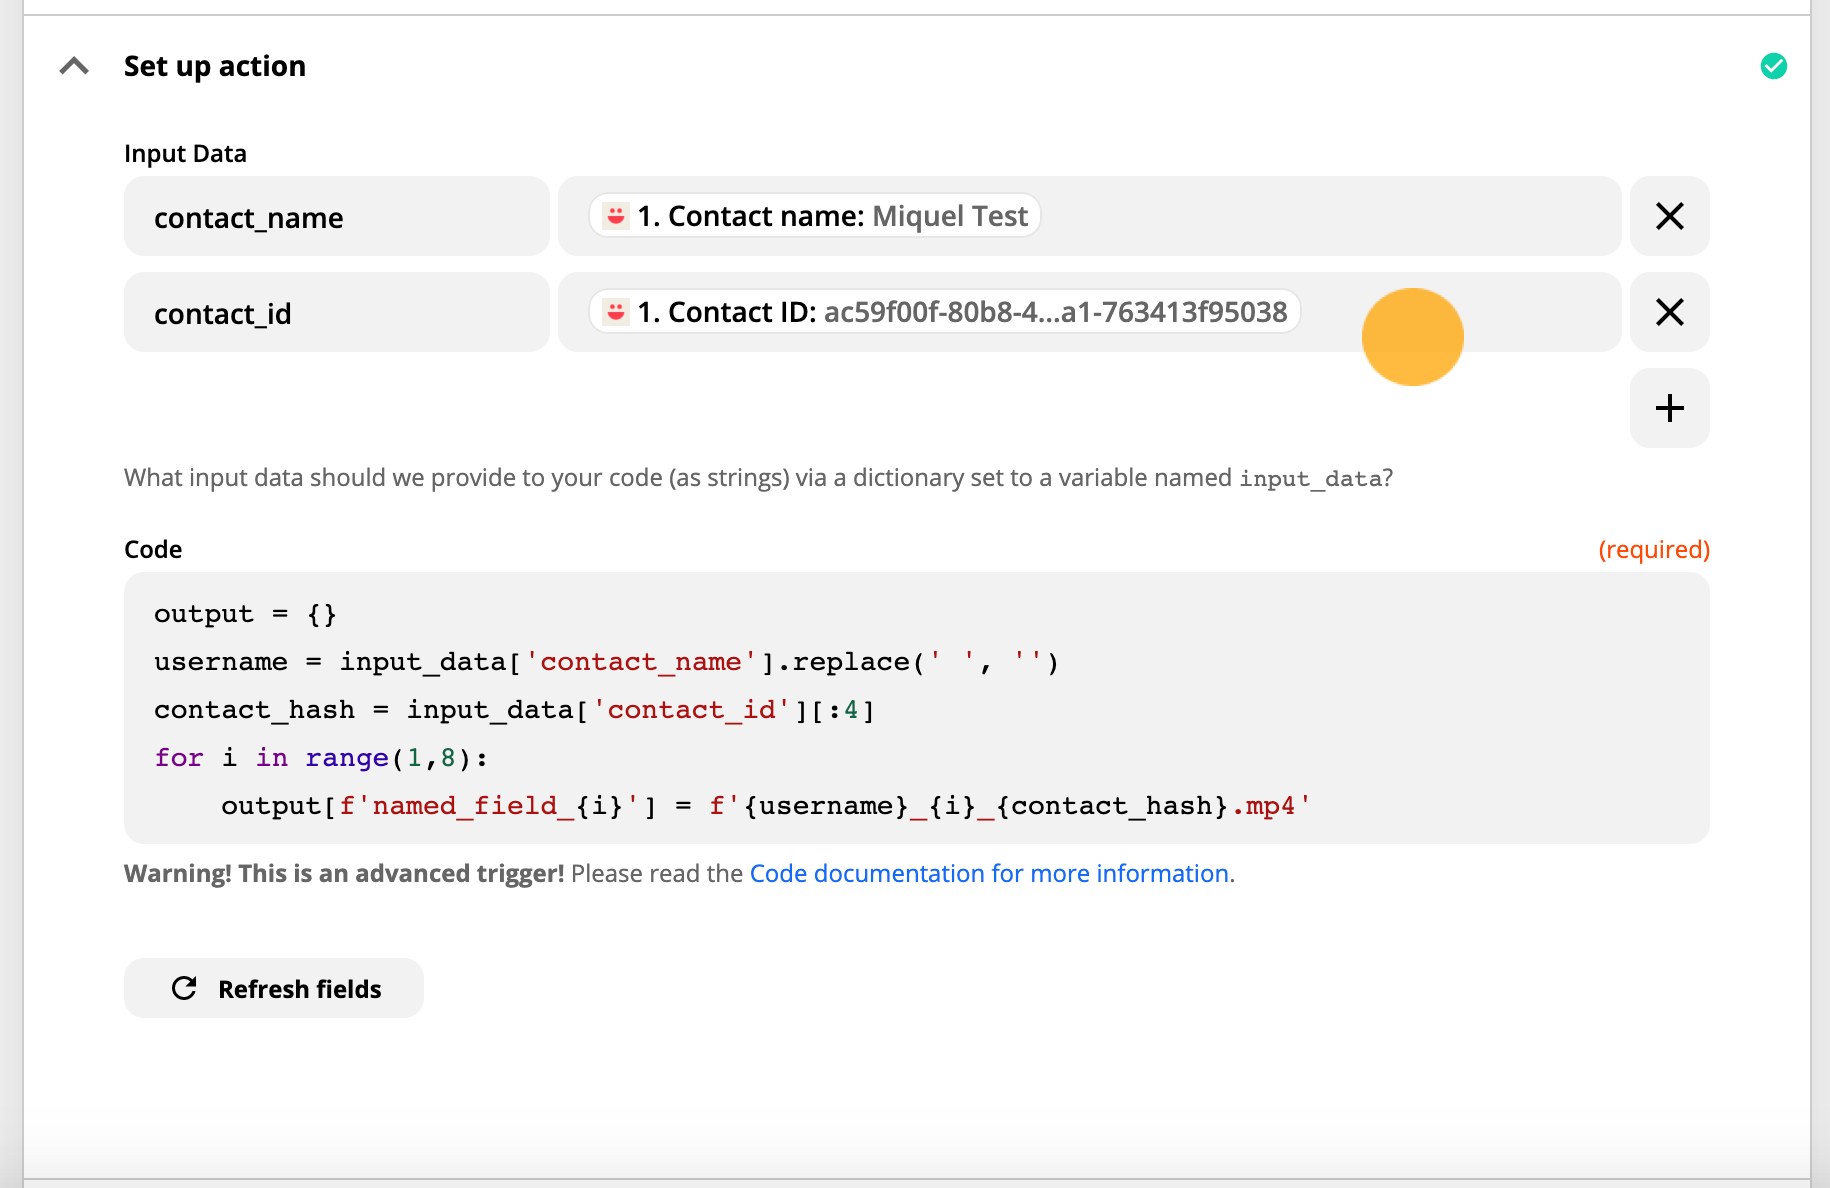
In the Code field, Paste:
  output = {}

  username = input_data['contact_name'].replace(' ', '')

  contact_hash = input_data['contact_id'][:4]

  for i in range(1,4):
    output[f'named_field_{i}'] = f'{username}_{i}_{contact_hash}.mp4'
⚠️ Important: The code snippet above is designed for a videoask with 3 open-ended answer-type steps. Update the second number in the part "for i in range(1,4):" to match the number of open-ended answer-type steps in your videoask +1.
For example, if you have a videoask with 7 open-ended answer-type steps, your range would be (1,8).

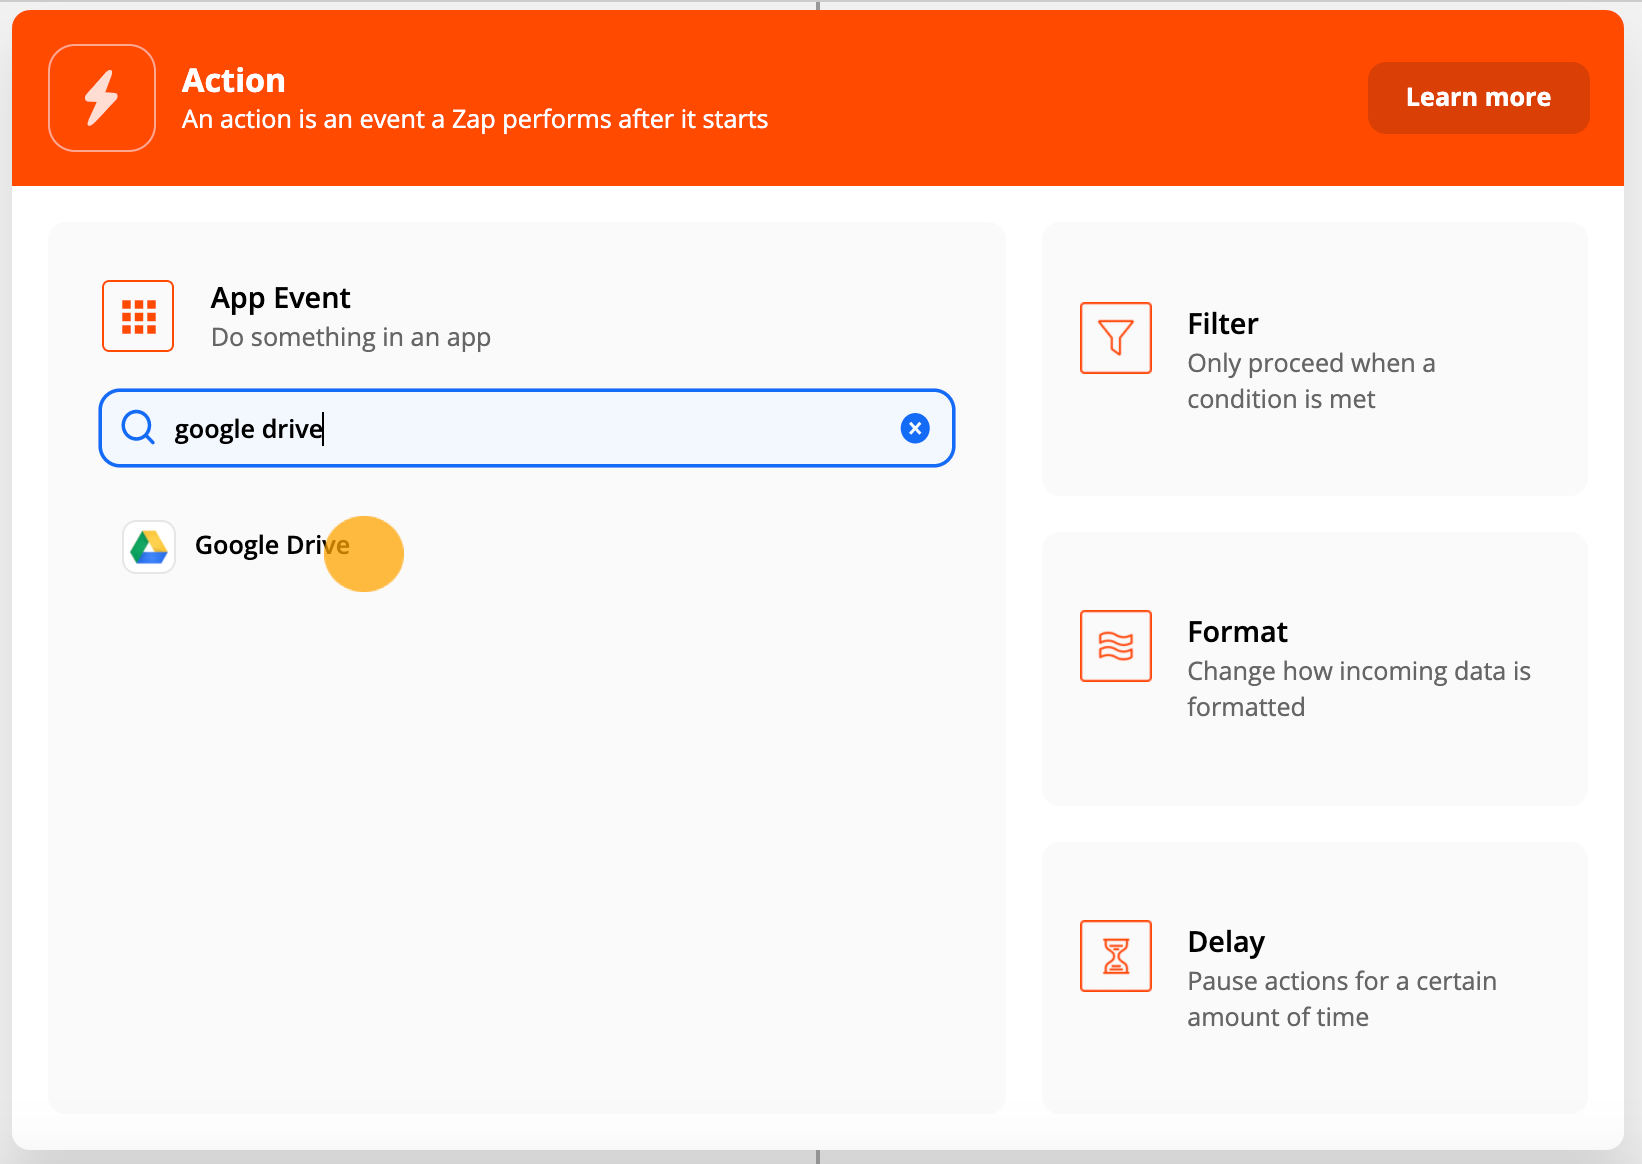
Add another Action to your zap and select Google Drive.
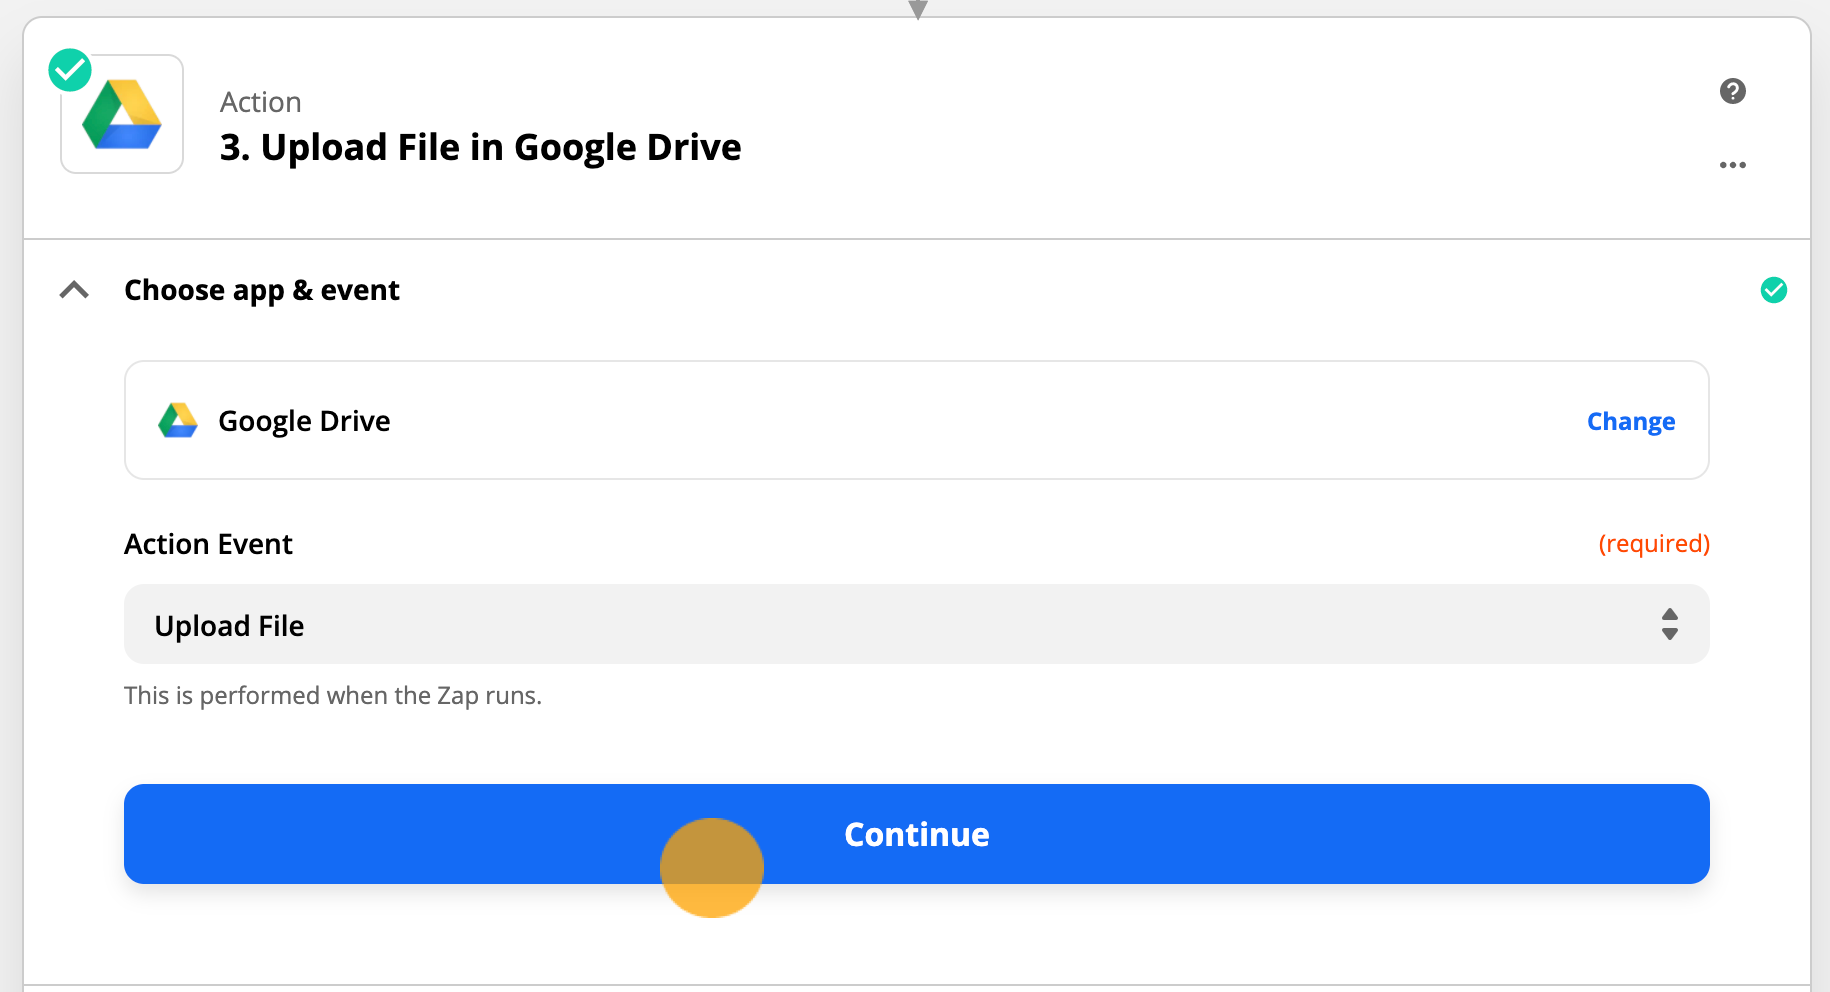
Select Upload File as the Action Event and click Continue.
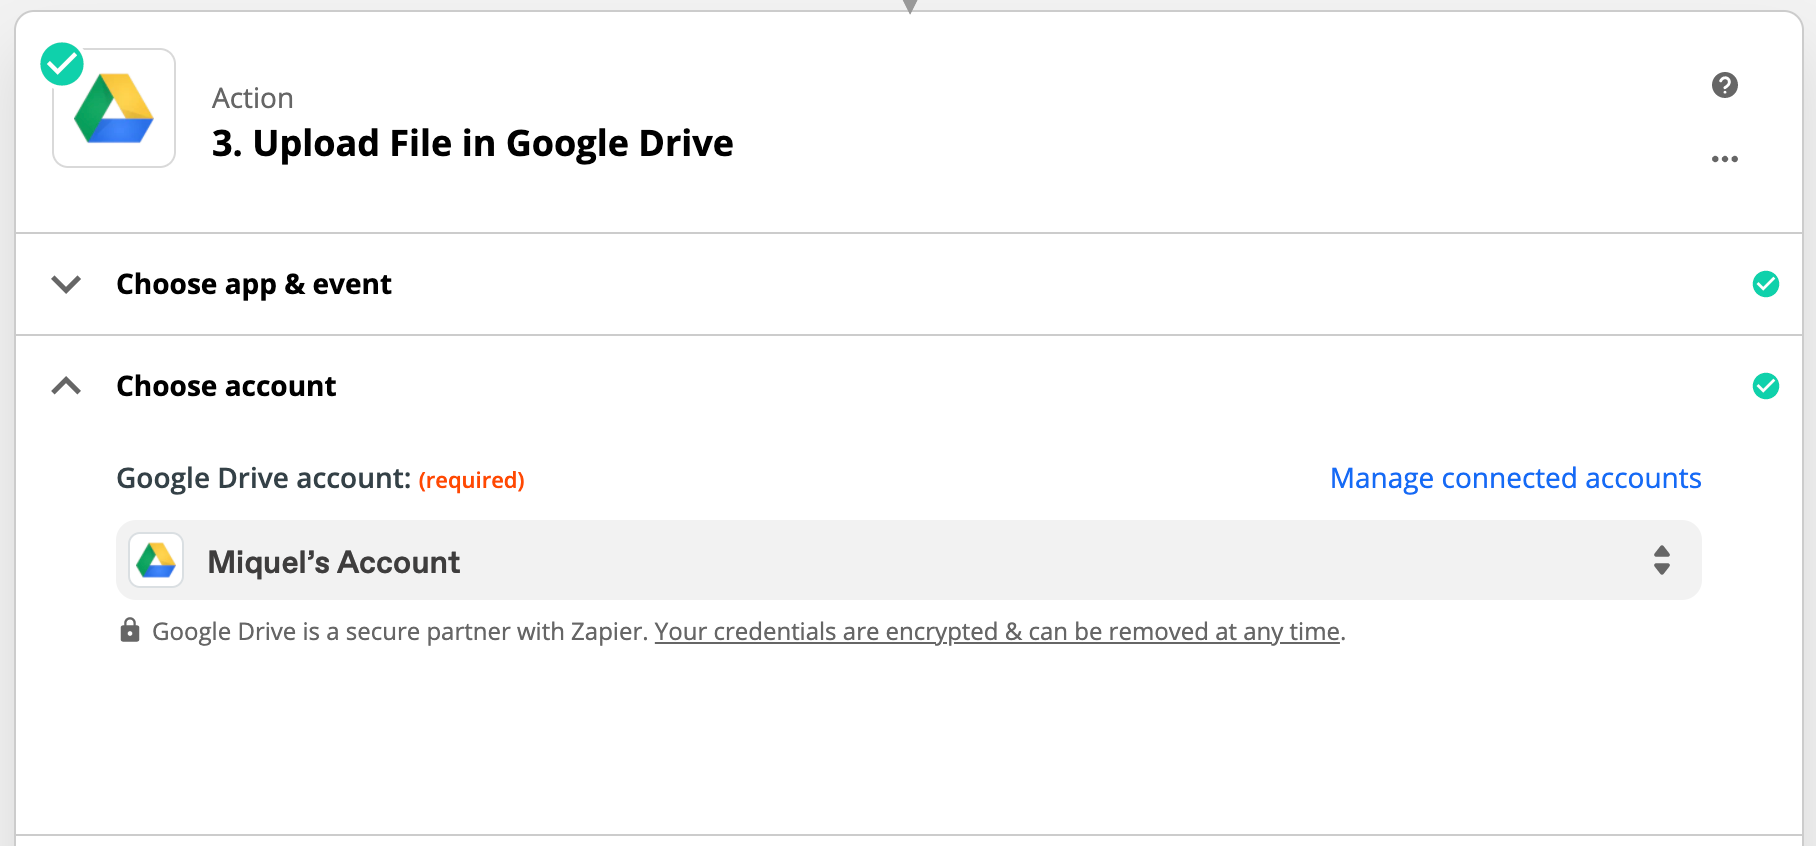
Select your Google Drive account and click Continue.
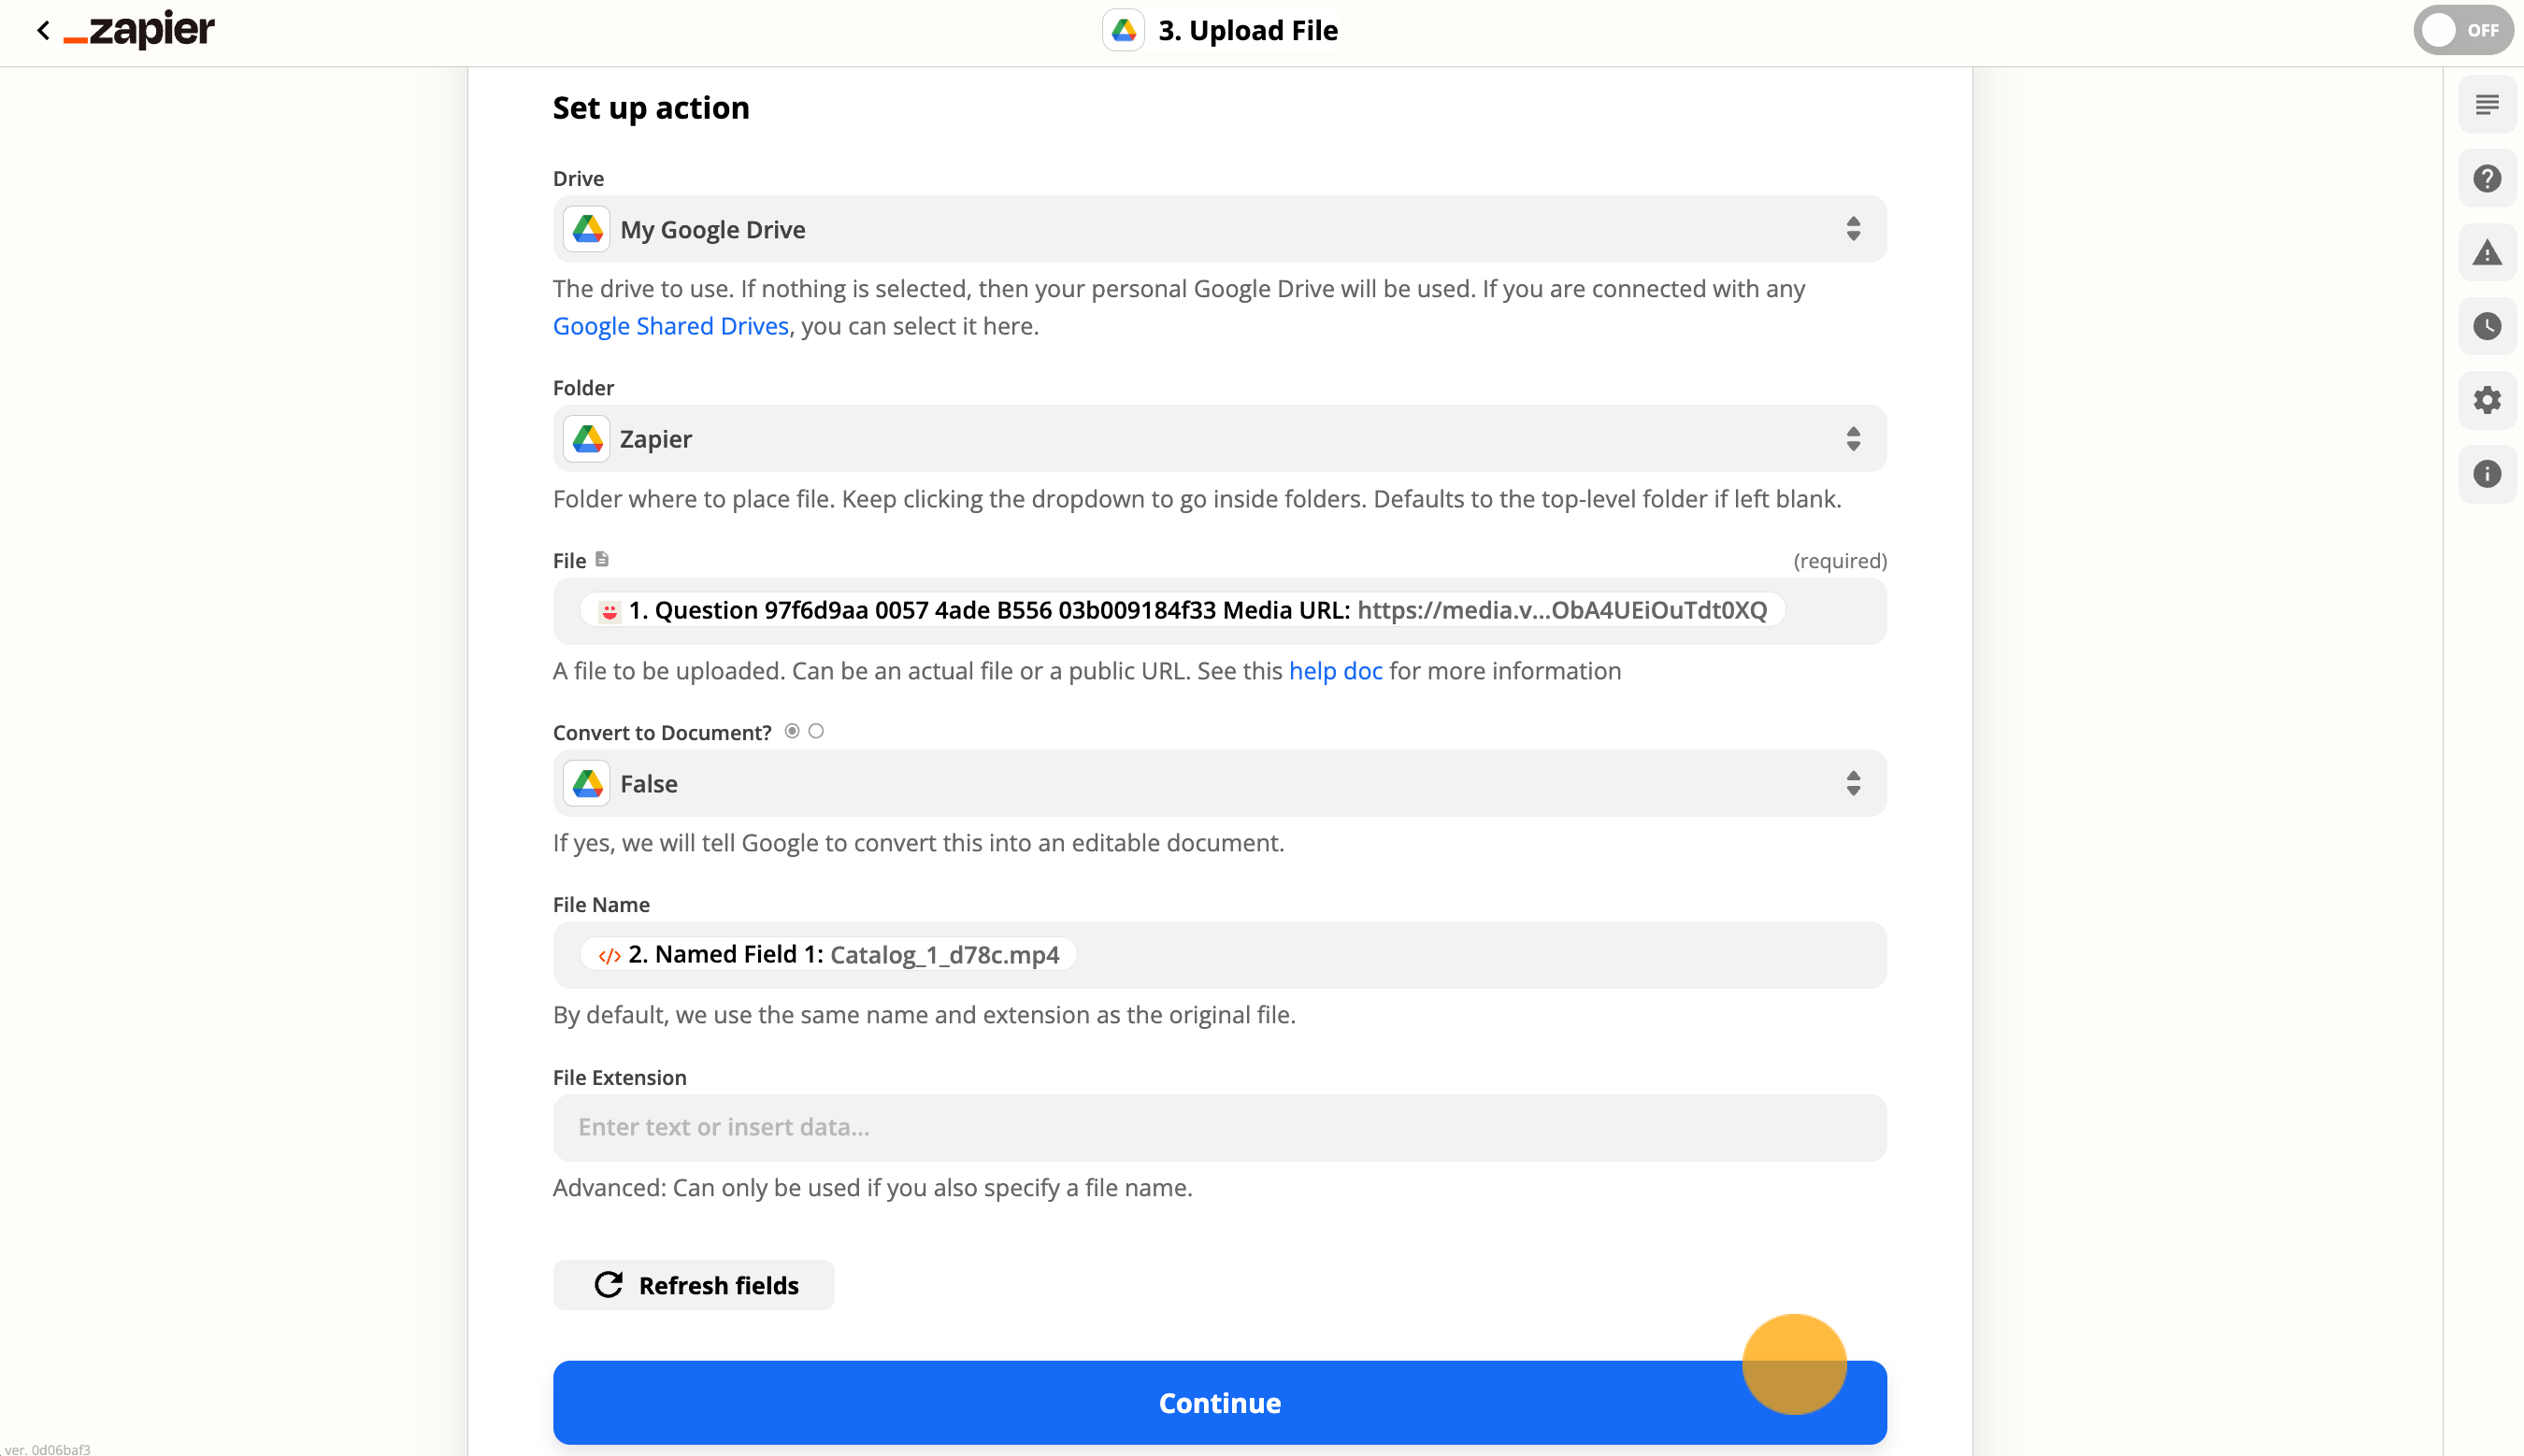
Set up your action with the following configuration:
For Google Drive:
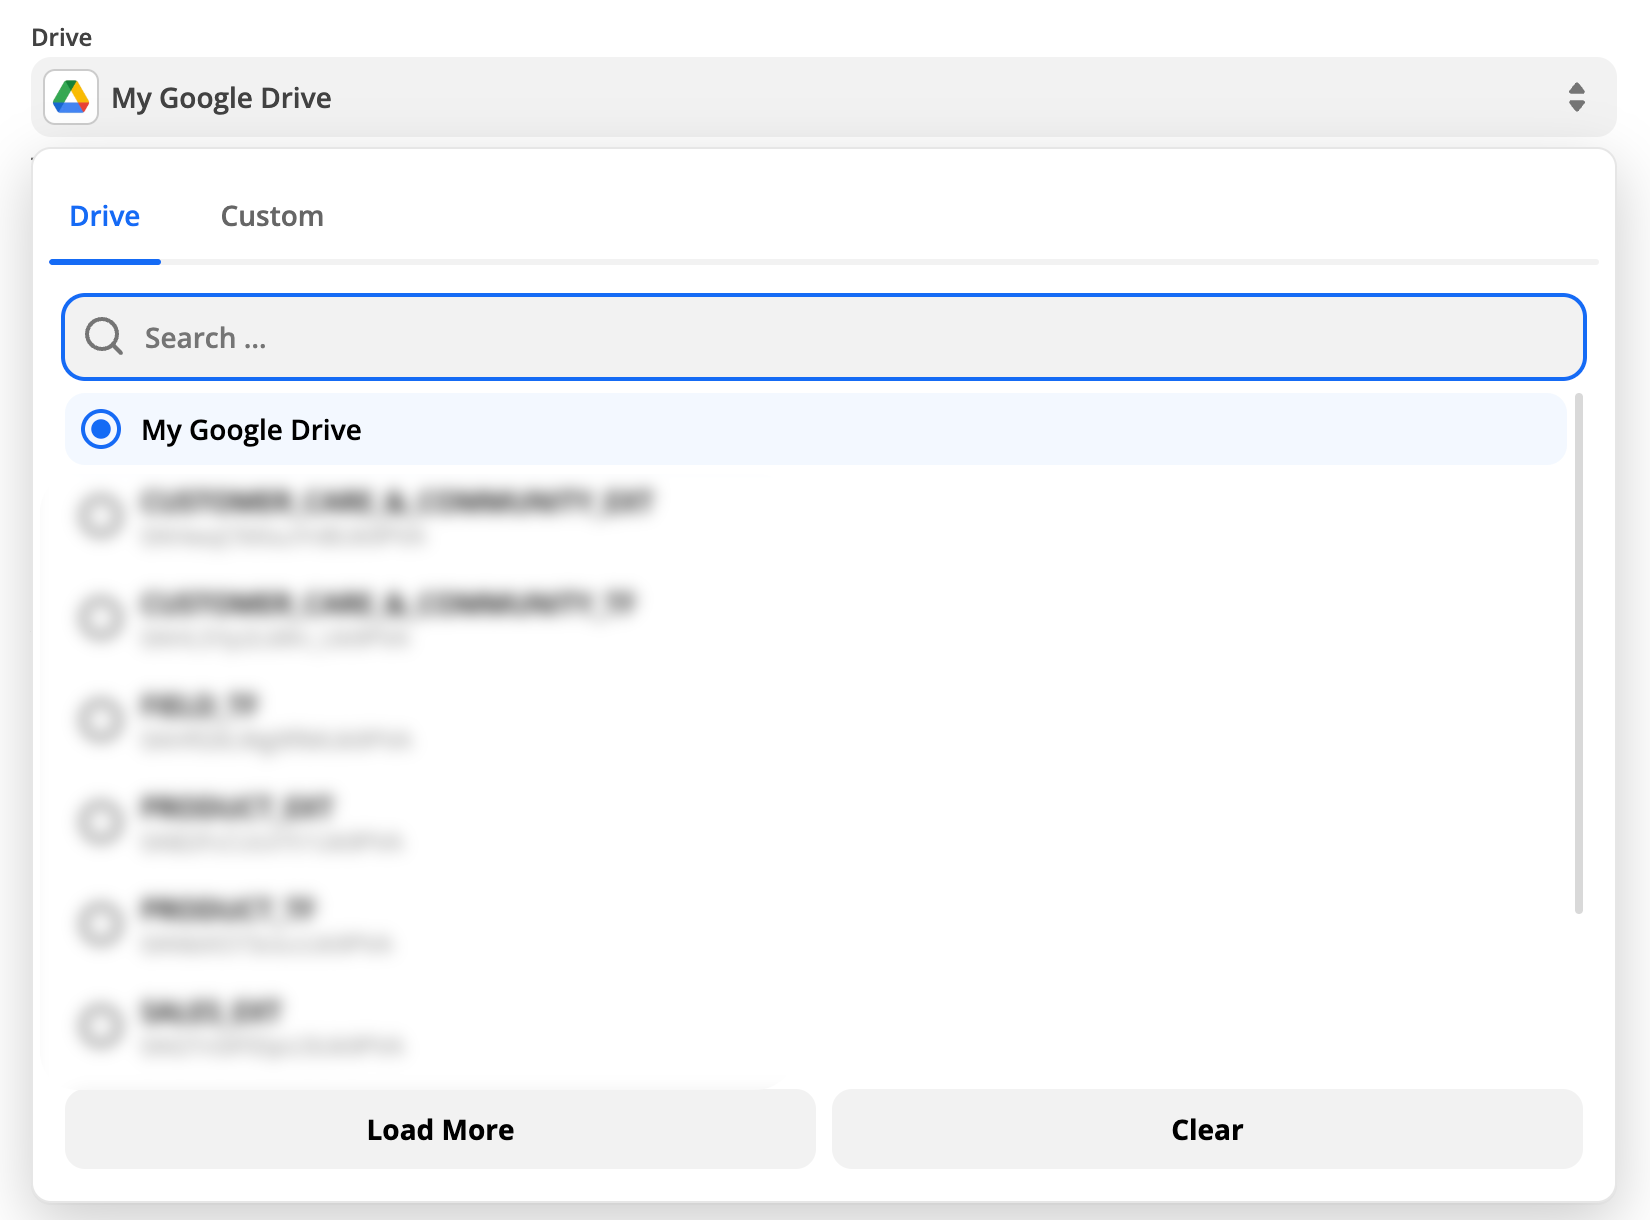
Drive = Your chosen drive
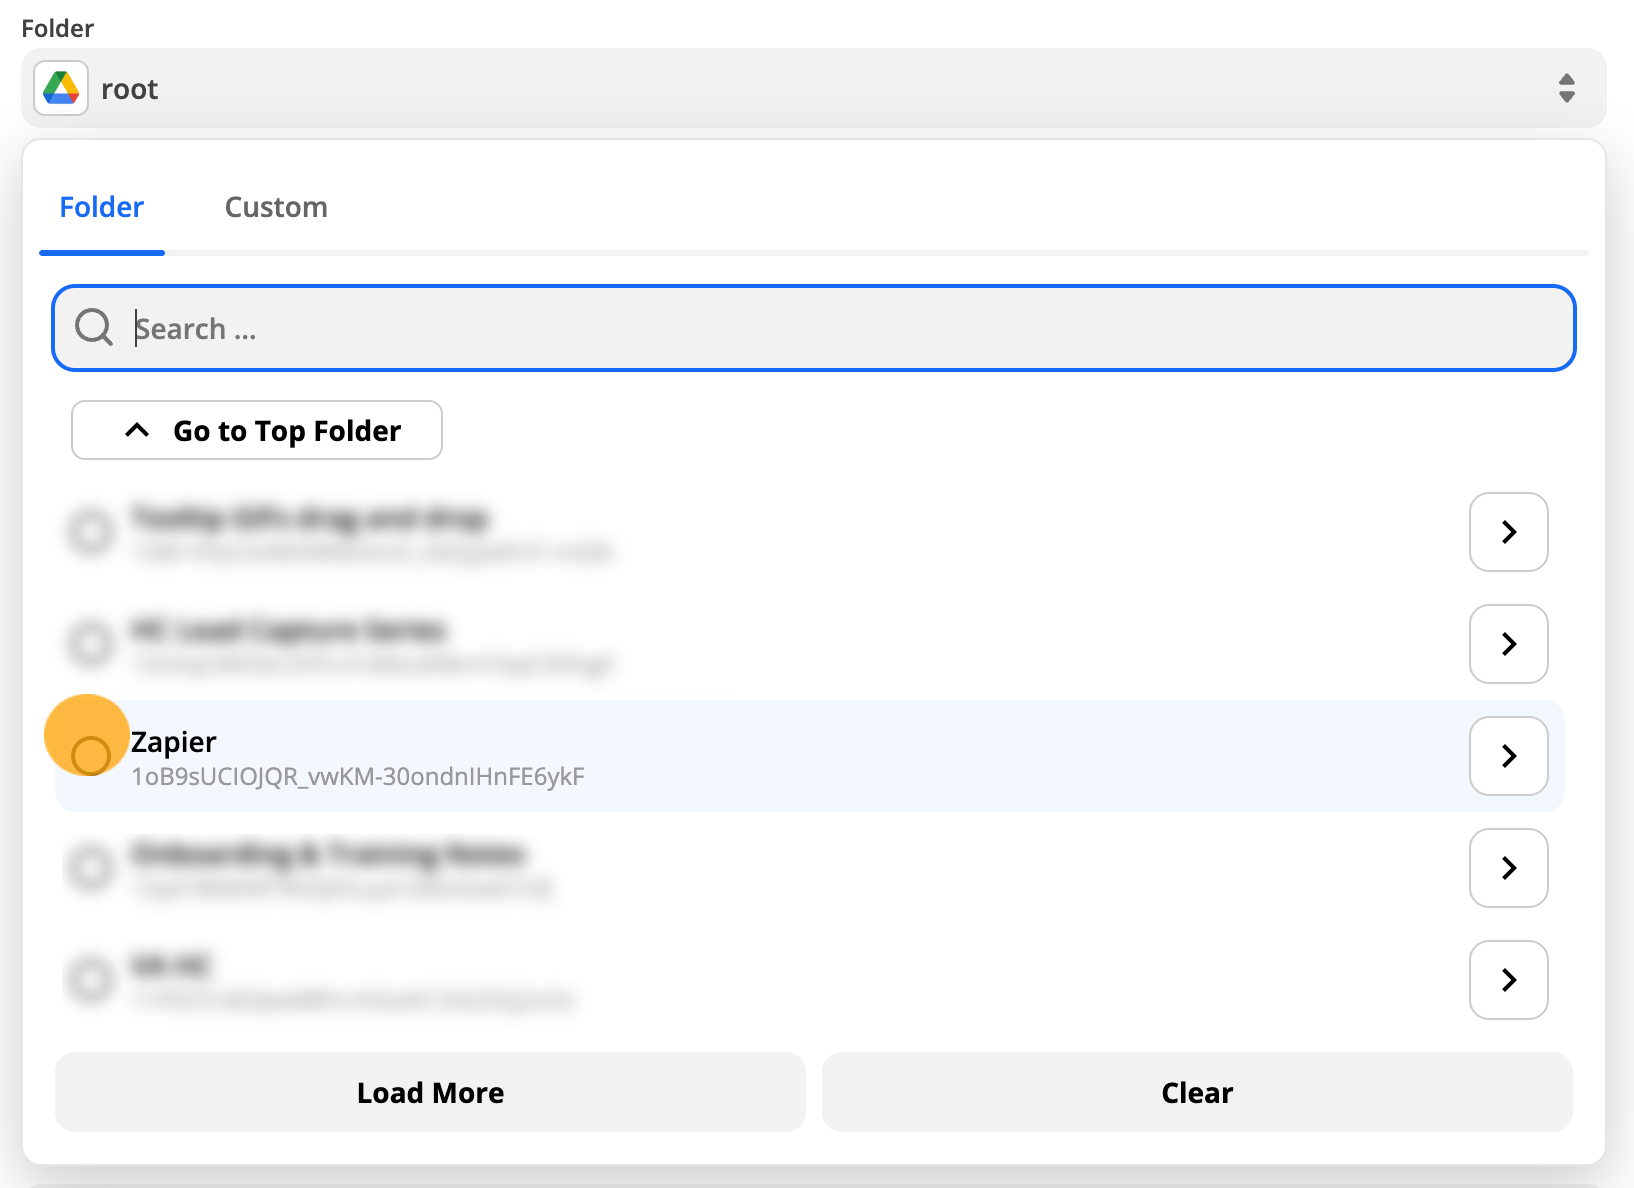
Folder = Your chosen folder
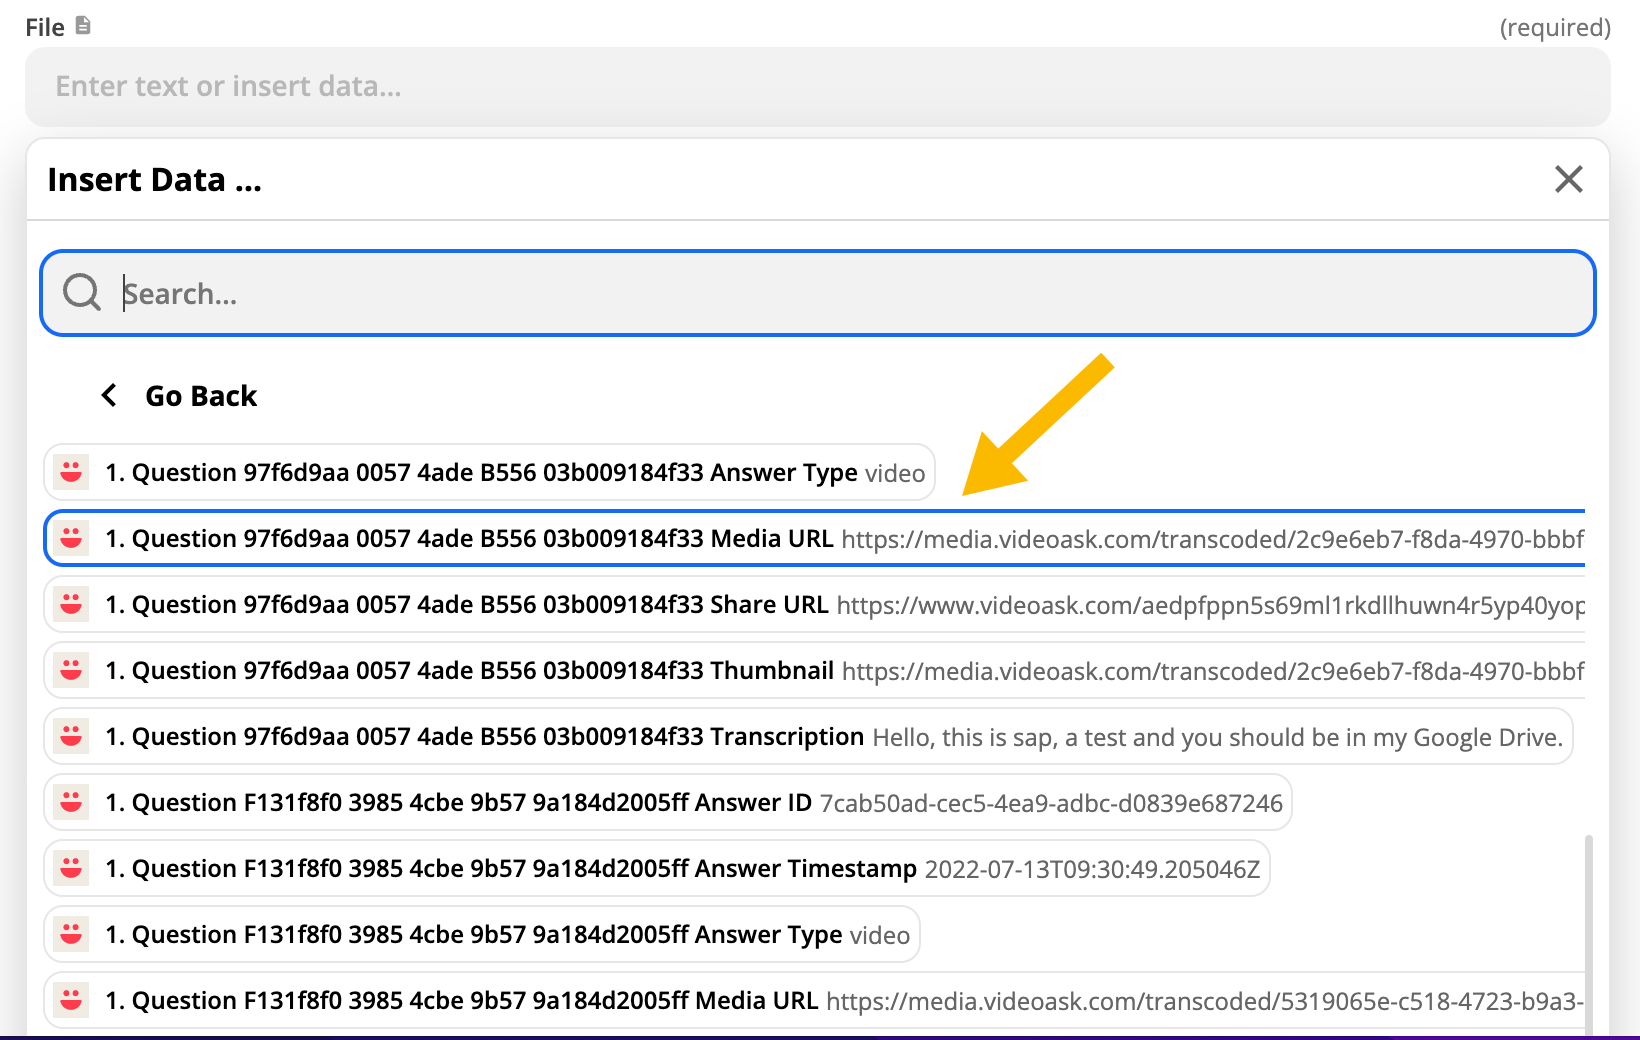
File = Media URL of your video response (click the dropdown arrow next to New Response from a Respondent in VideoAsk to see this option).
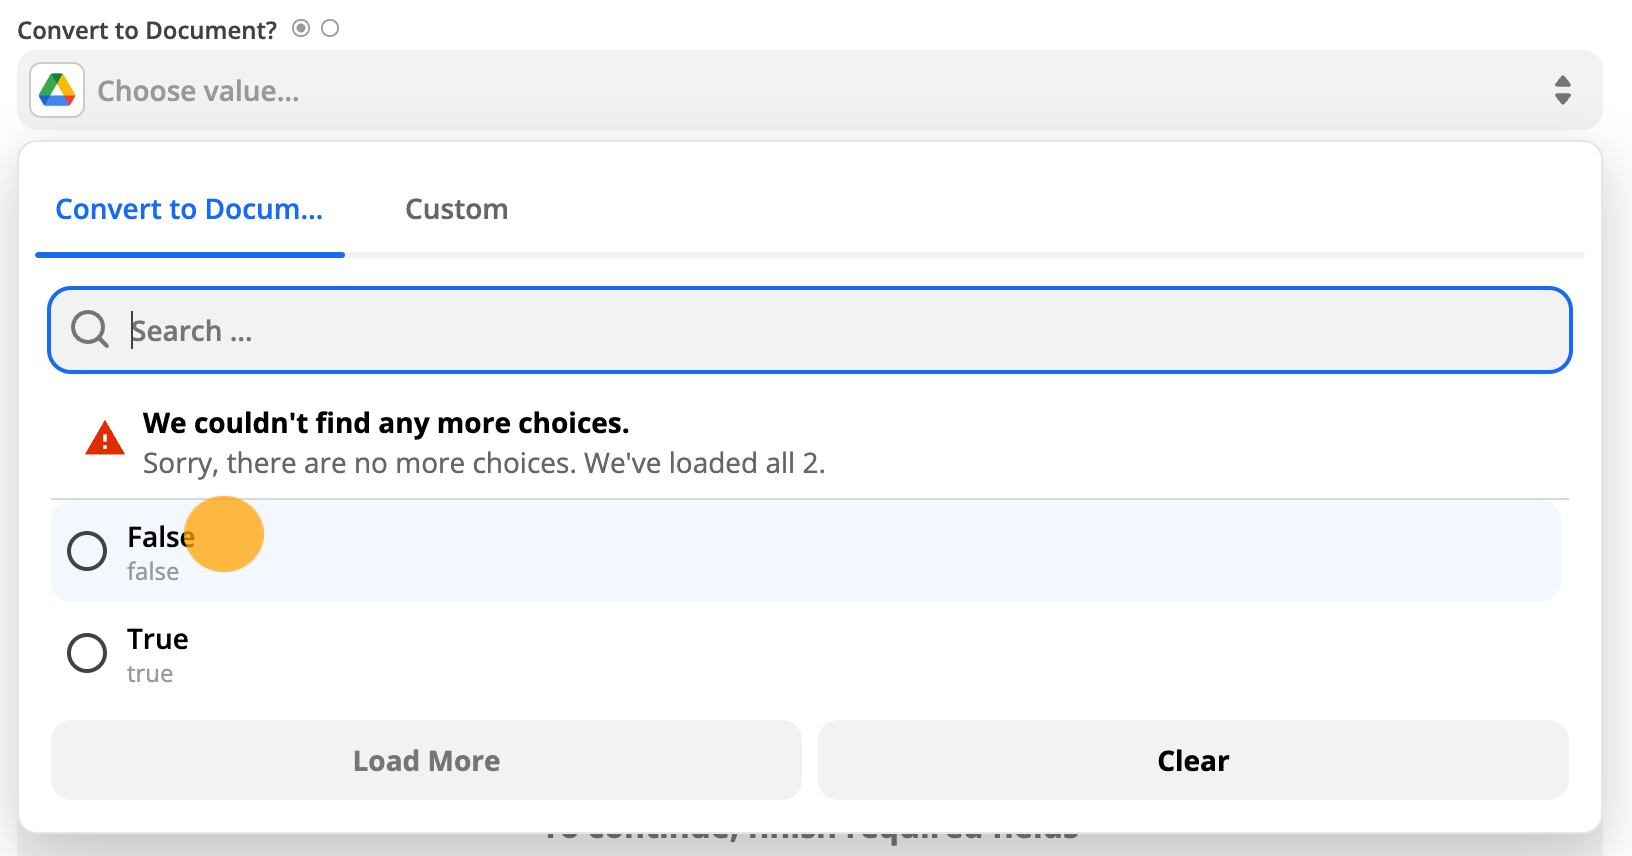
Convert to Document = False
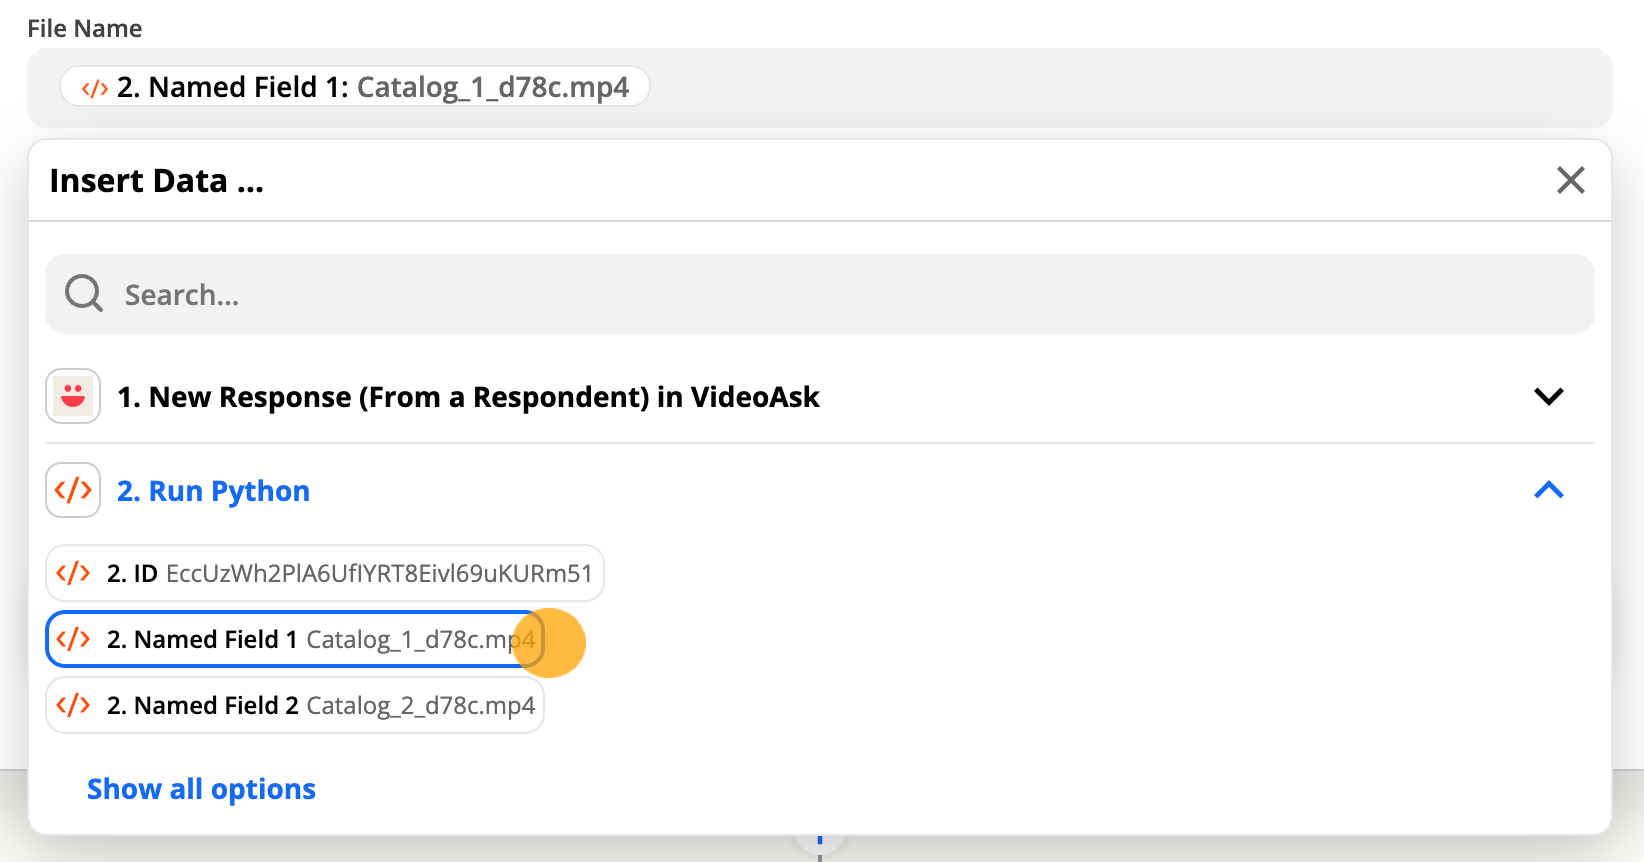
File Name = Named Field (click the dropdown arrow next Run Python to see this option). Choose Named Field 1 for the first video or audio response.
When you come back to this step to set everything up for the second, third, and any subsequent video or audio response steps, choose Named field 2, Named field 3, etc. This will determine the name of the file in Google Drive/Dropbox.
16. Click Continue.
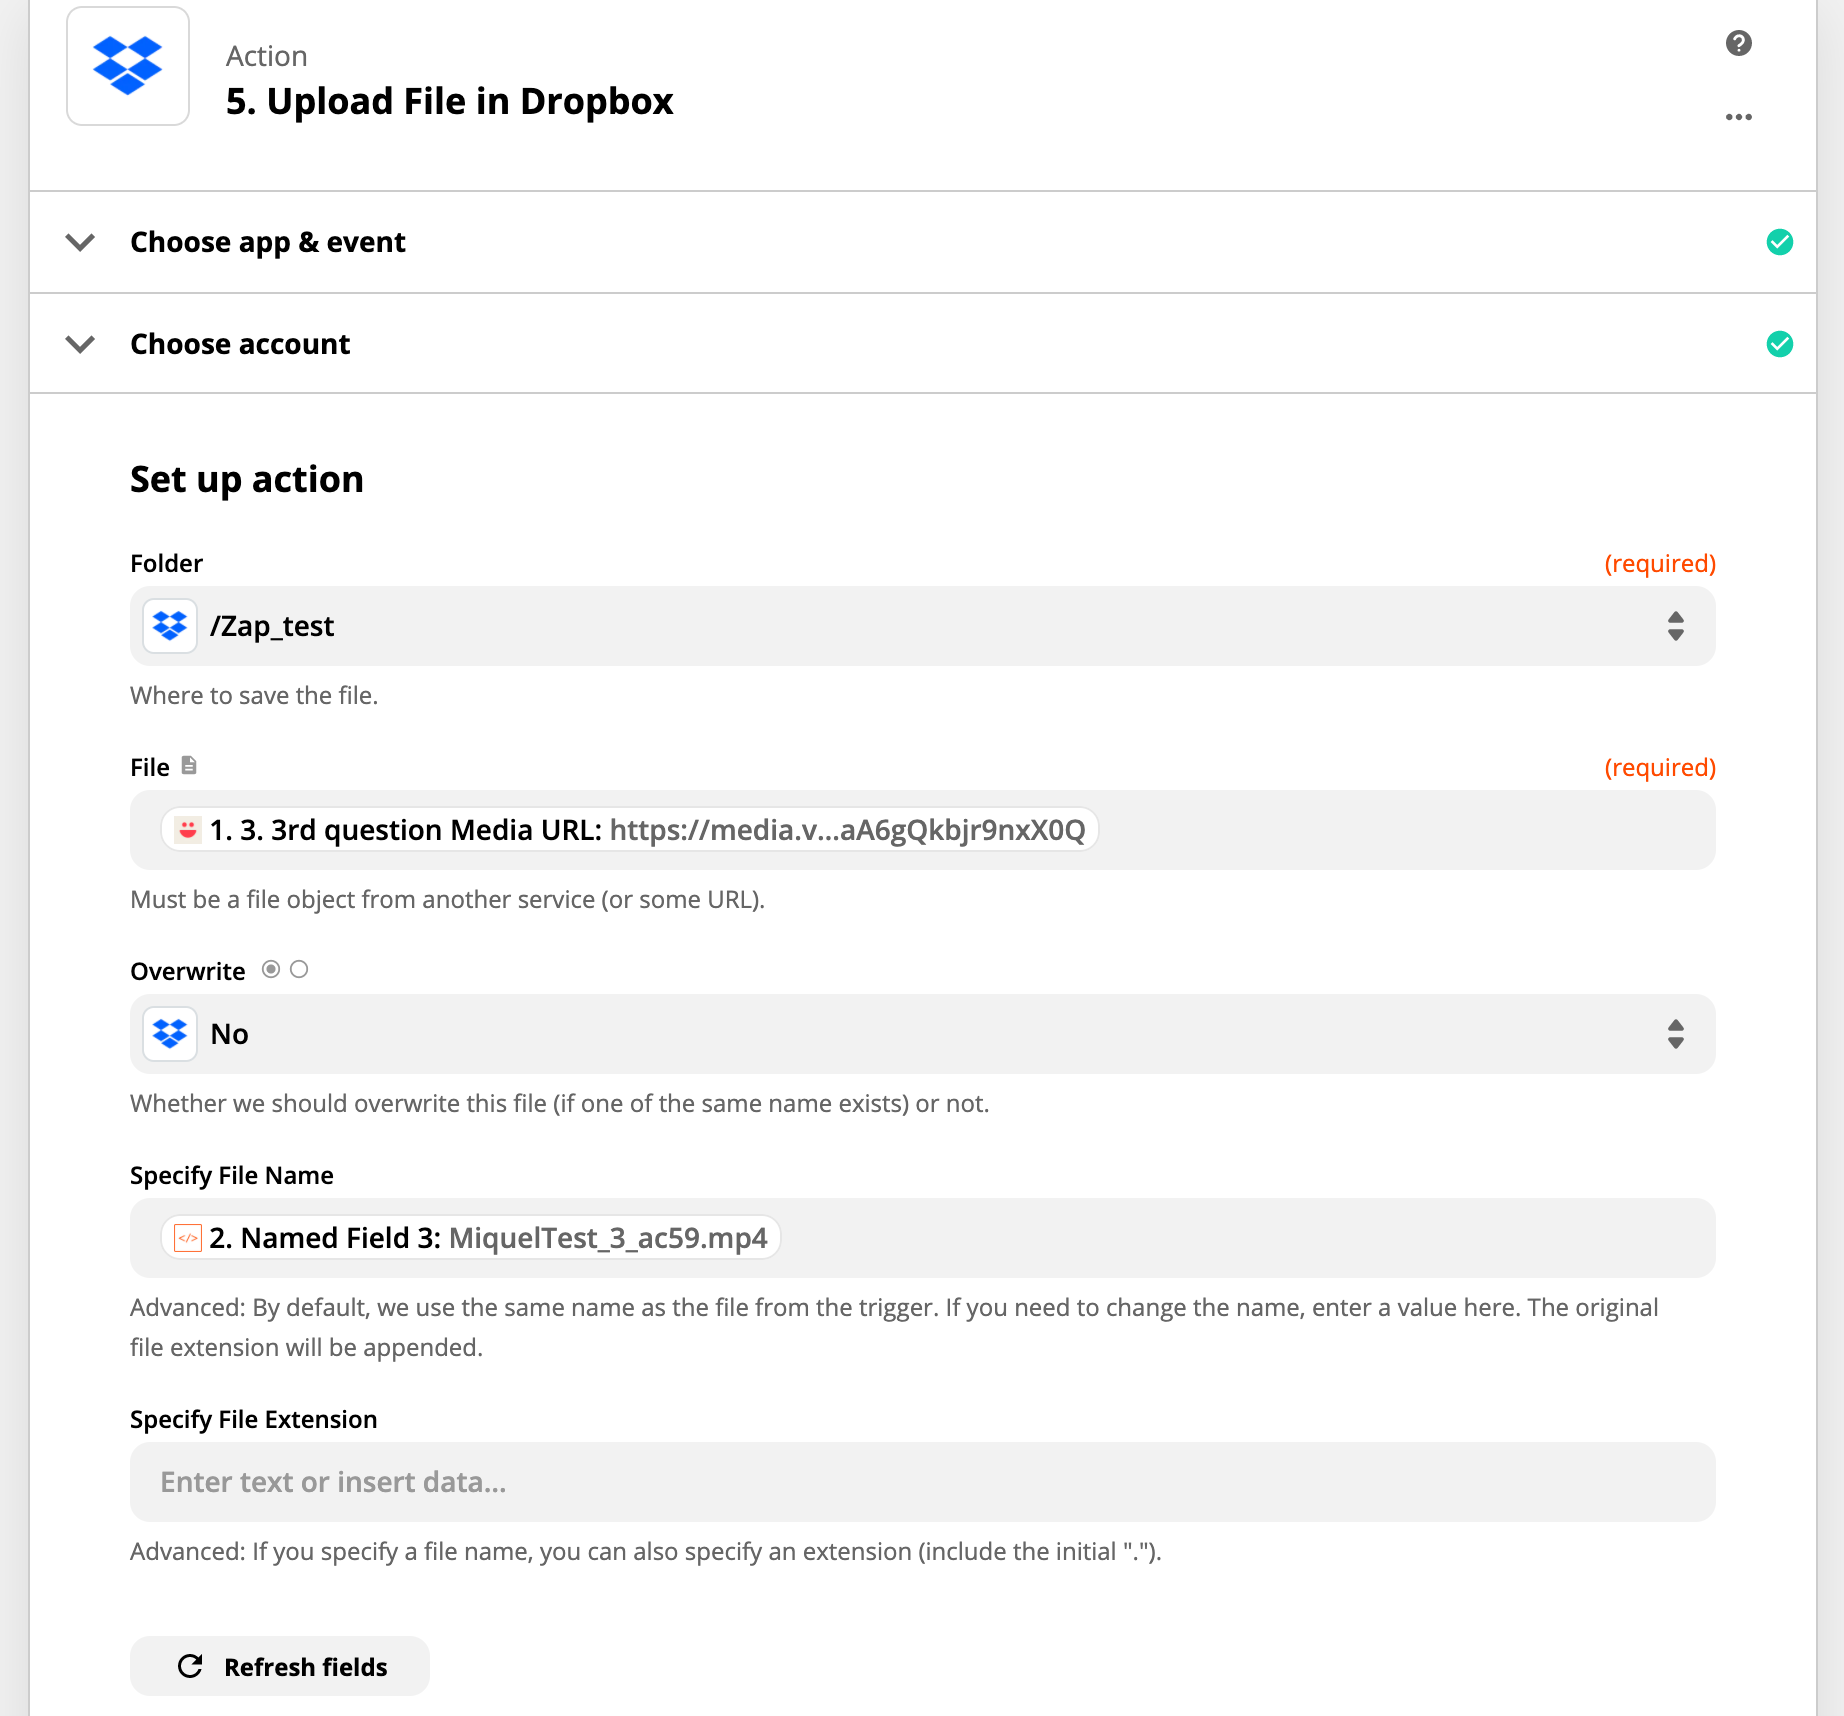
For Dropbox:
File = Media URL
Overwrite = No
Specify File Name = Named Field
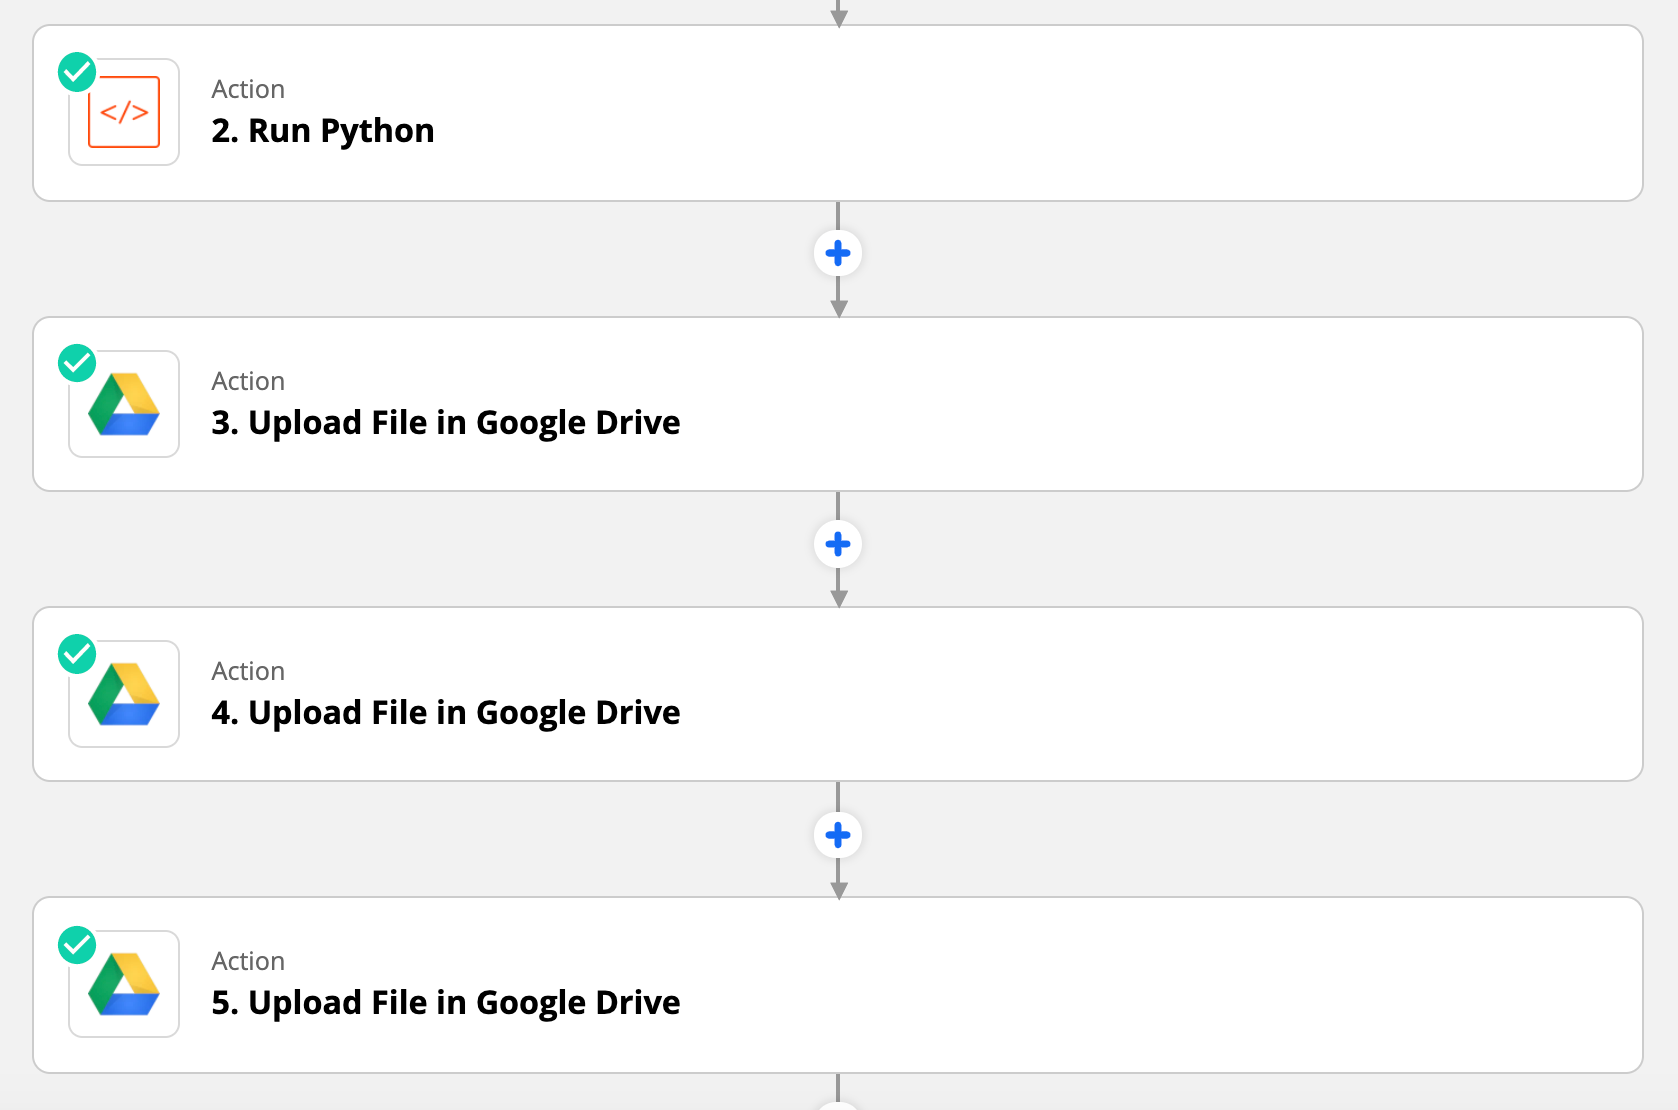
Repeat steps 12-16 for each video or audio response step in your videoask that you want to send to Google Drive or Dropbox.
Make sure to turn your zap on and you should be good to go!
💡 Pro tip: You can send files from a file upload answer type to Google Drive by selecting the File URL option in the File field in Zapier.