Ready to start creating your videoask but not sure how? Don’t worry, we’ve got you covered. We’ll take you through the basics of creating a videoask and you’ll be a pro in no time.
Watch the video below for a quick-start tutorial, or keep reading for step-by-step instructions on getting started with the VideoAsk builder.
The builder is where you’ll be able to add, edit and record your videoask steps. Read on to learn how to navigate the videoask builder and get videoasking. 📹
Jump to:
Preview and share your videoask
Add and remove videoask steps
To add a step:
Select an answer type from the left side menu. Then drag and drop it over the + icon. Flashing green dots will appear to indicate where you can drop a step.
Note: Some answer types are only available on paid plans.
💡Tip: Alternatively, you can add a step by clicking the + icon.
If you're already familiar with VideoAsk and the tips/GIFs are getting in your way when dragging and dropping an answer type, you can disable the extra information by clicking Hide these tips.
Click on a step to add your video.
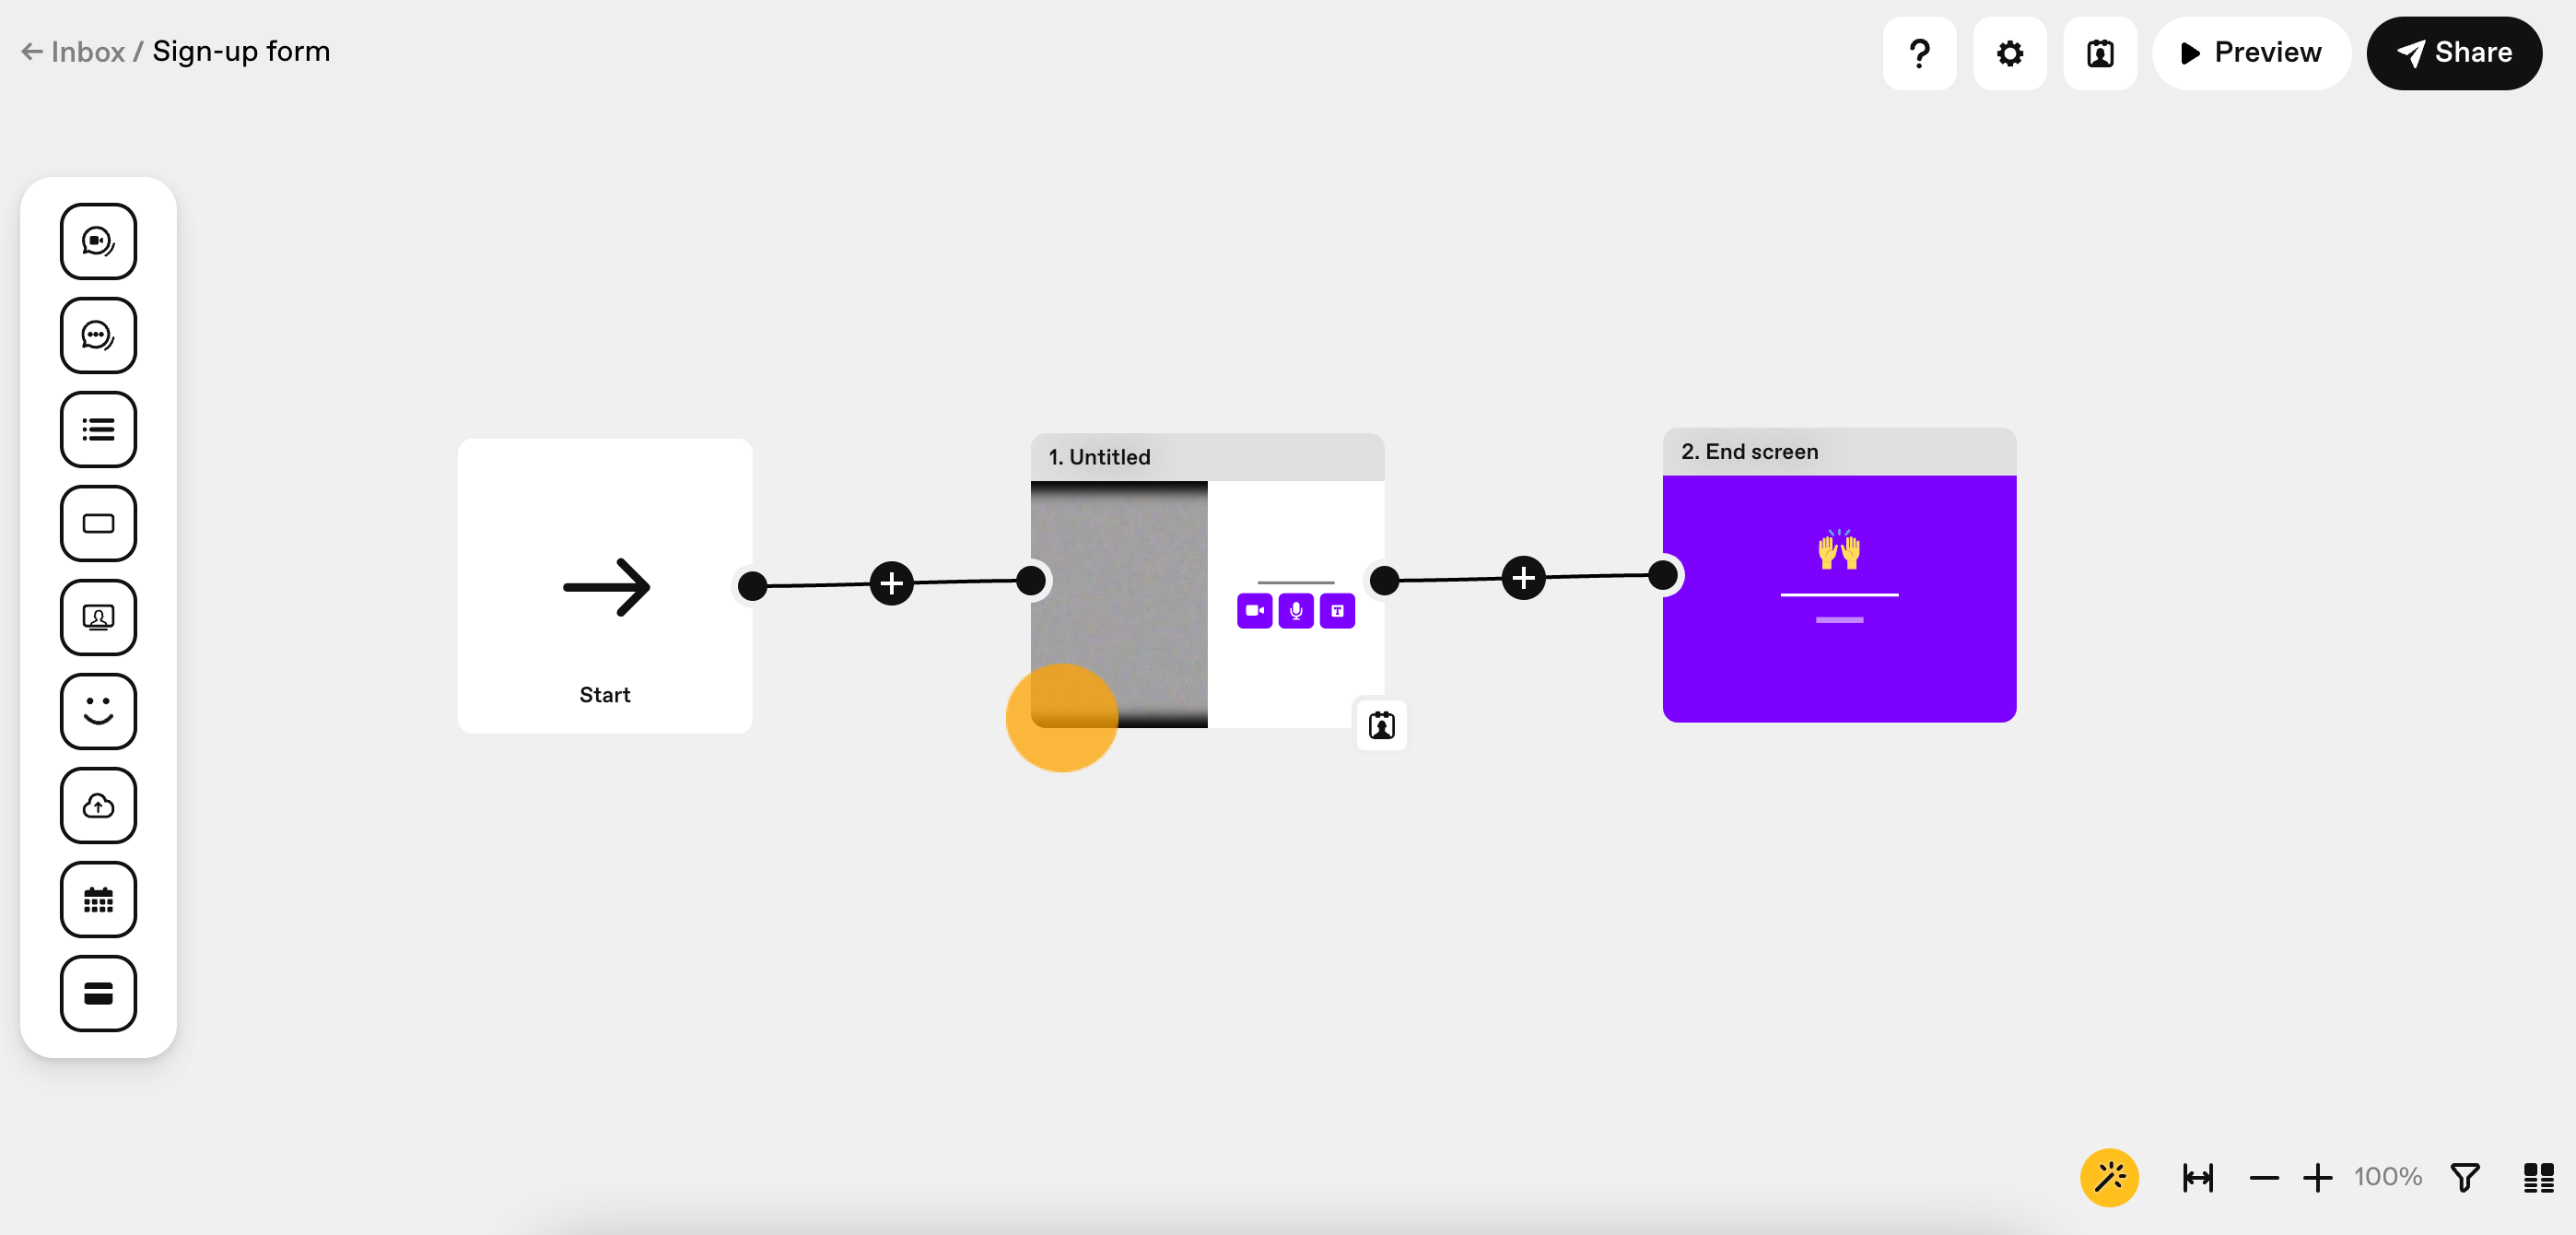
Click Add your video.
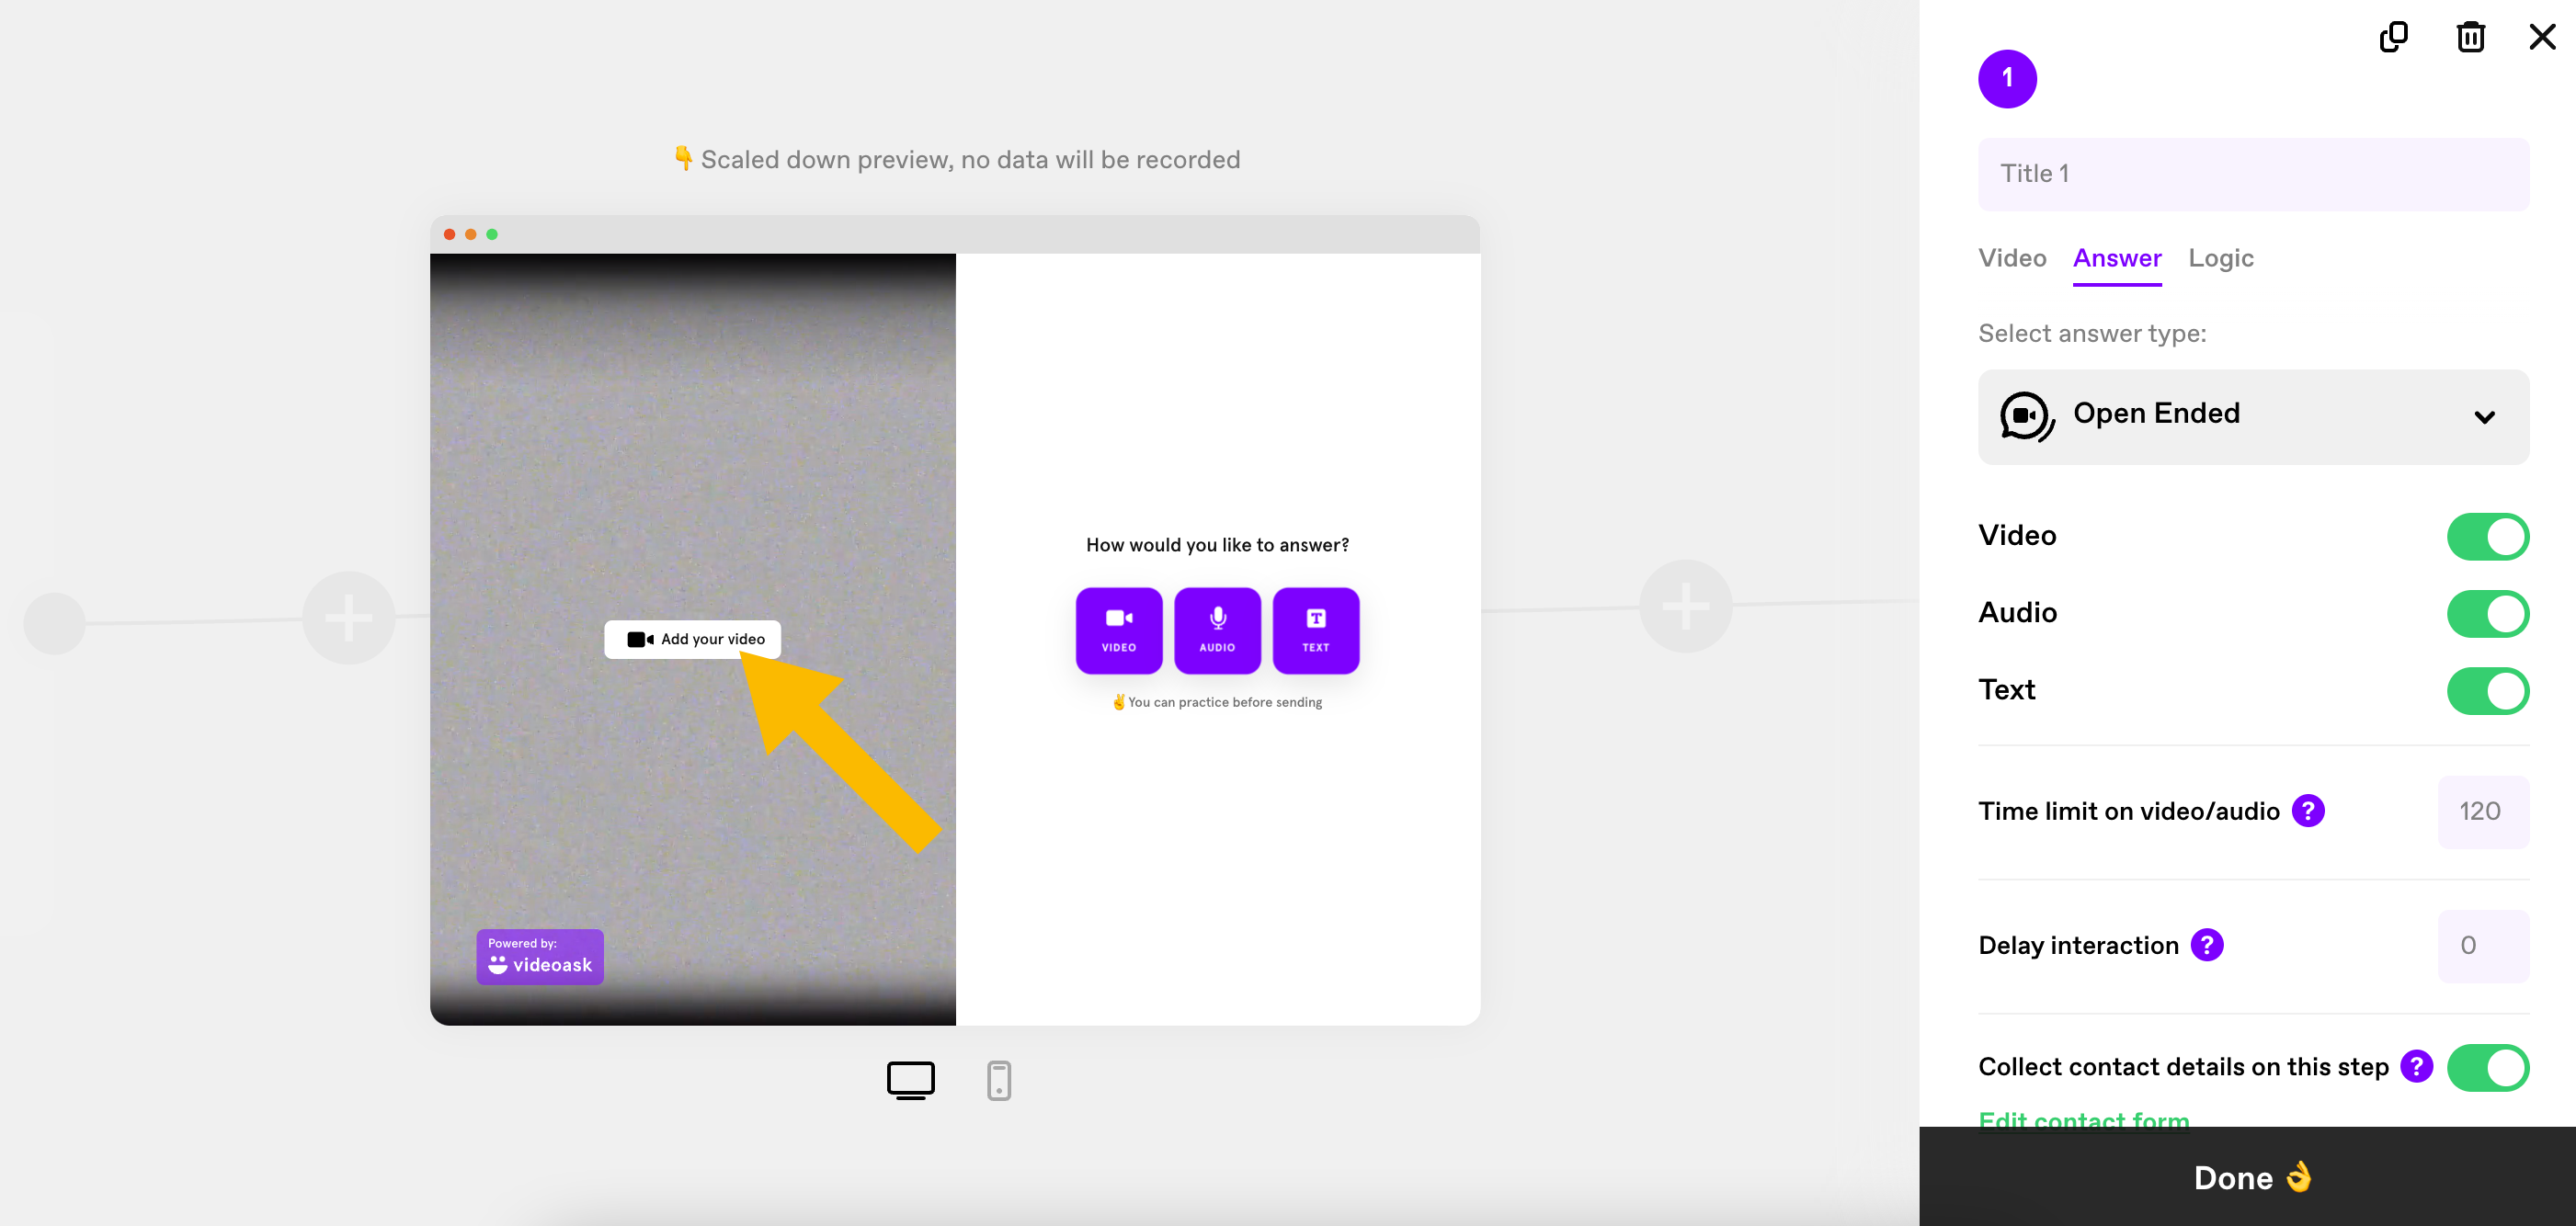
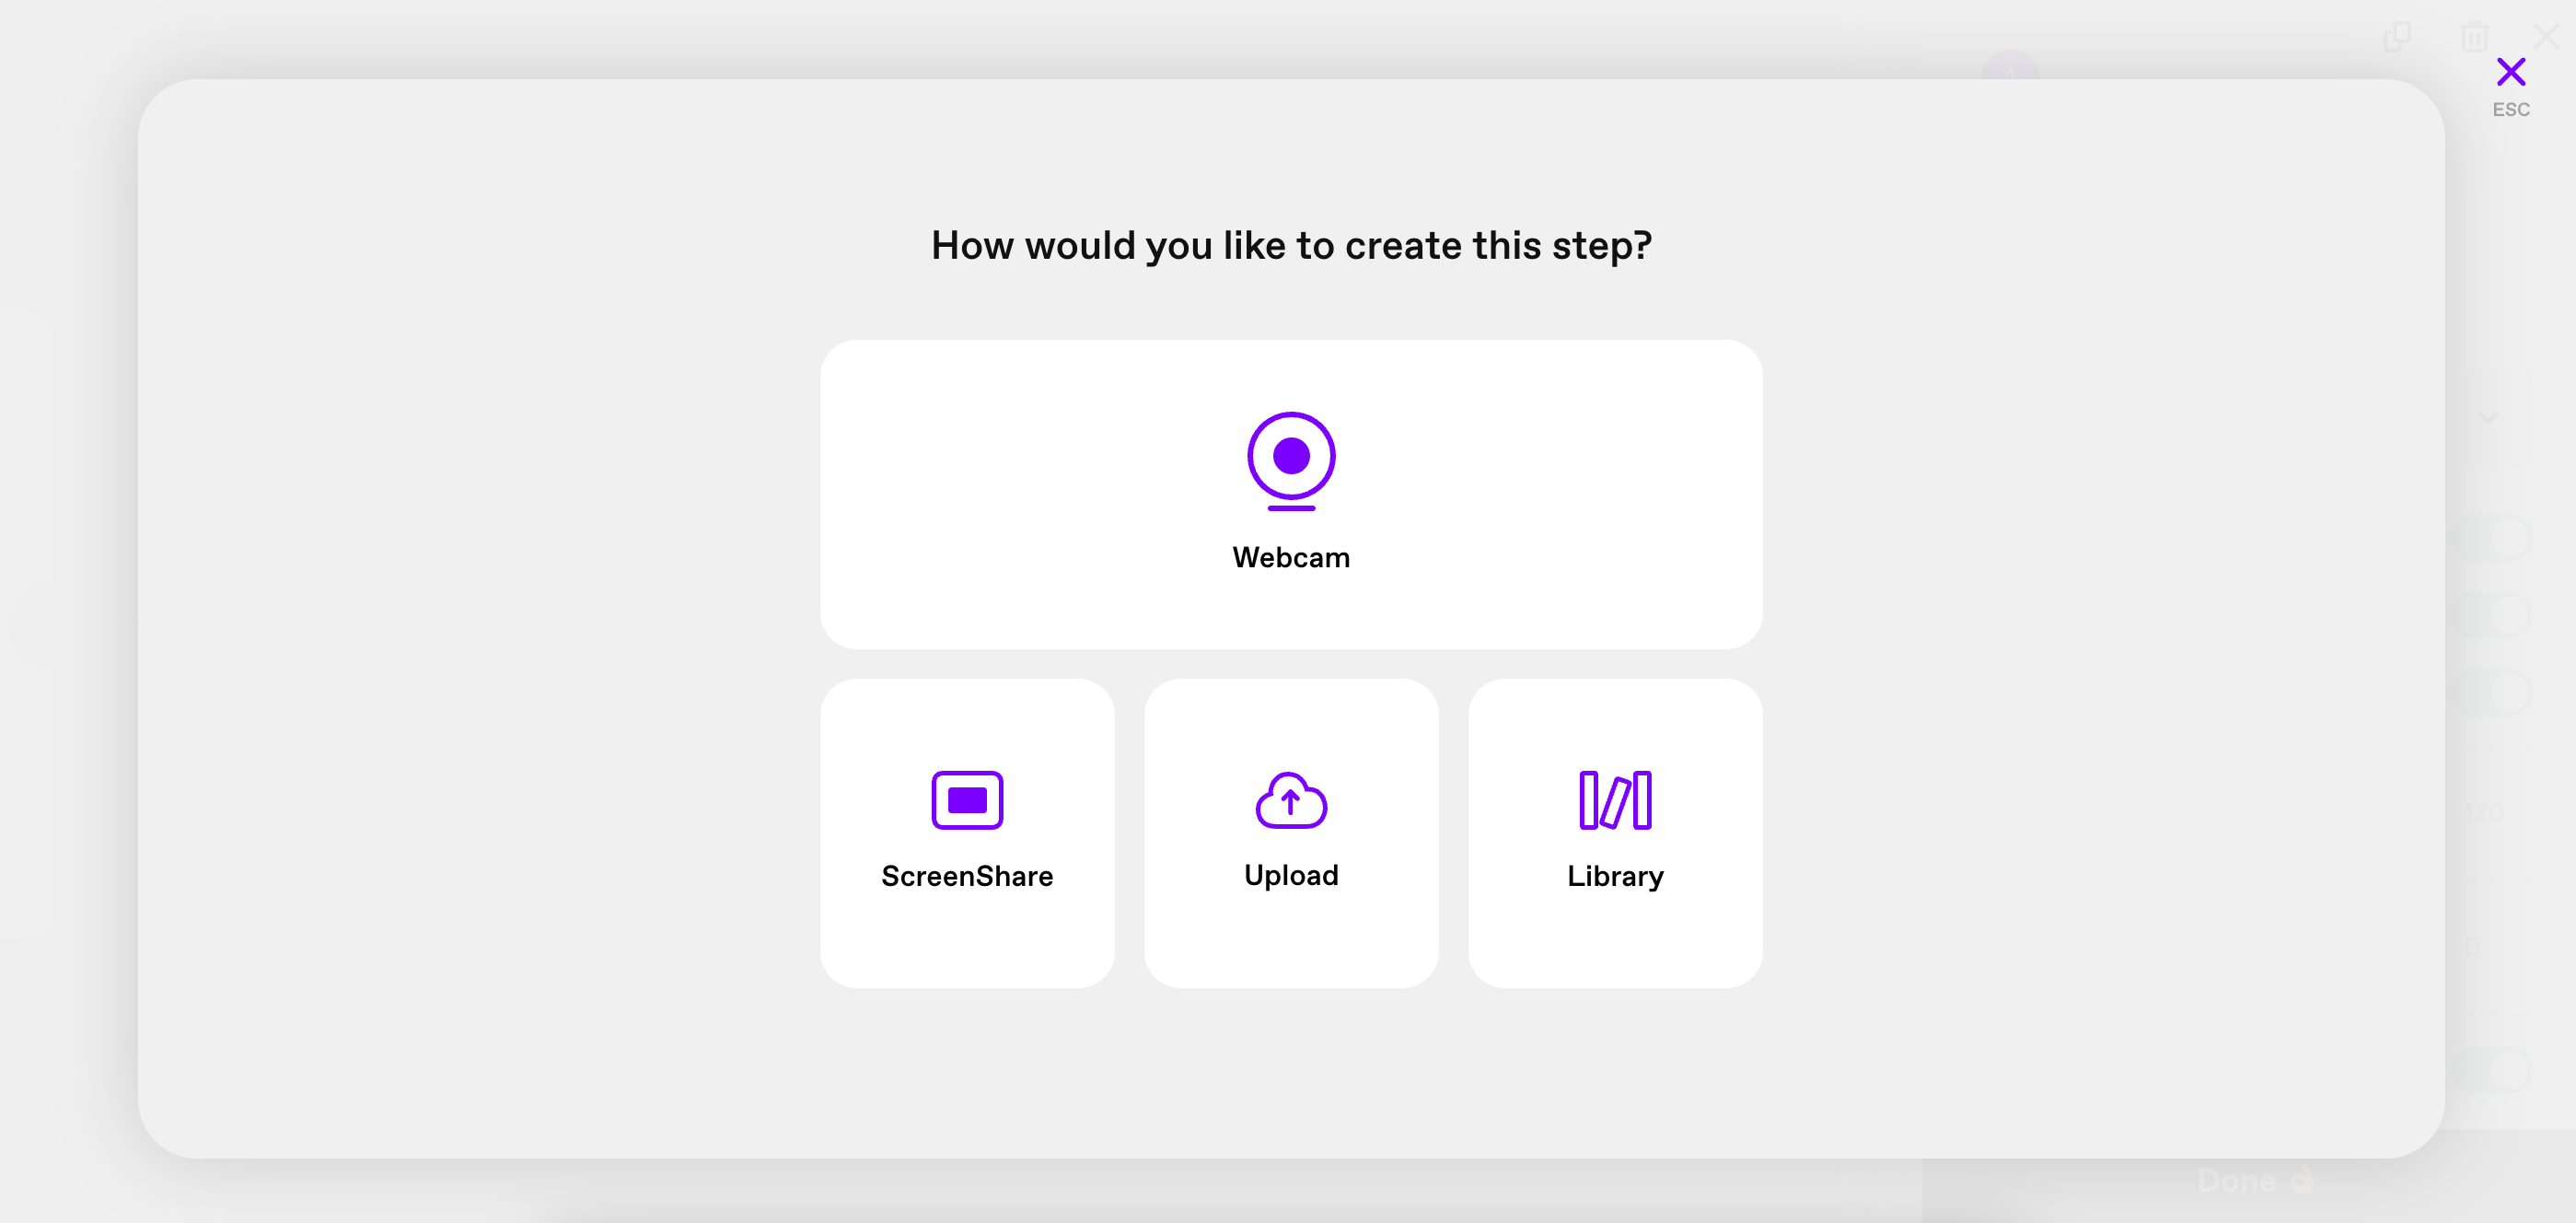
You’ll be prompted to select how you’d like to create your video.
To remove a step:
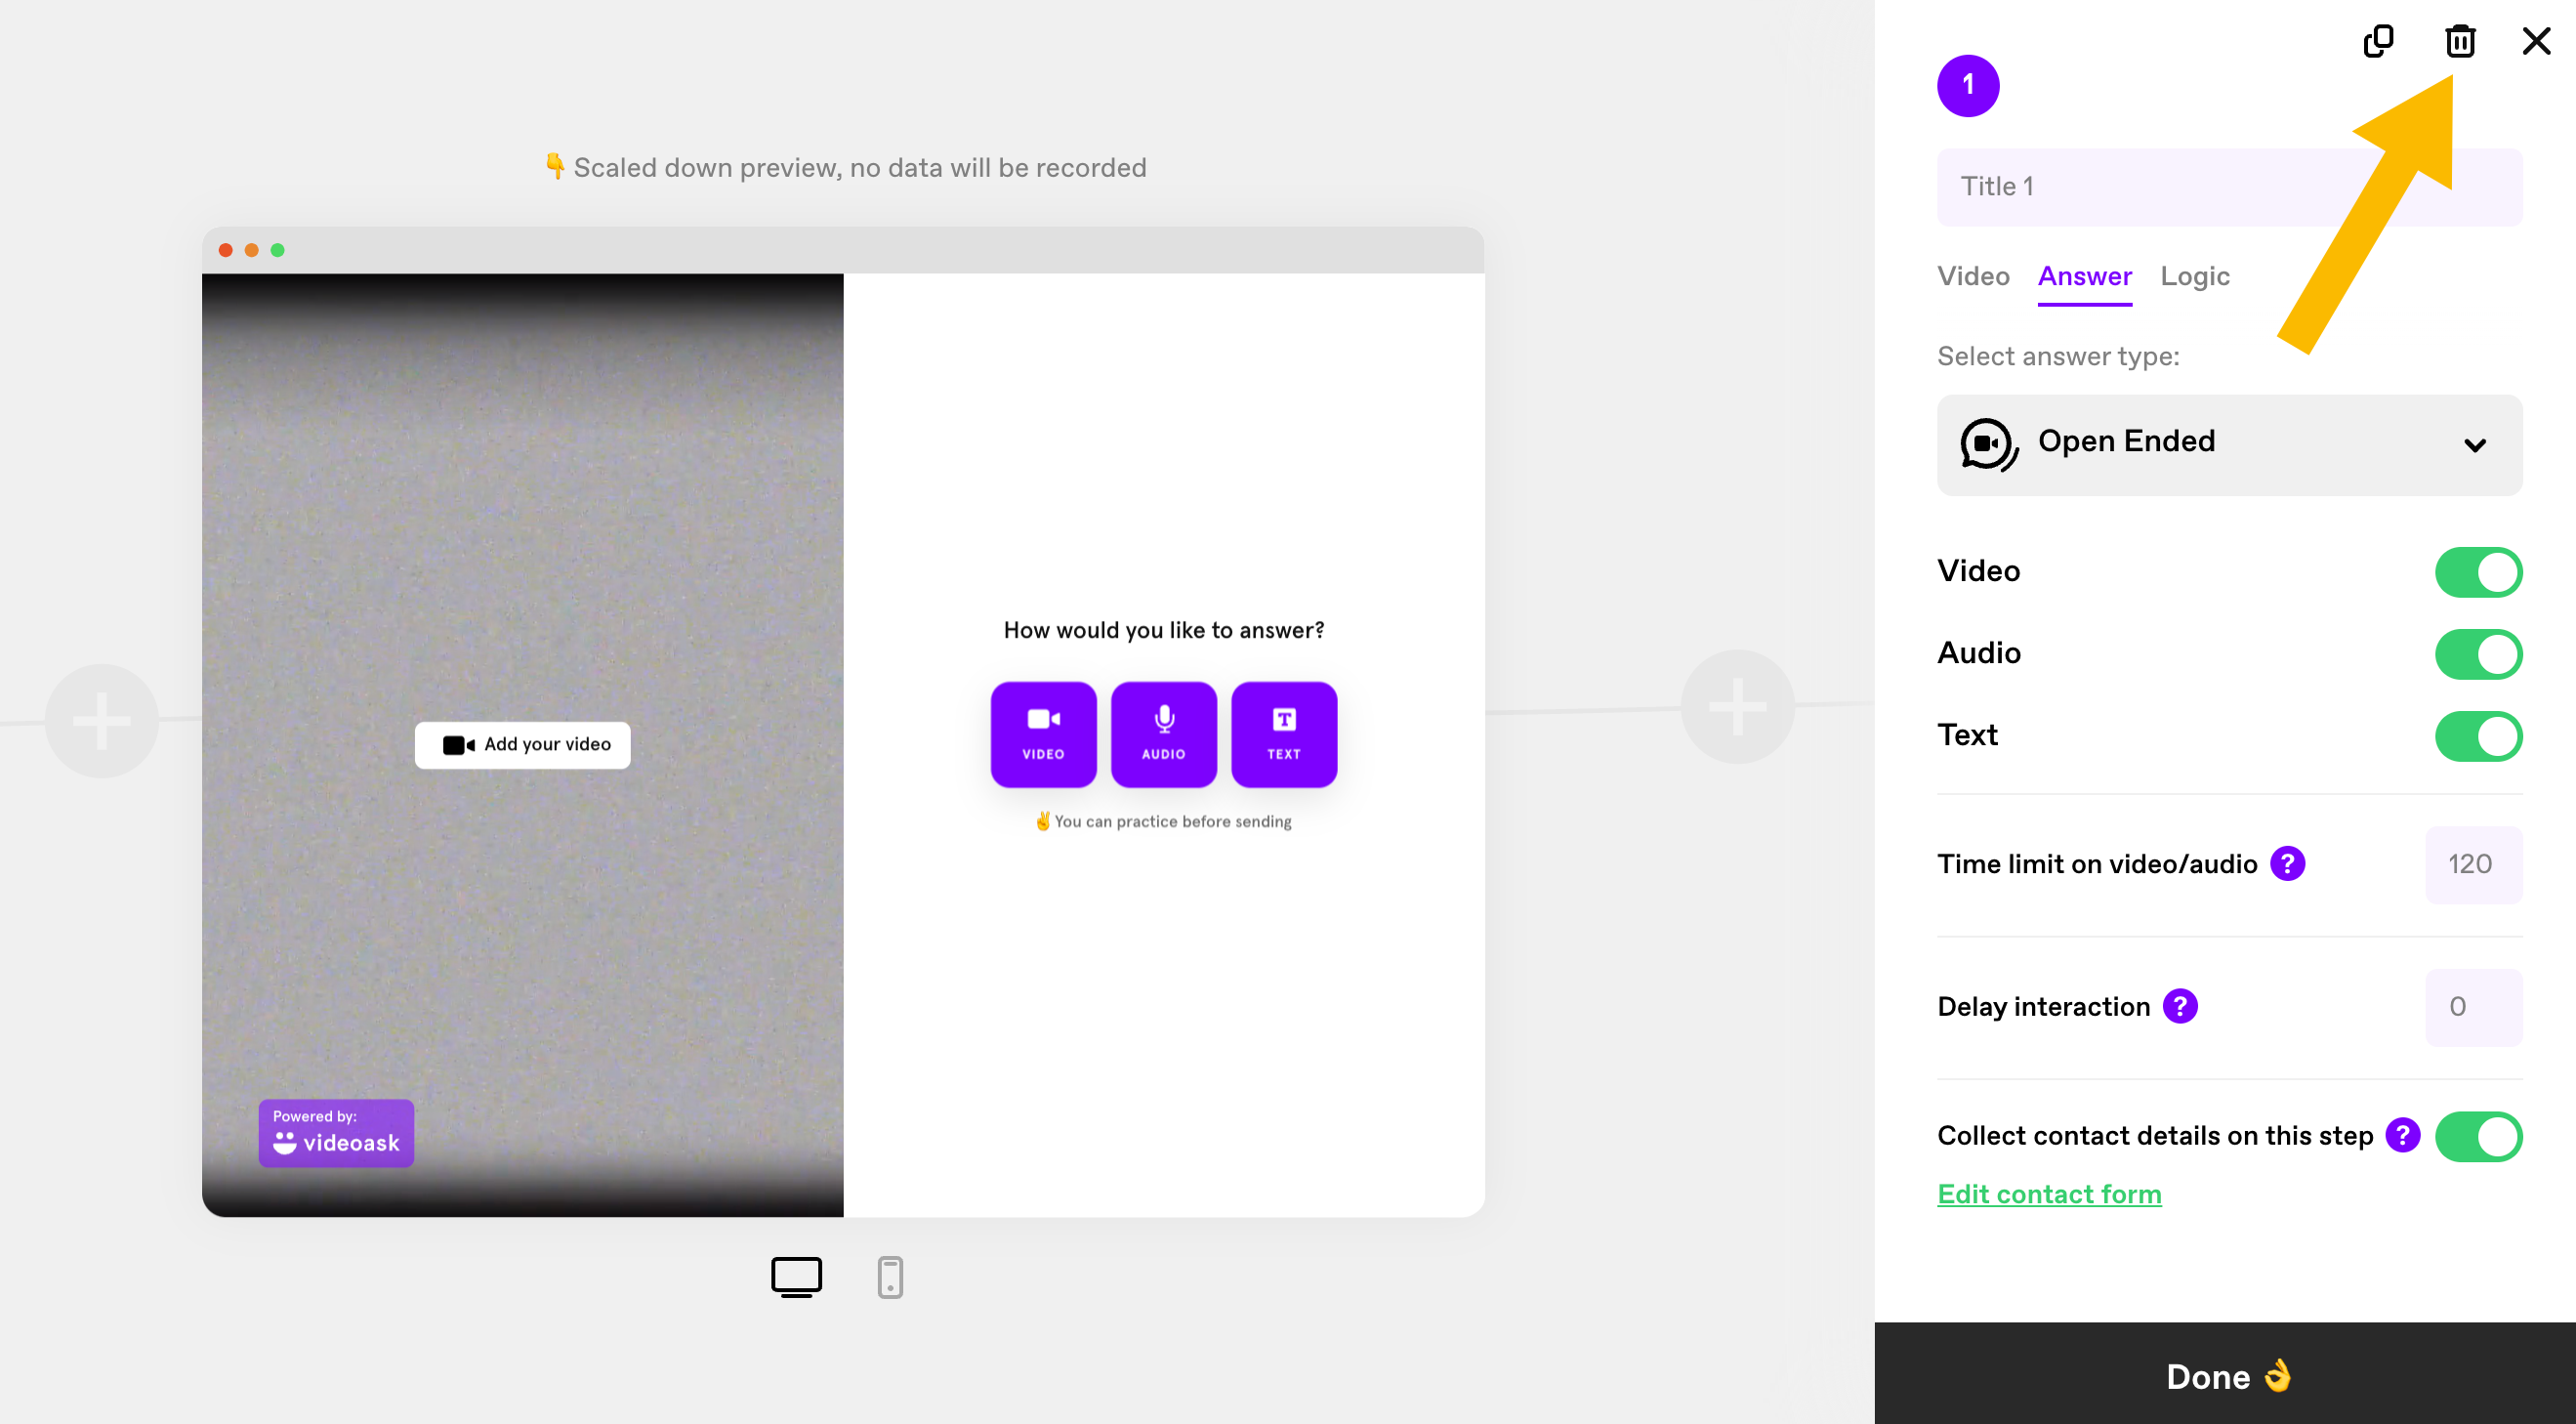
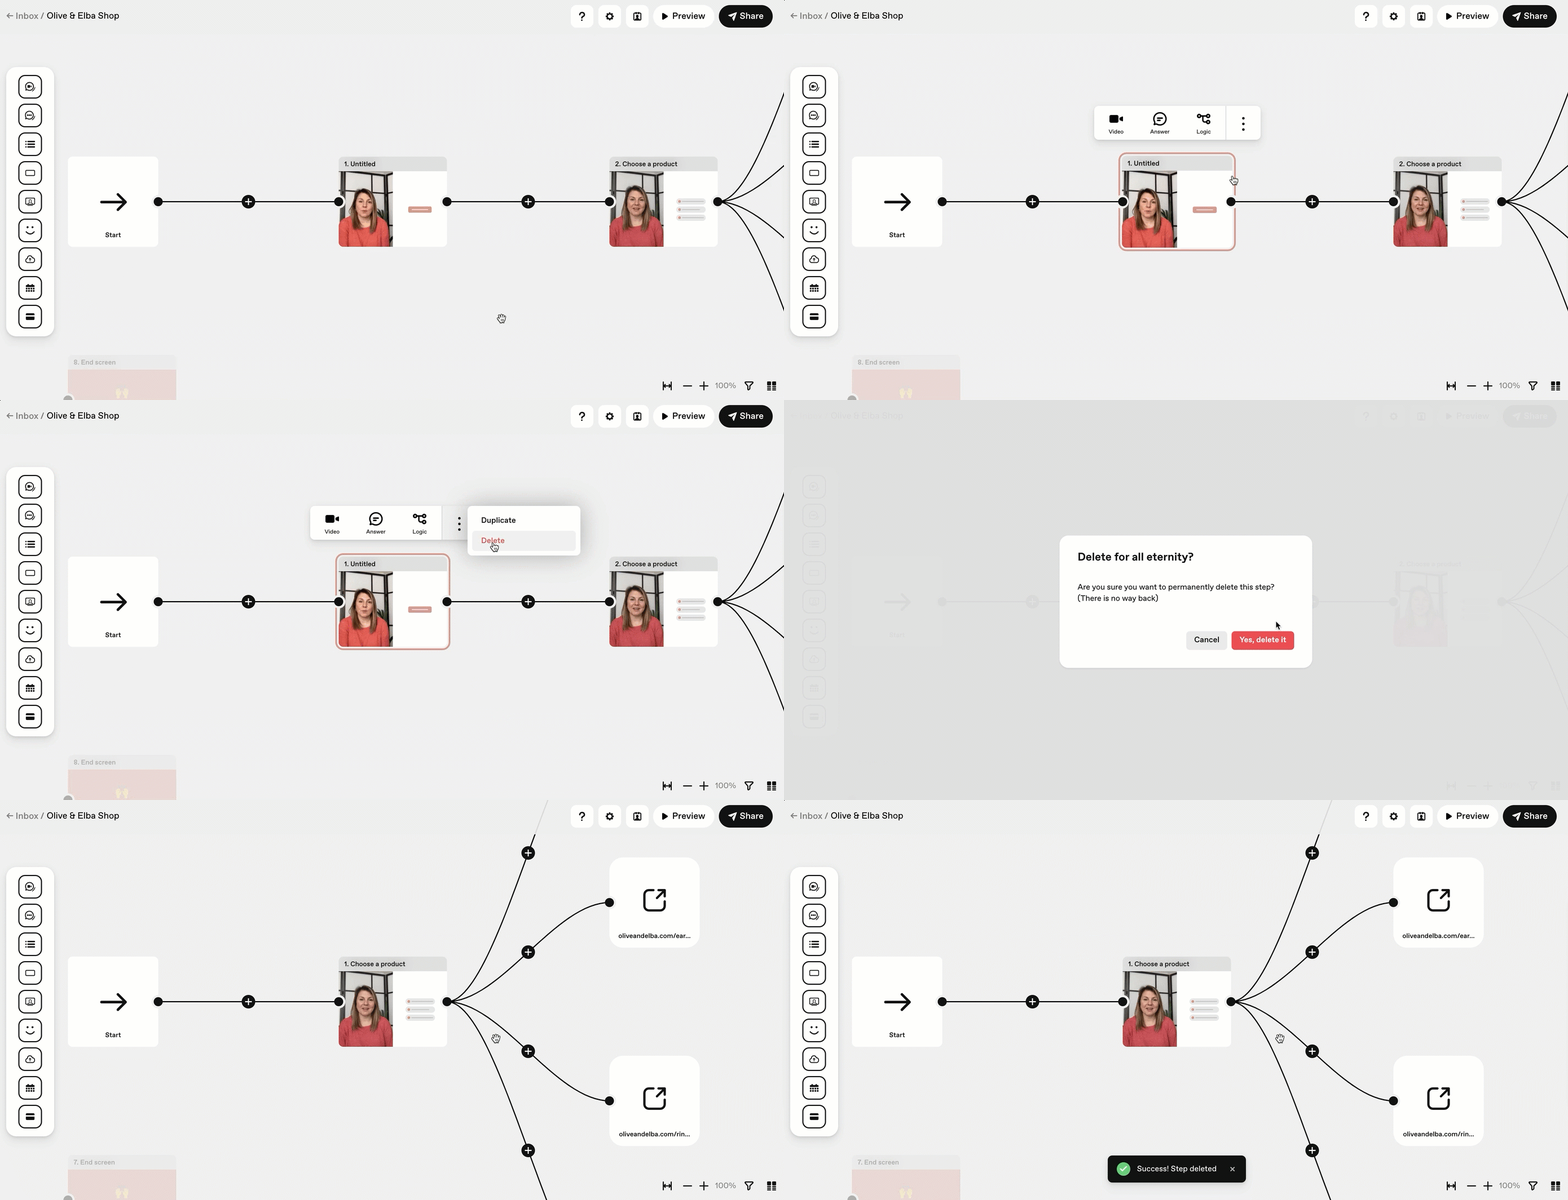
Click on the step you’d like to remove.
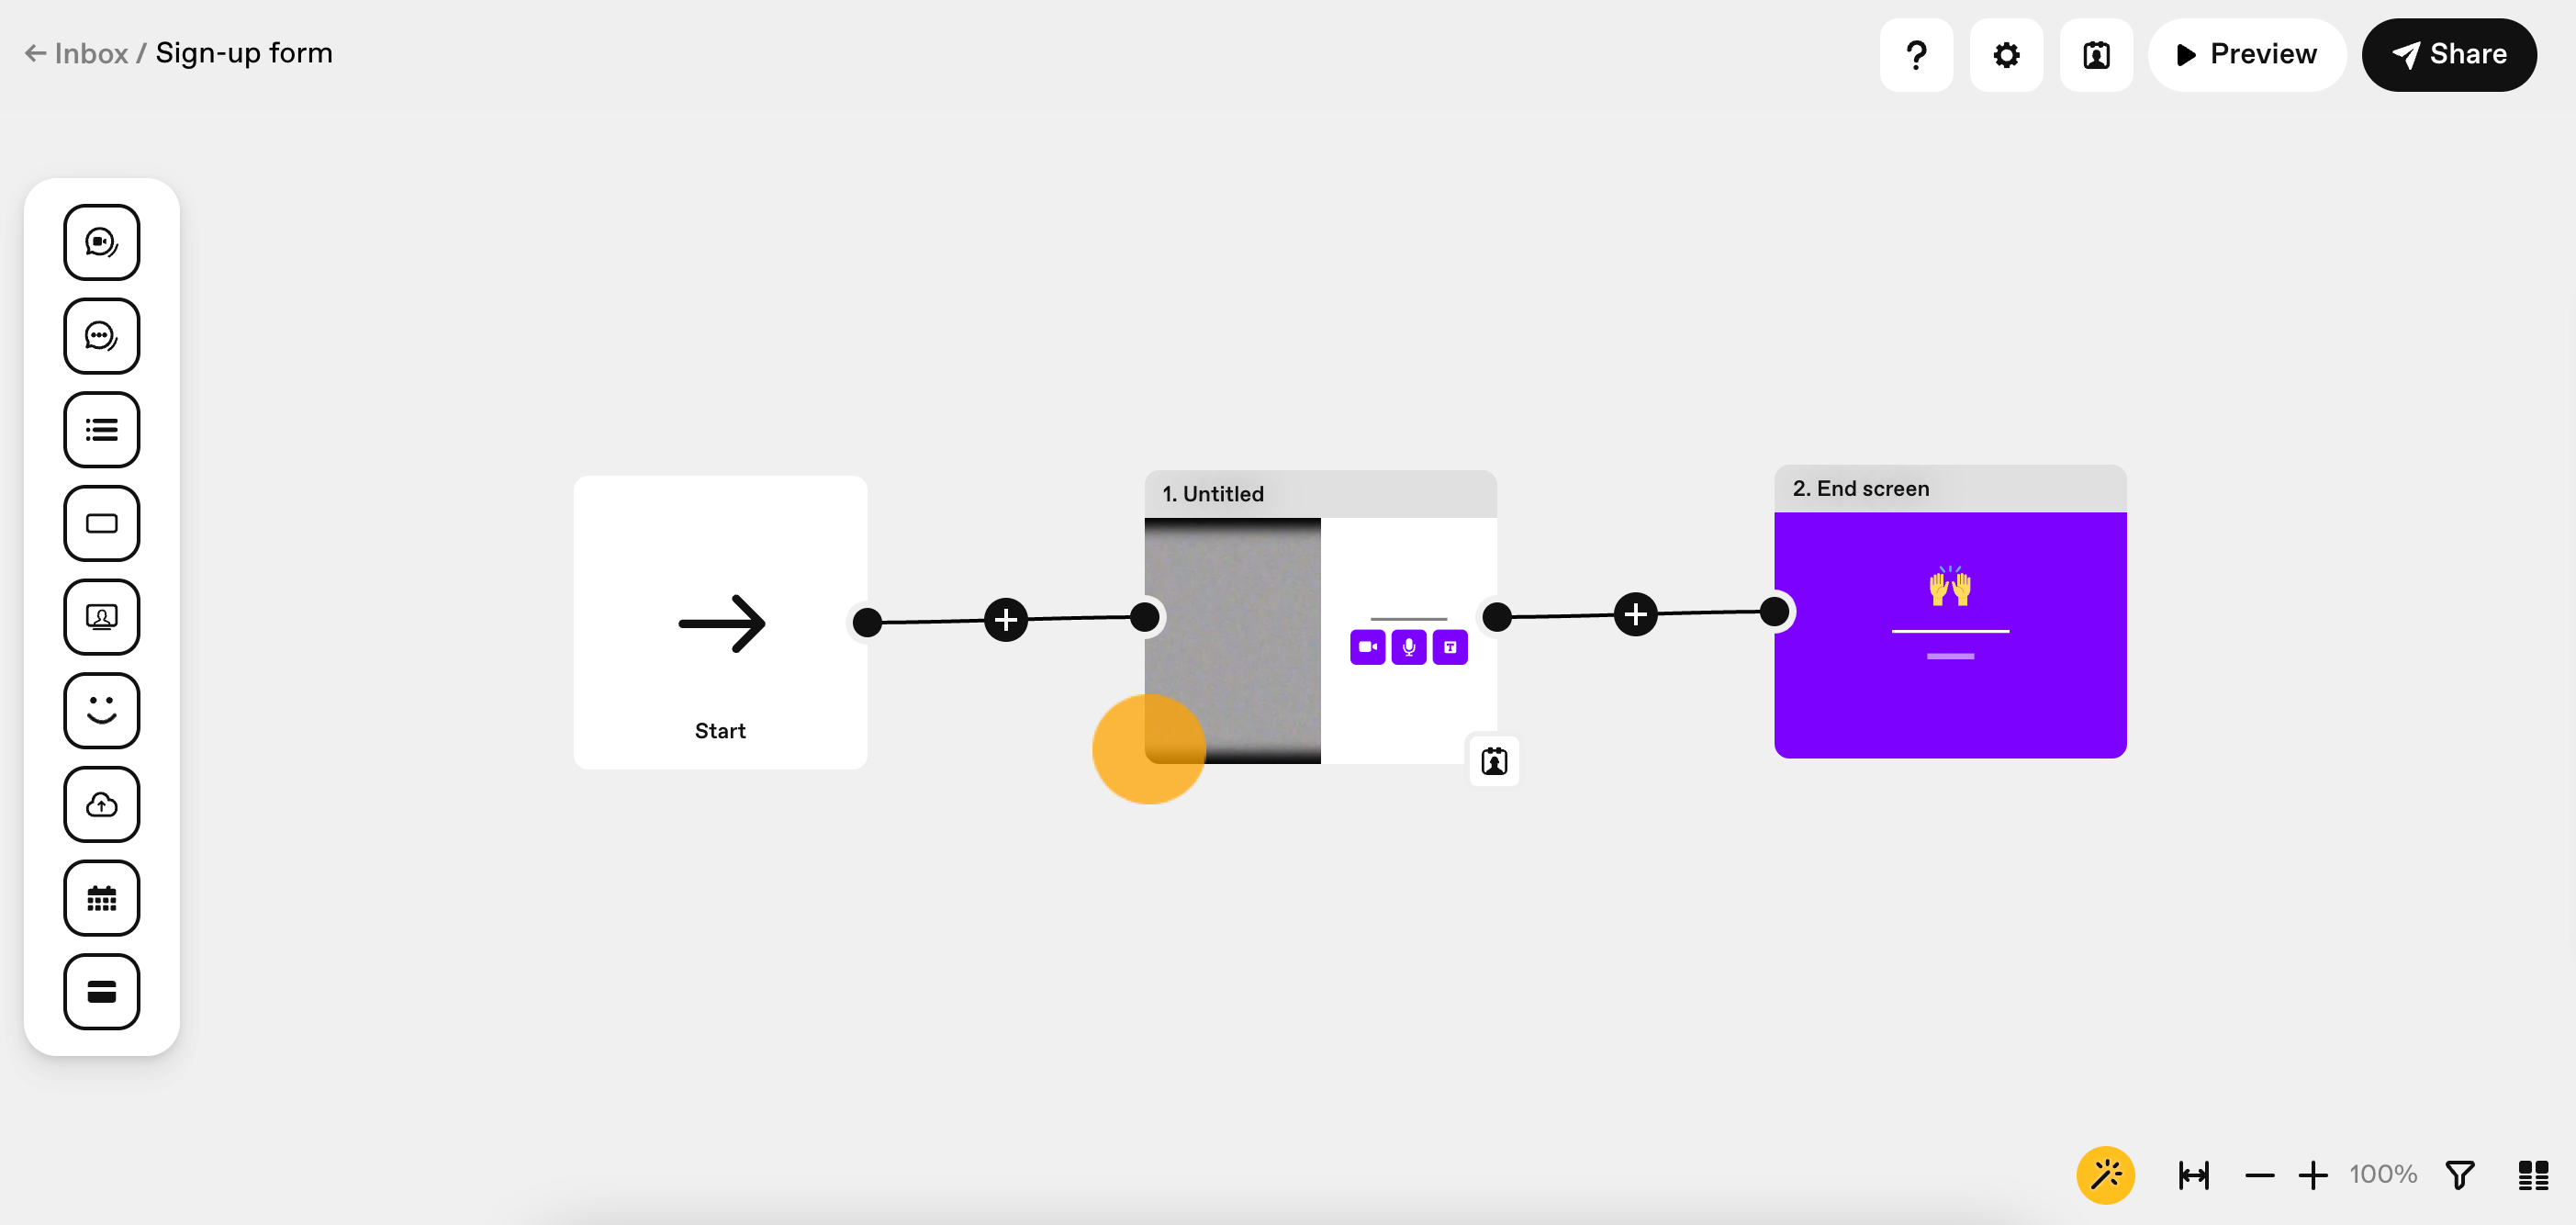
Click the trash can icon in the top right corner of the sidebar.
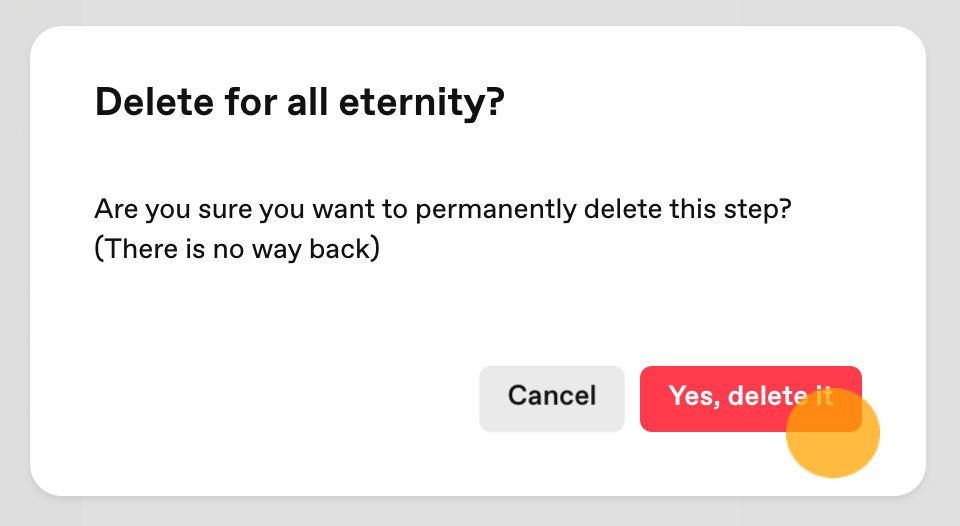
Click Yes, delete it.
💡Tip: Hover over a step and click the 3 dots for a shortcut to delete a step.
Edit a videoask step
Click on a step you’d like to edit.
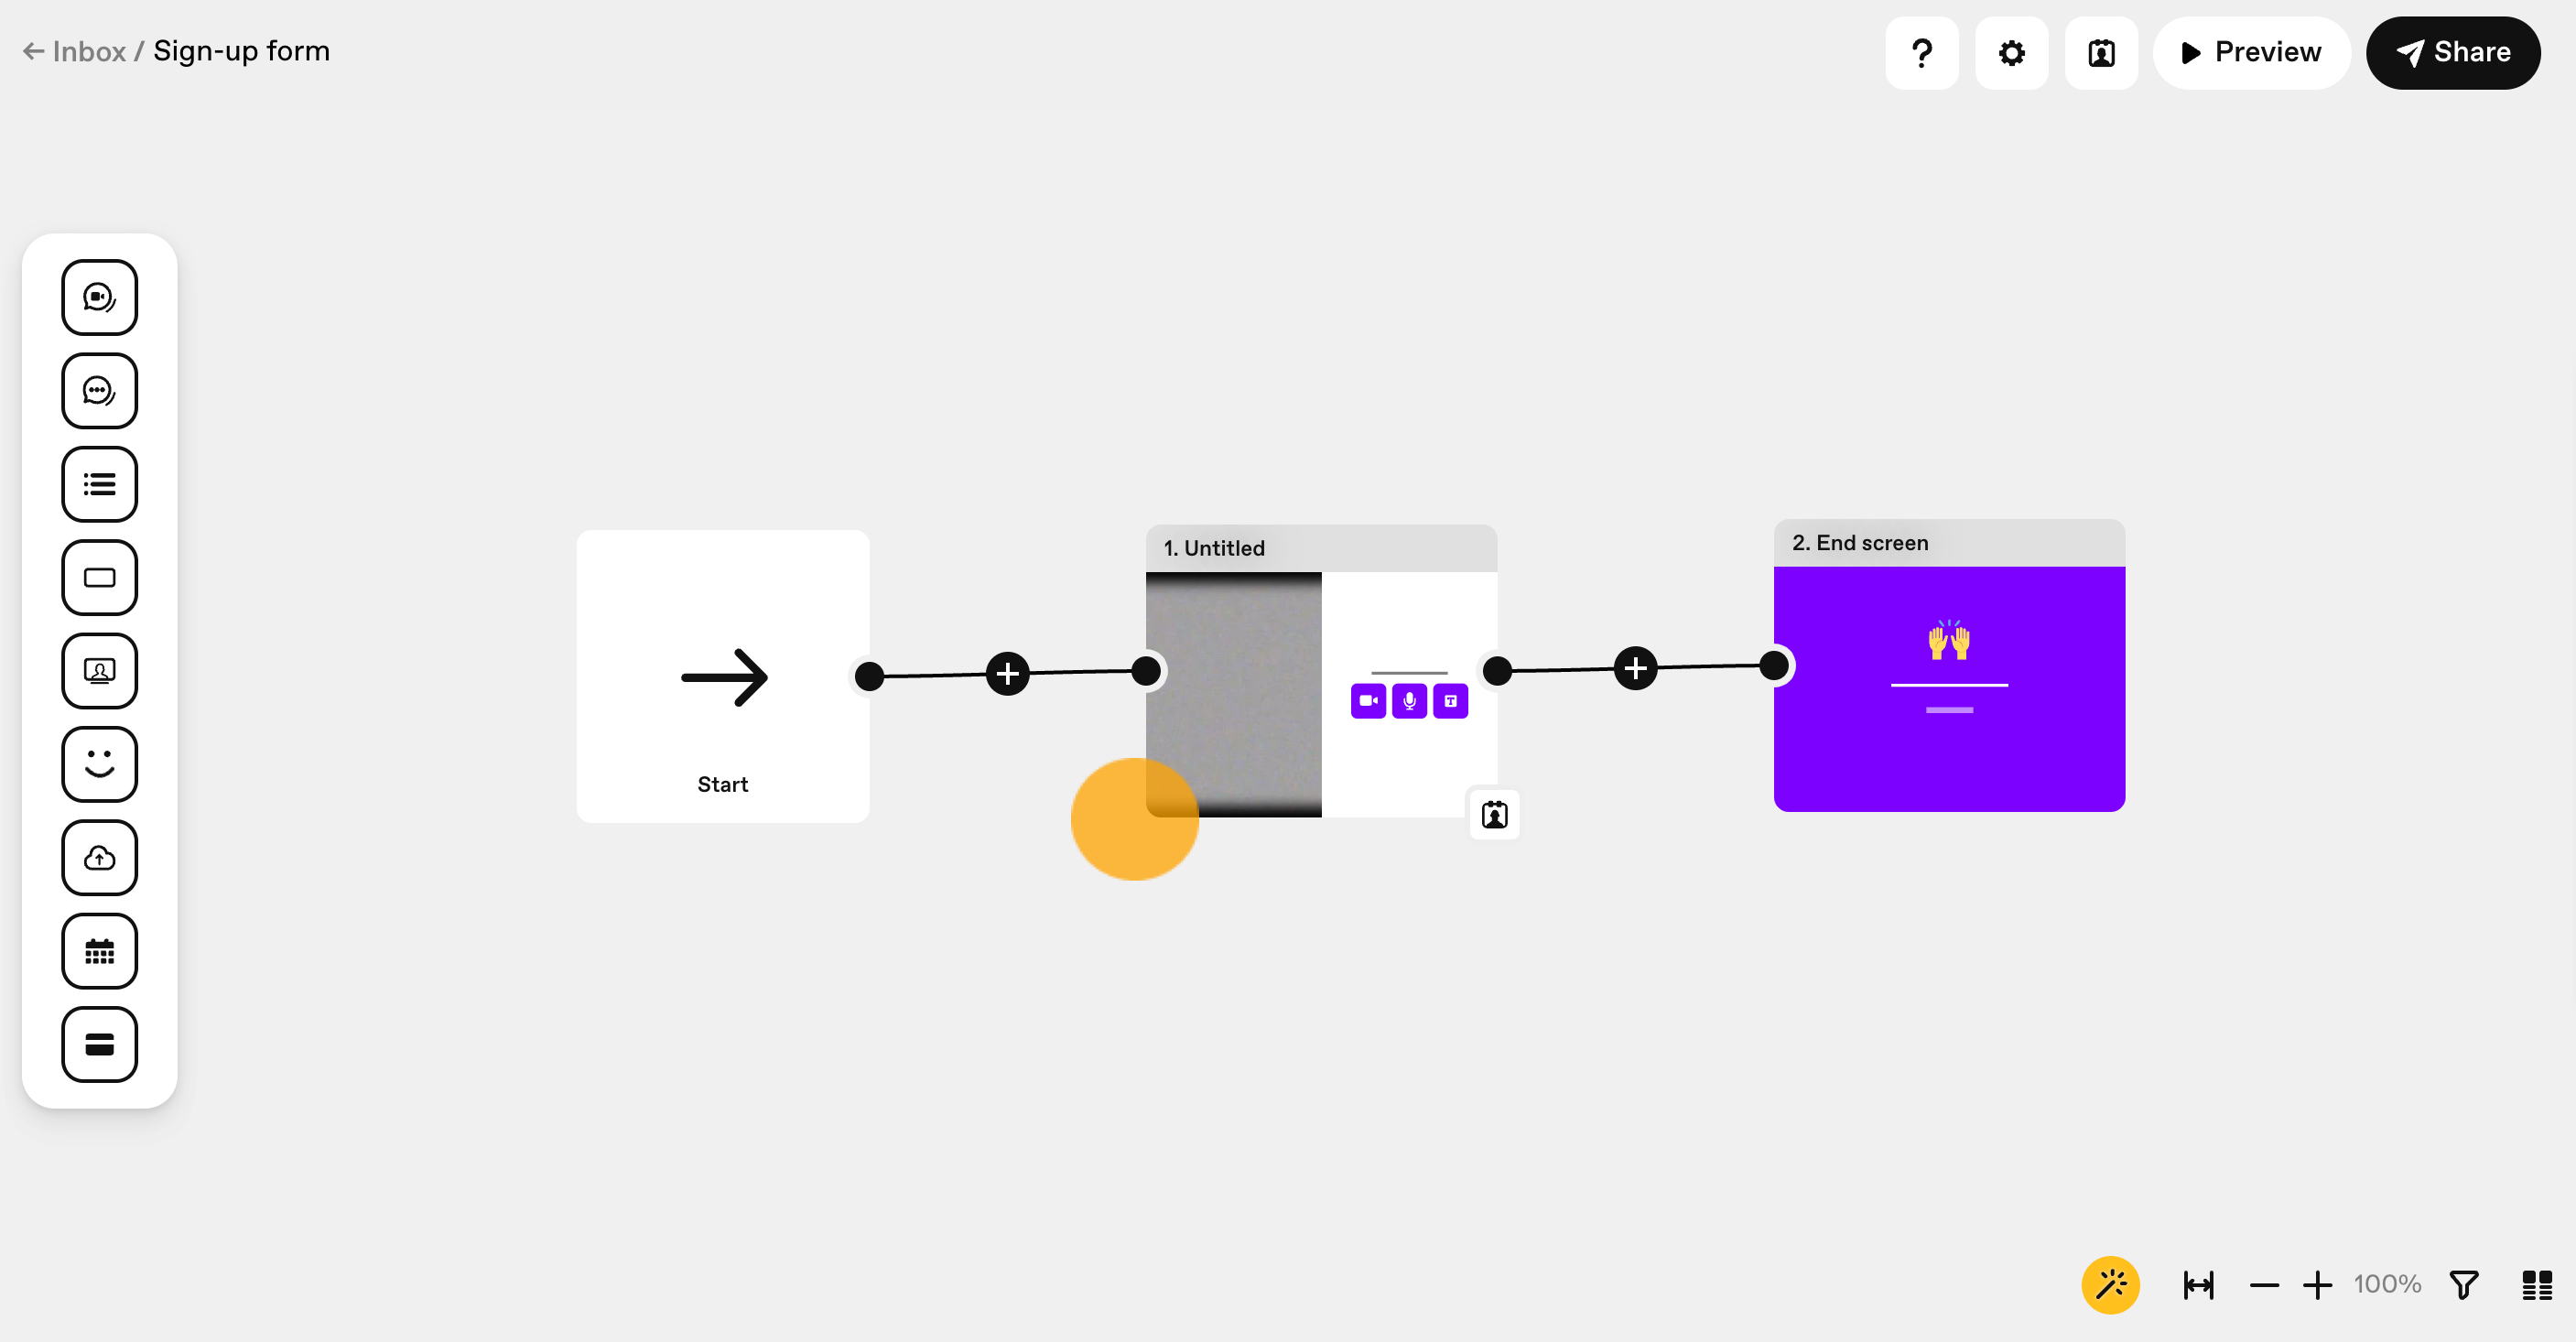
Select from the following tabs which element of the step you’d like to edit in the right sidebar:
- Video - to edit video elements or add overlay text.
- Answer - to edit the answer type or customize answer options.
- Logic - to add/edit conditional logic or advanced logic.
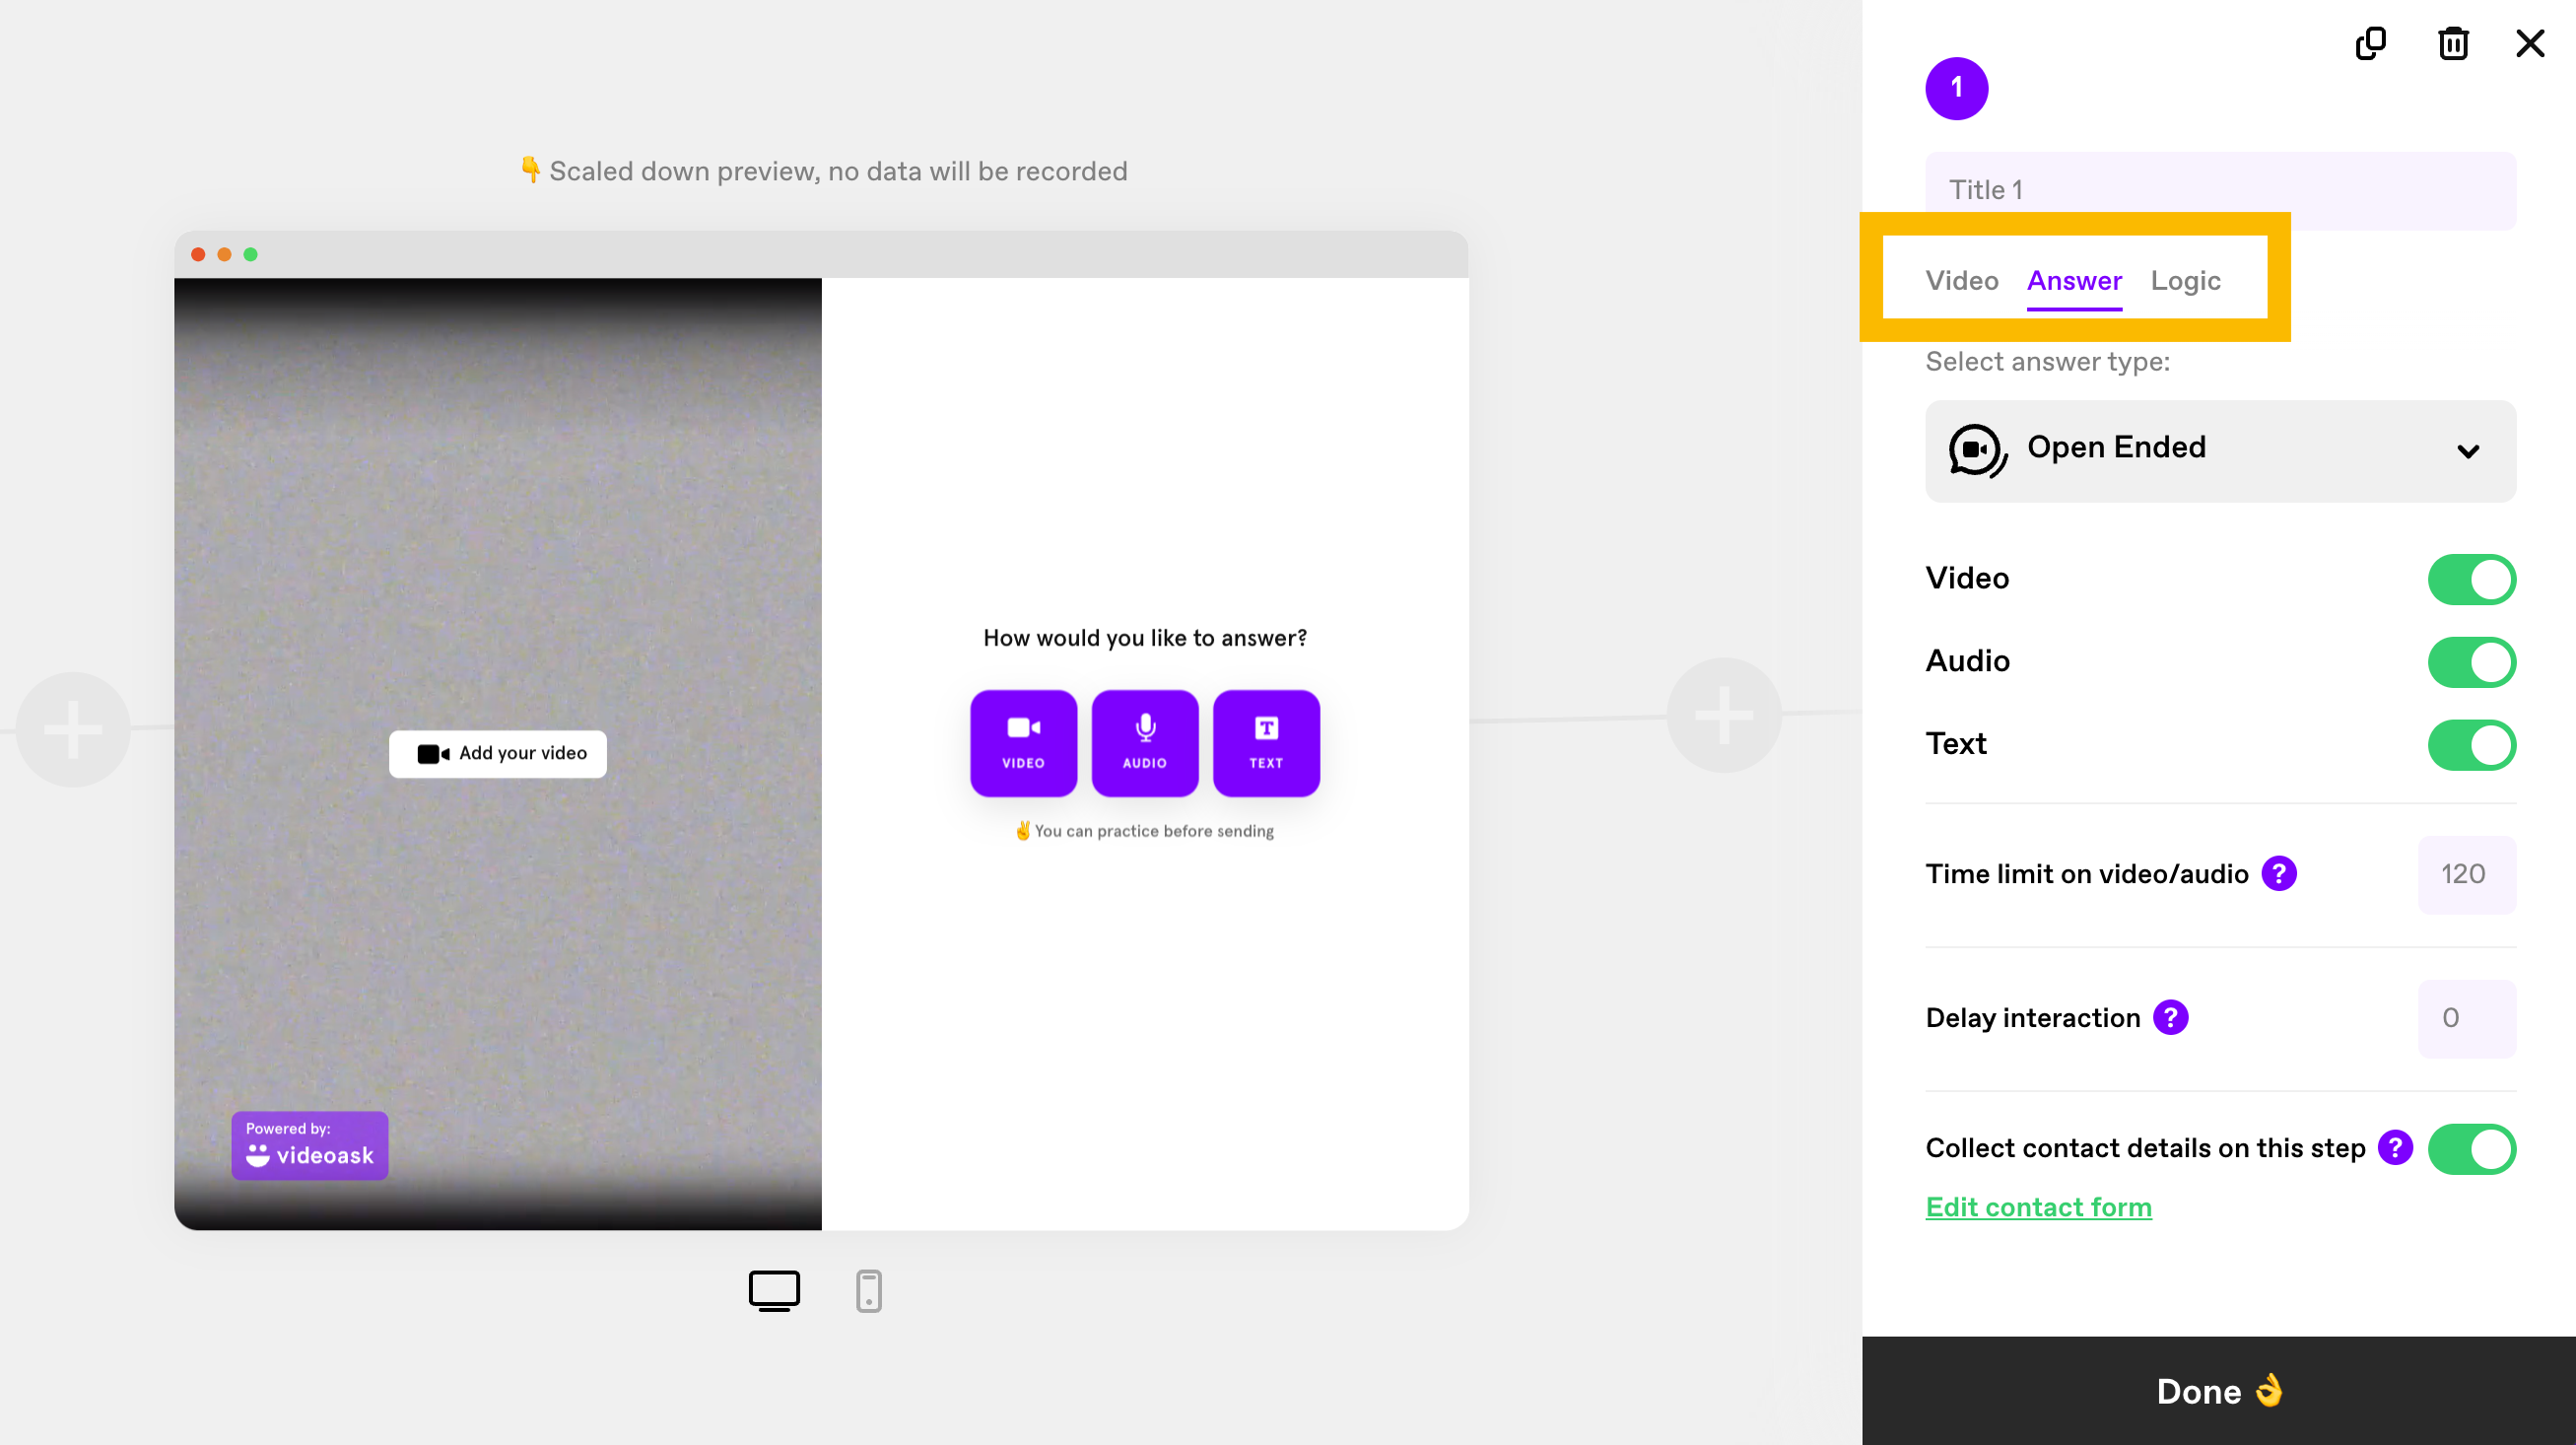
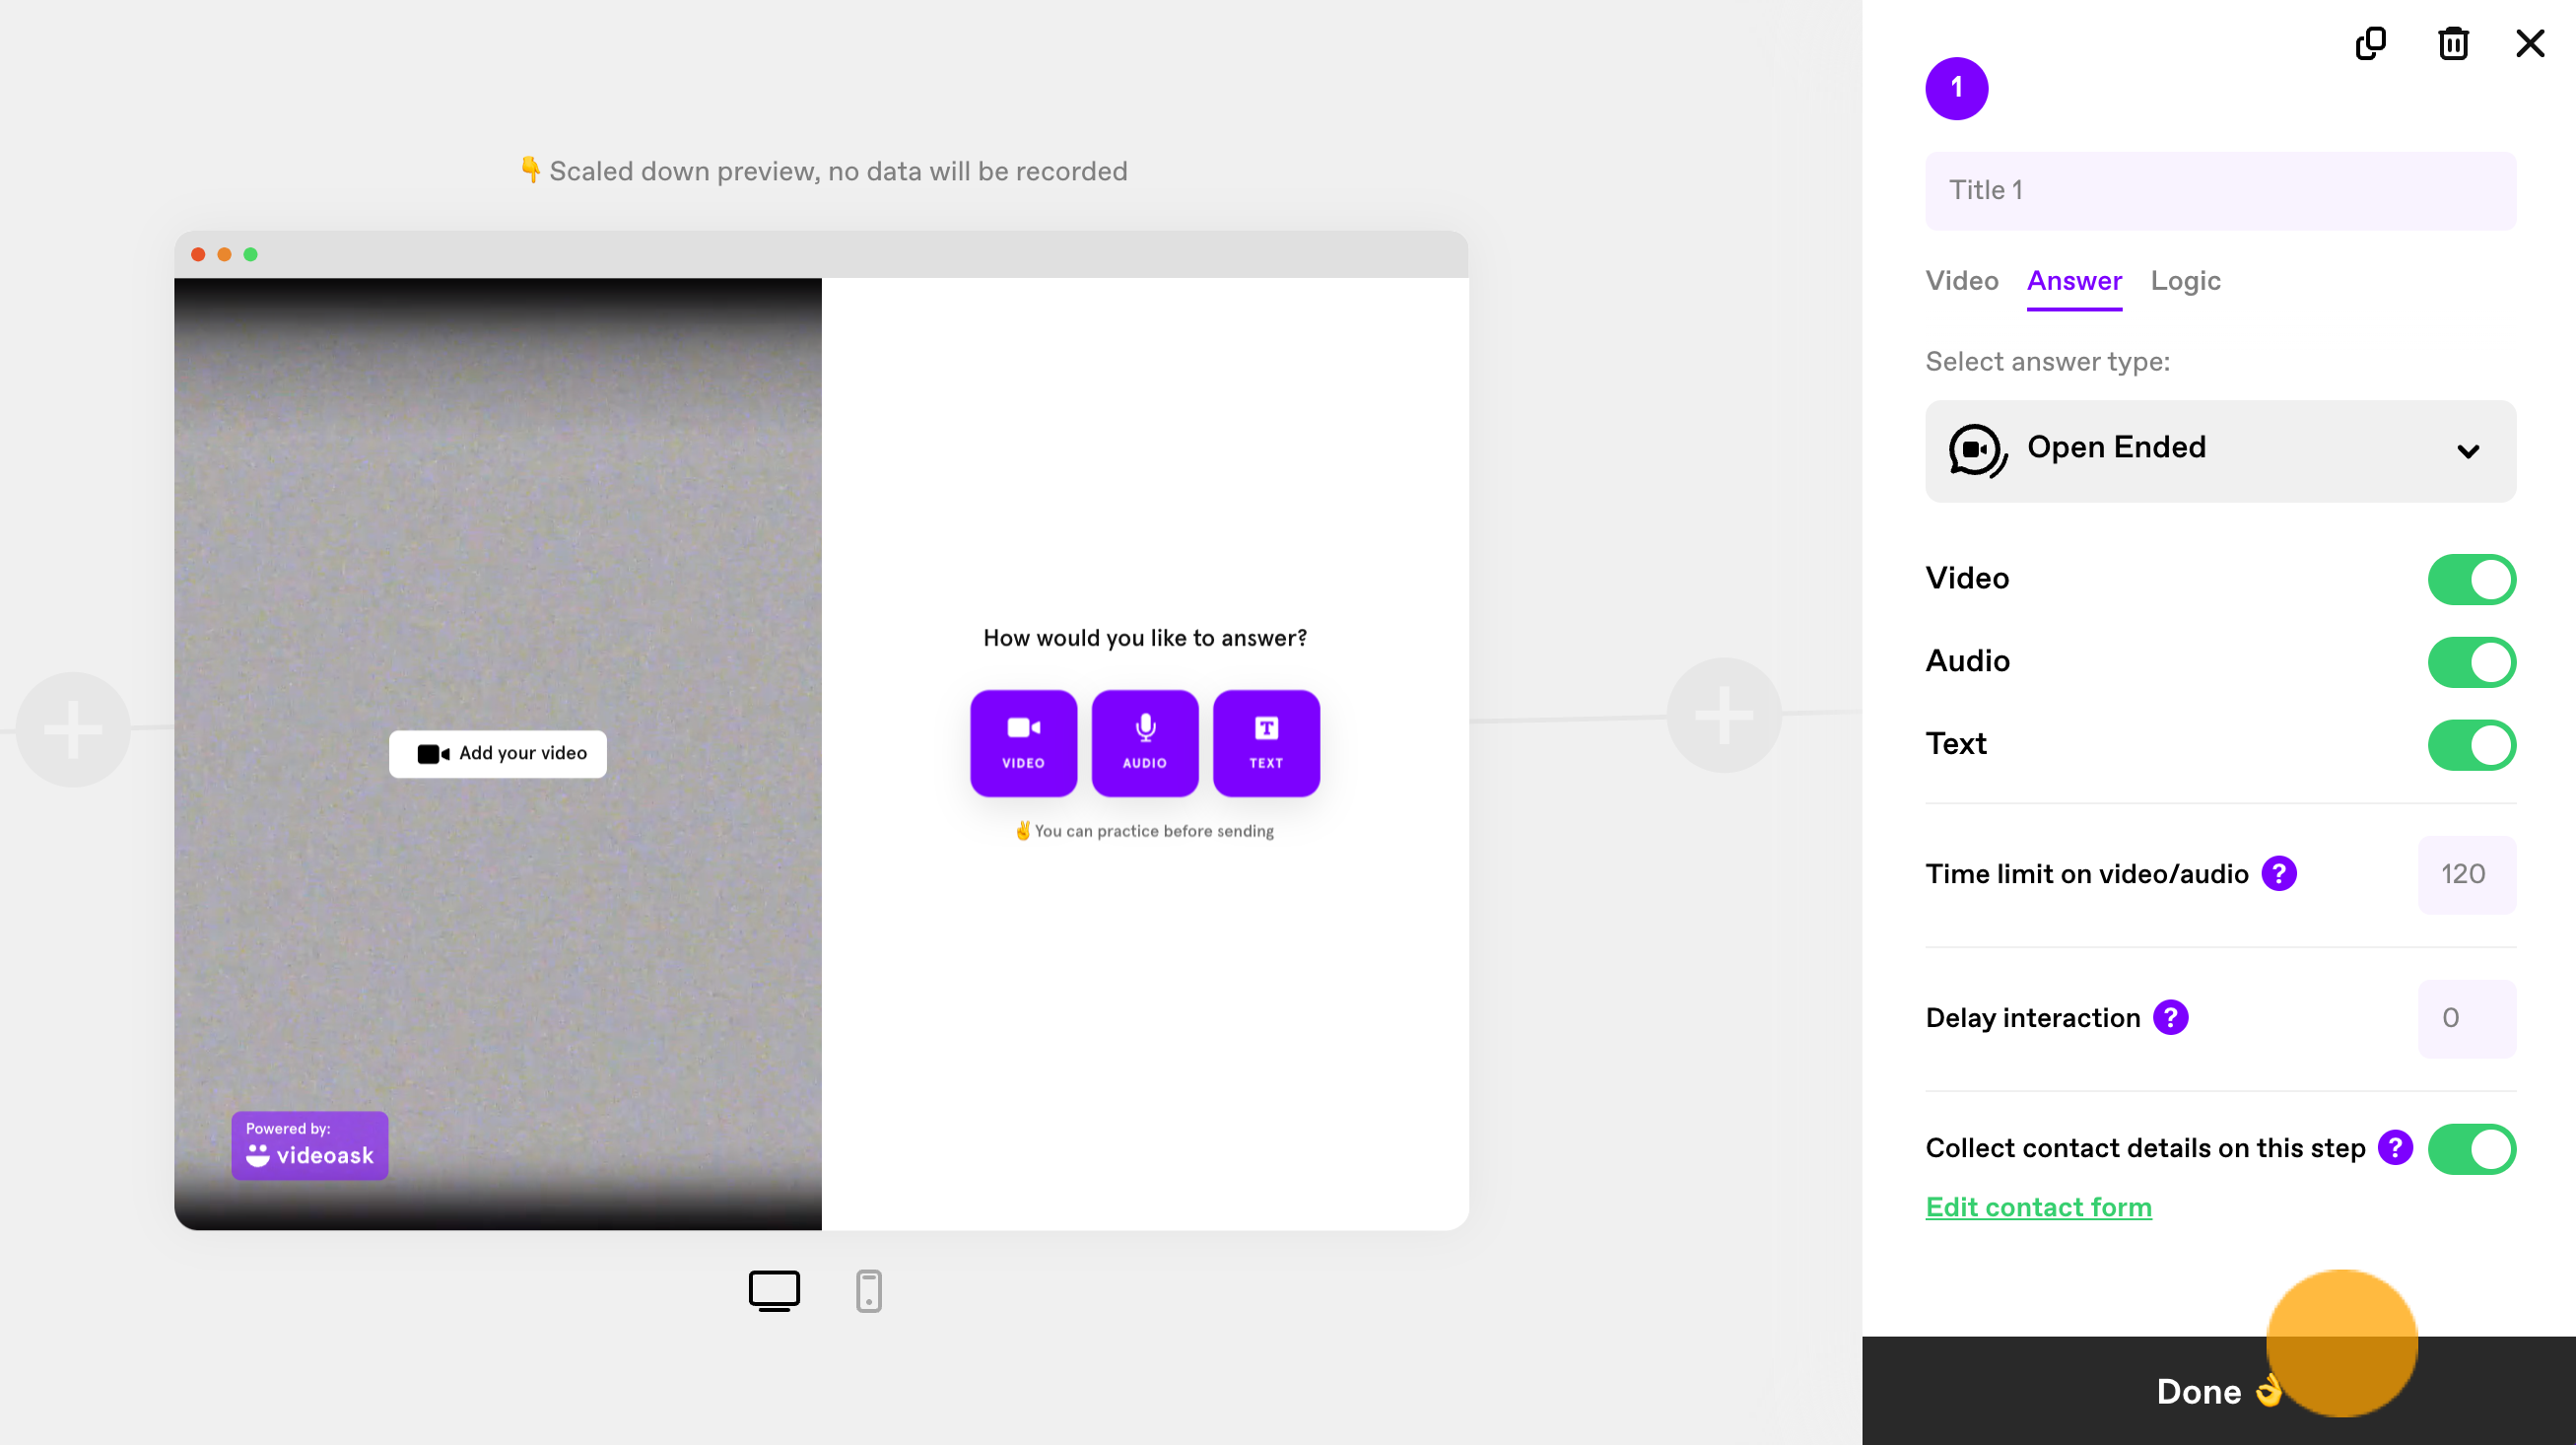
Once you’re done editing, click Done.
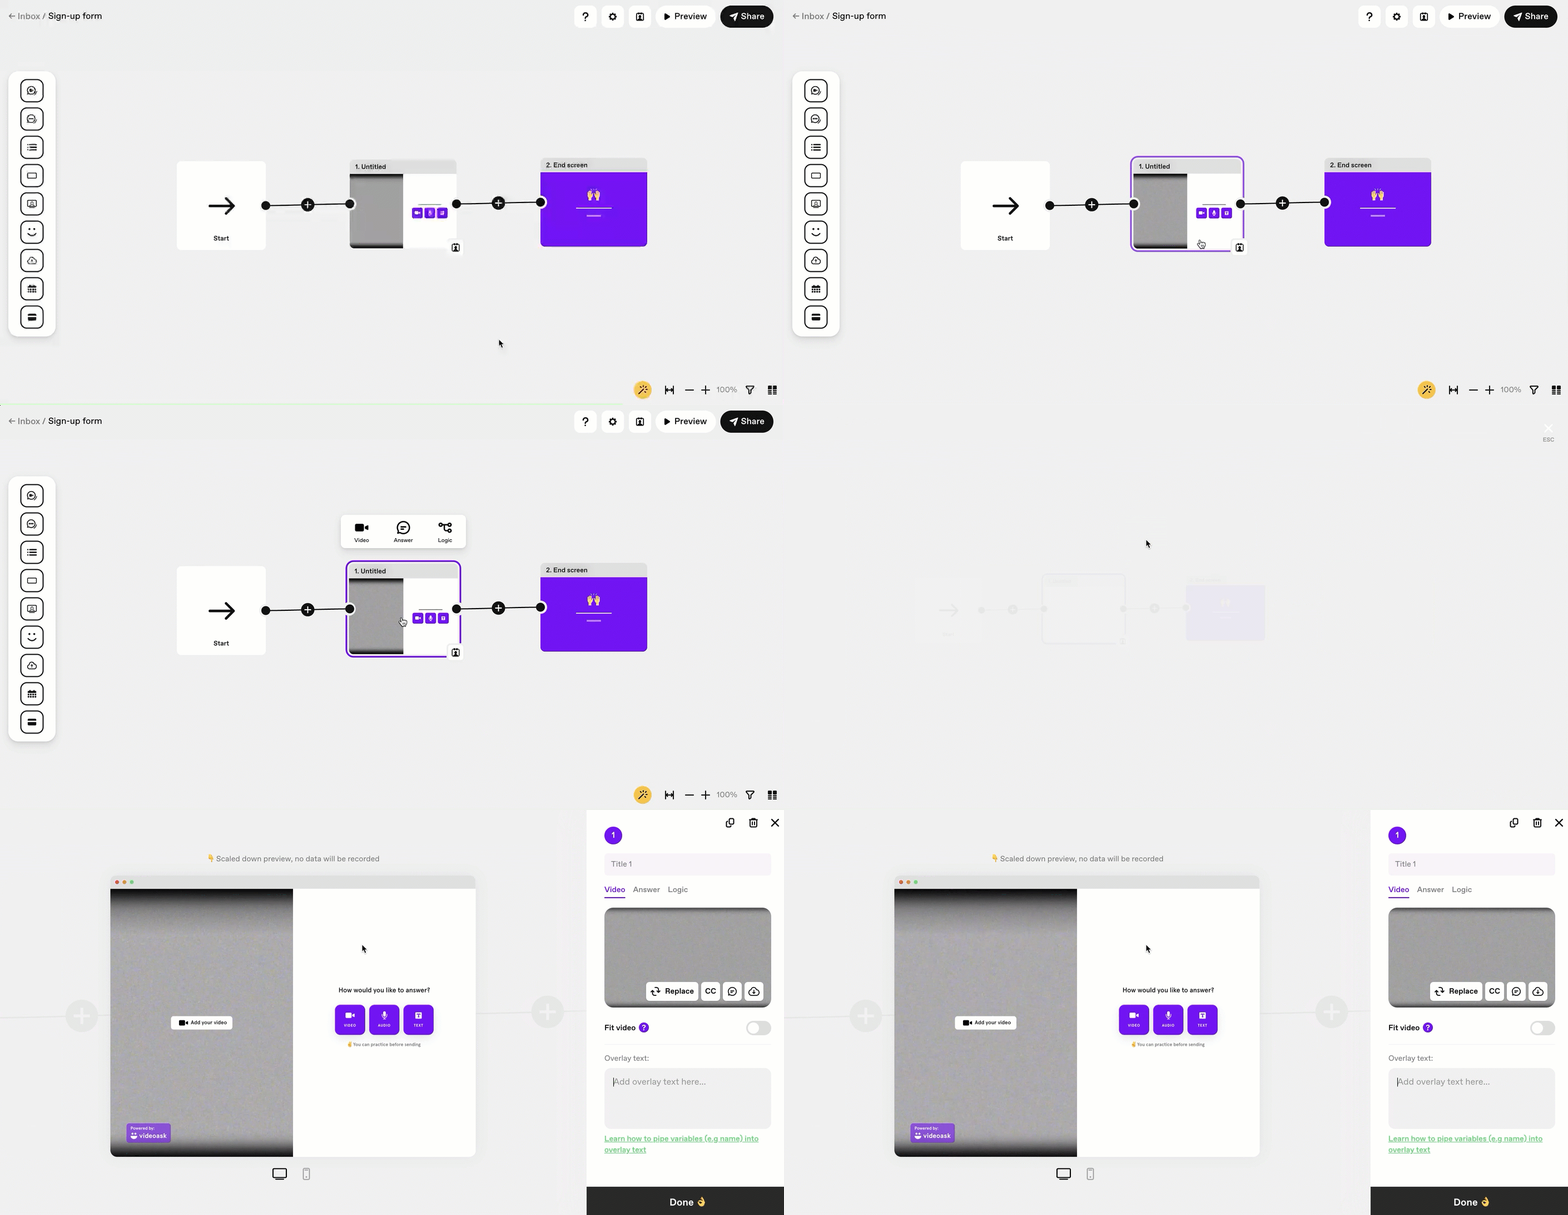
💡Tip: Hover over a step and click Video, Answer, or Logic for a sidebar shortcut to edit a step.
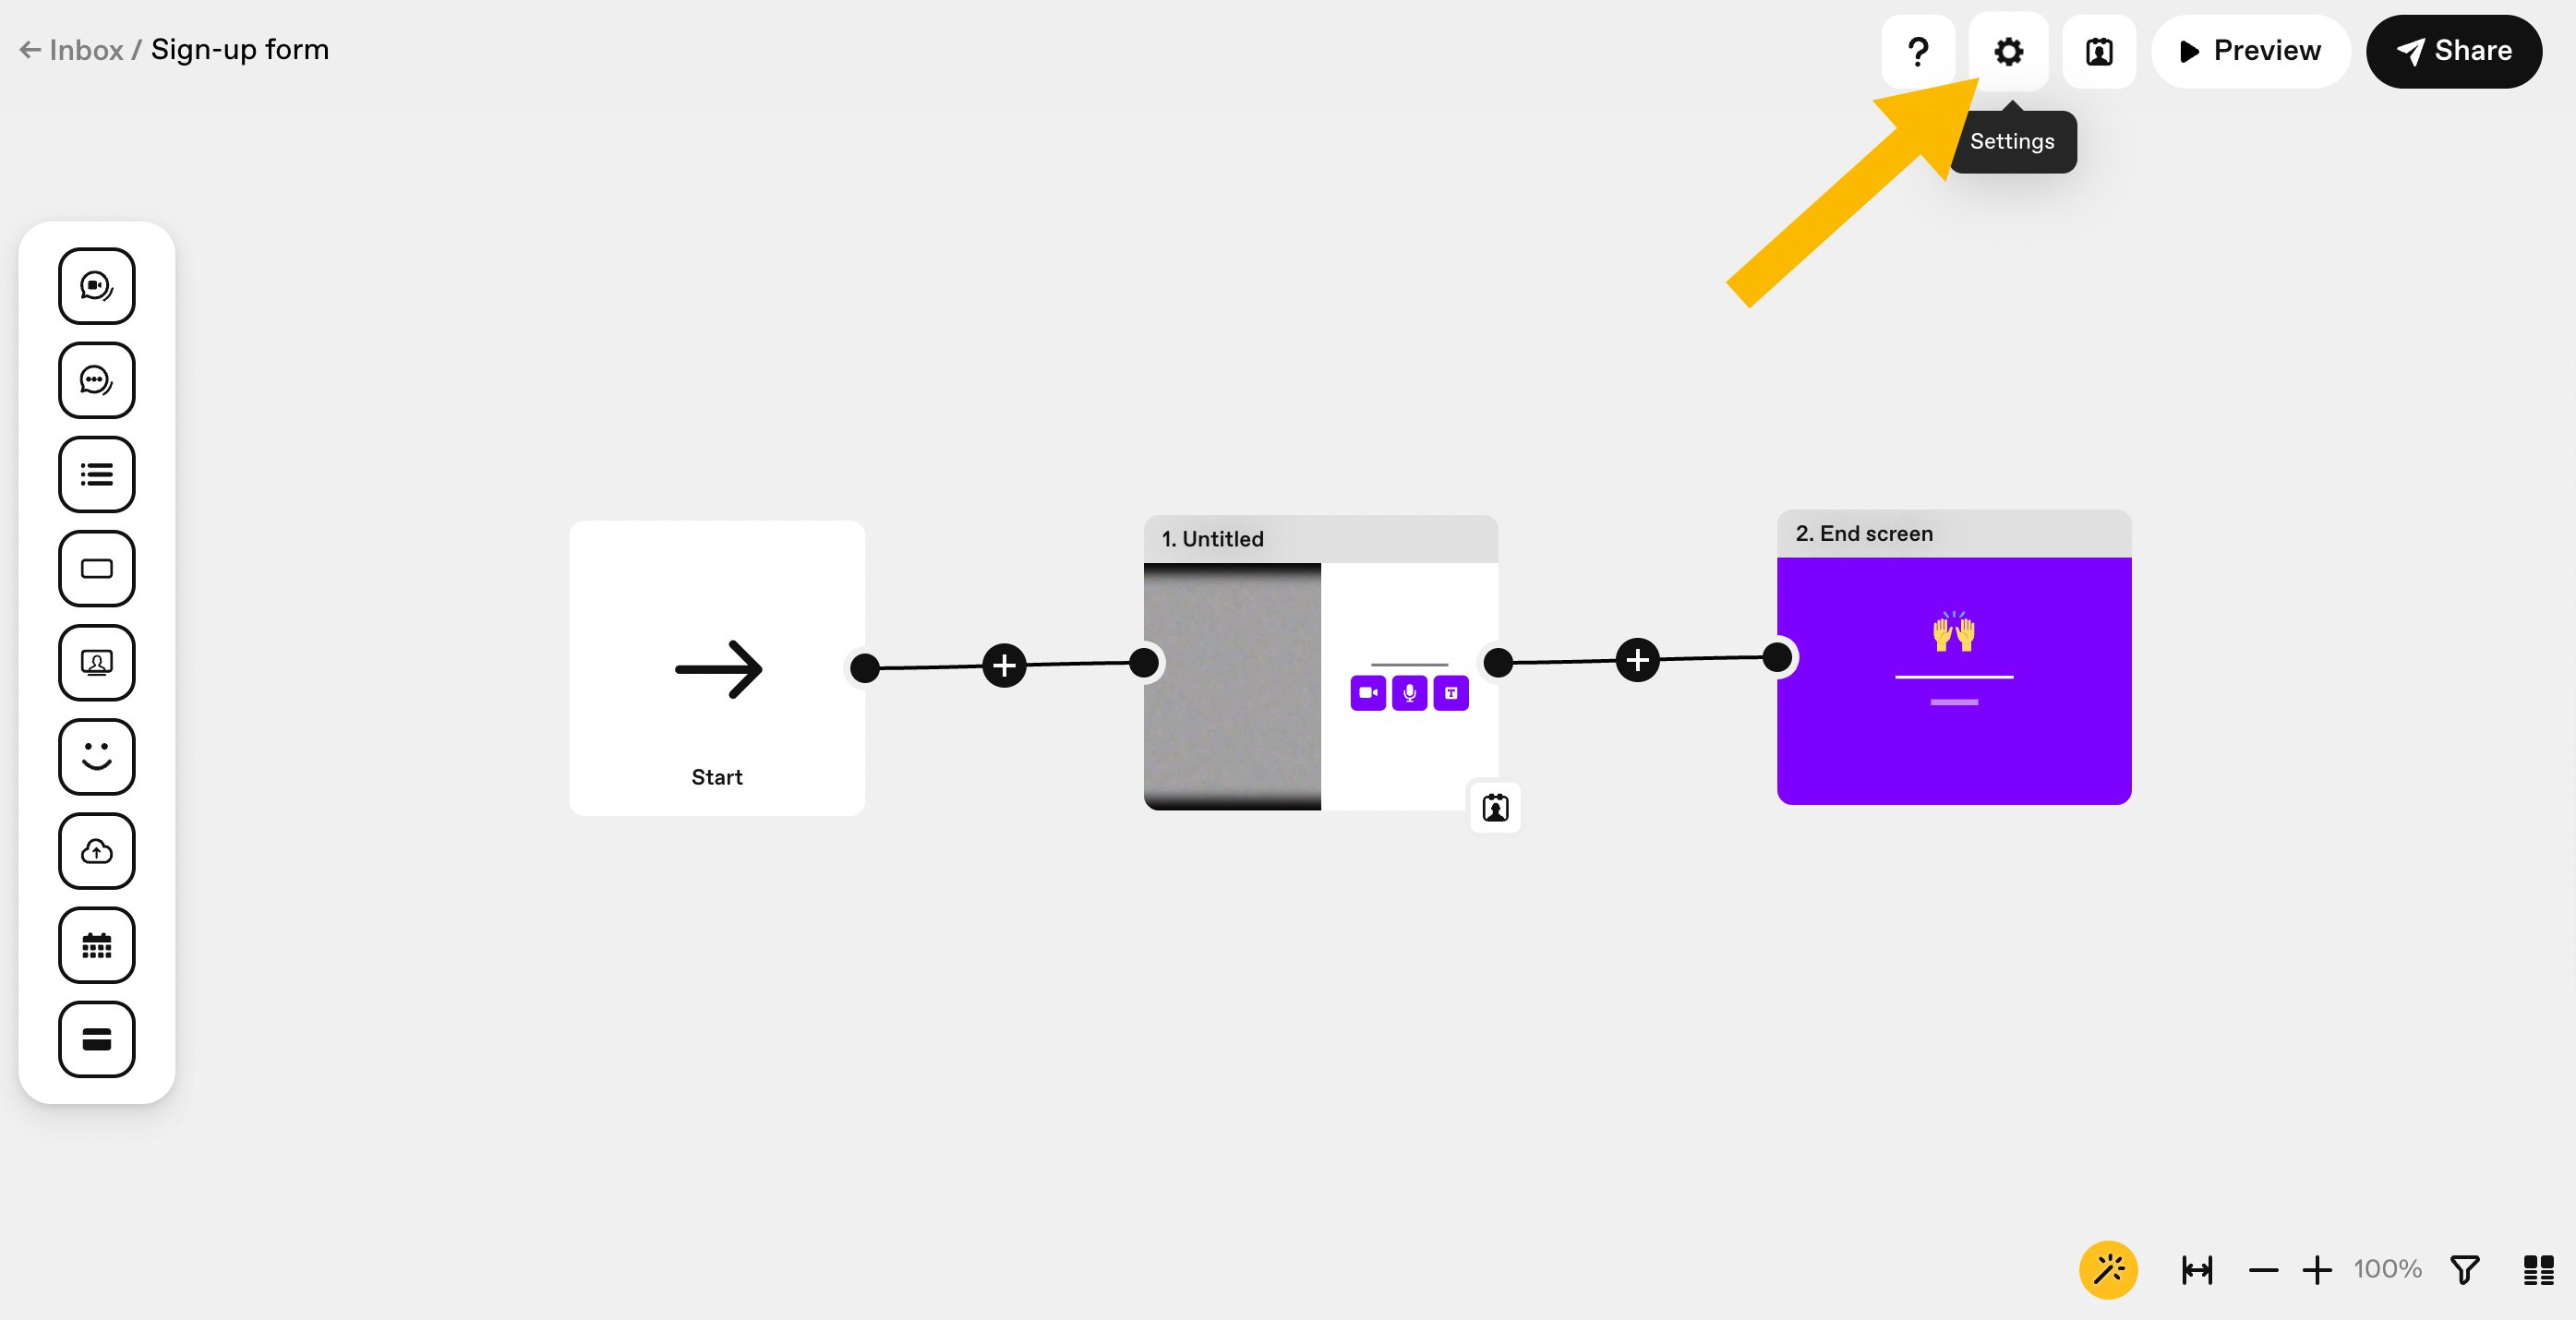
Your videoask settings
You can customize your videoask in the following ways by clicking the settings icon in the top right-hand corner:
- Add branding (available on the Brand plan or higher)
- Change the language
- Change the font and colors
- Show captions by default
- Make all interactions shareable
- Close your videoask
- Select streamed or uploaded recording
- Adjust advanced settings
- Edit the time limit of respondent replies
Preview and share your videoask
Before you send your videoask out to collect responses, test it out in preview mode to make sure the flow is exactly how you want it. Click Preview in the top right-hand corner and select Preview mode to test your videoask.
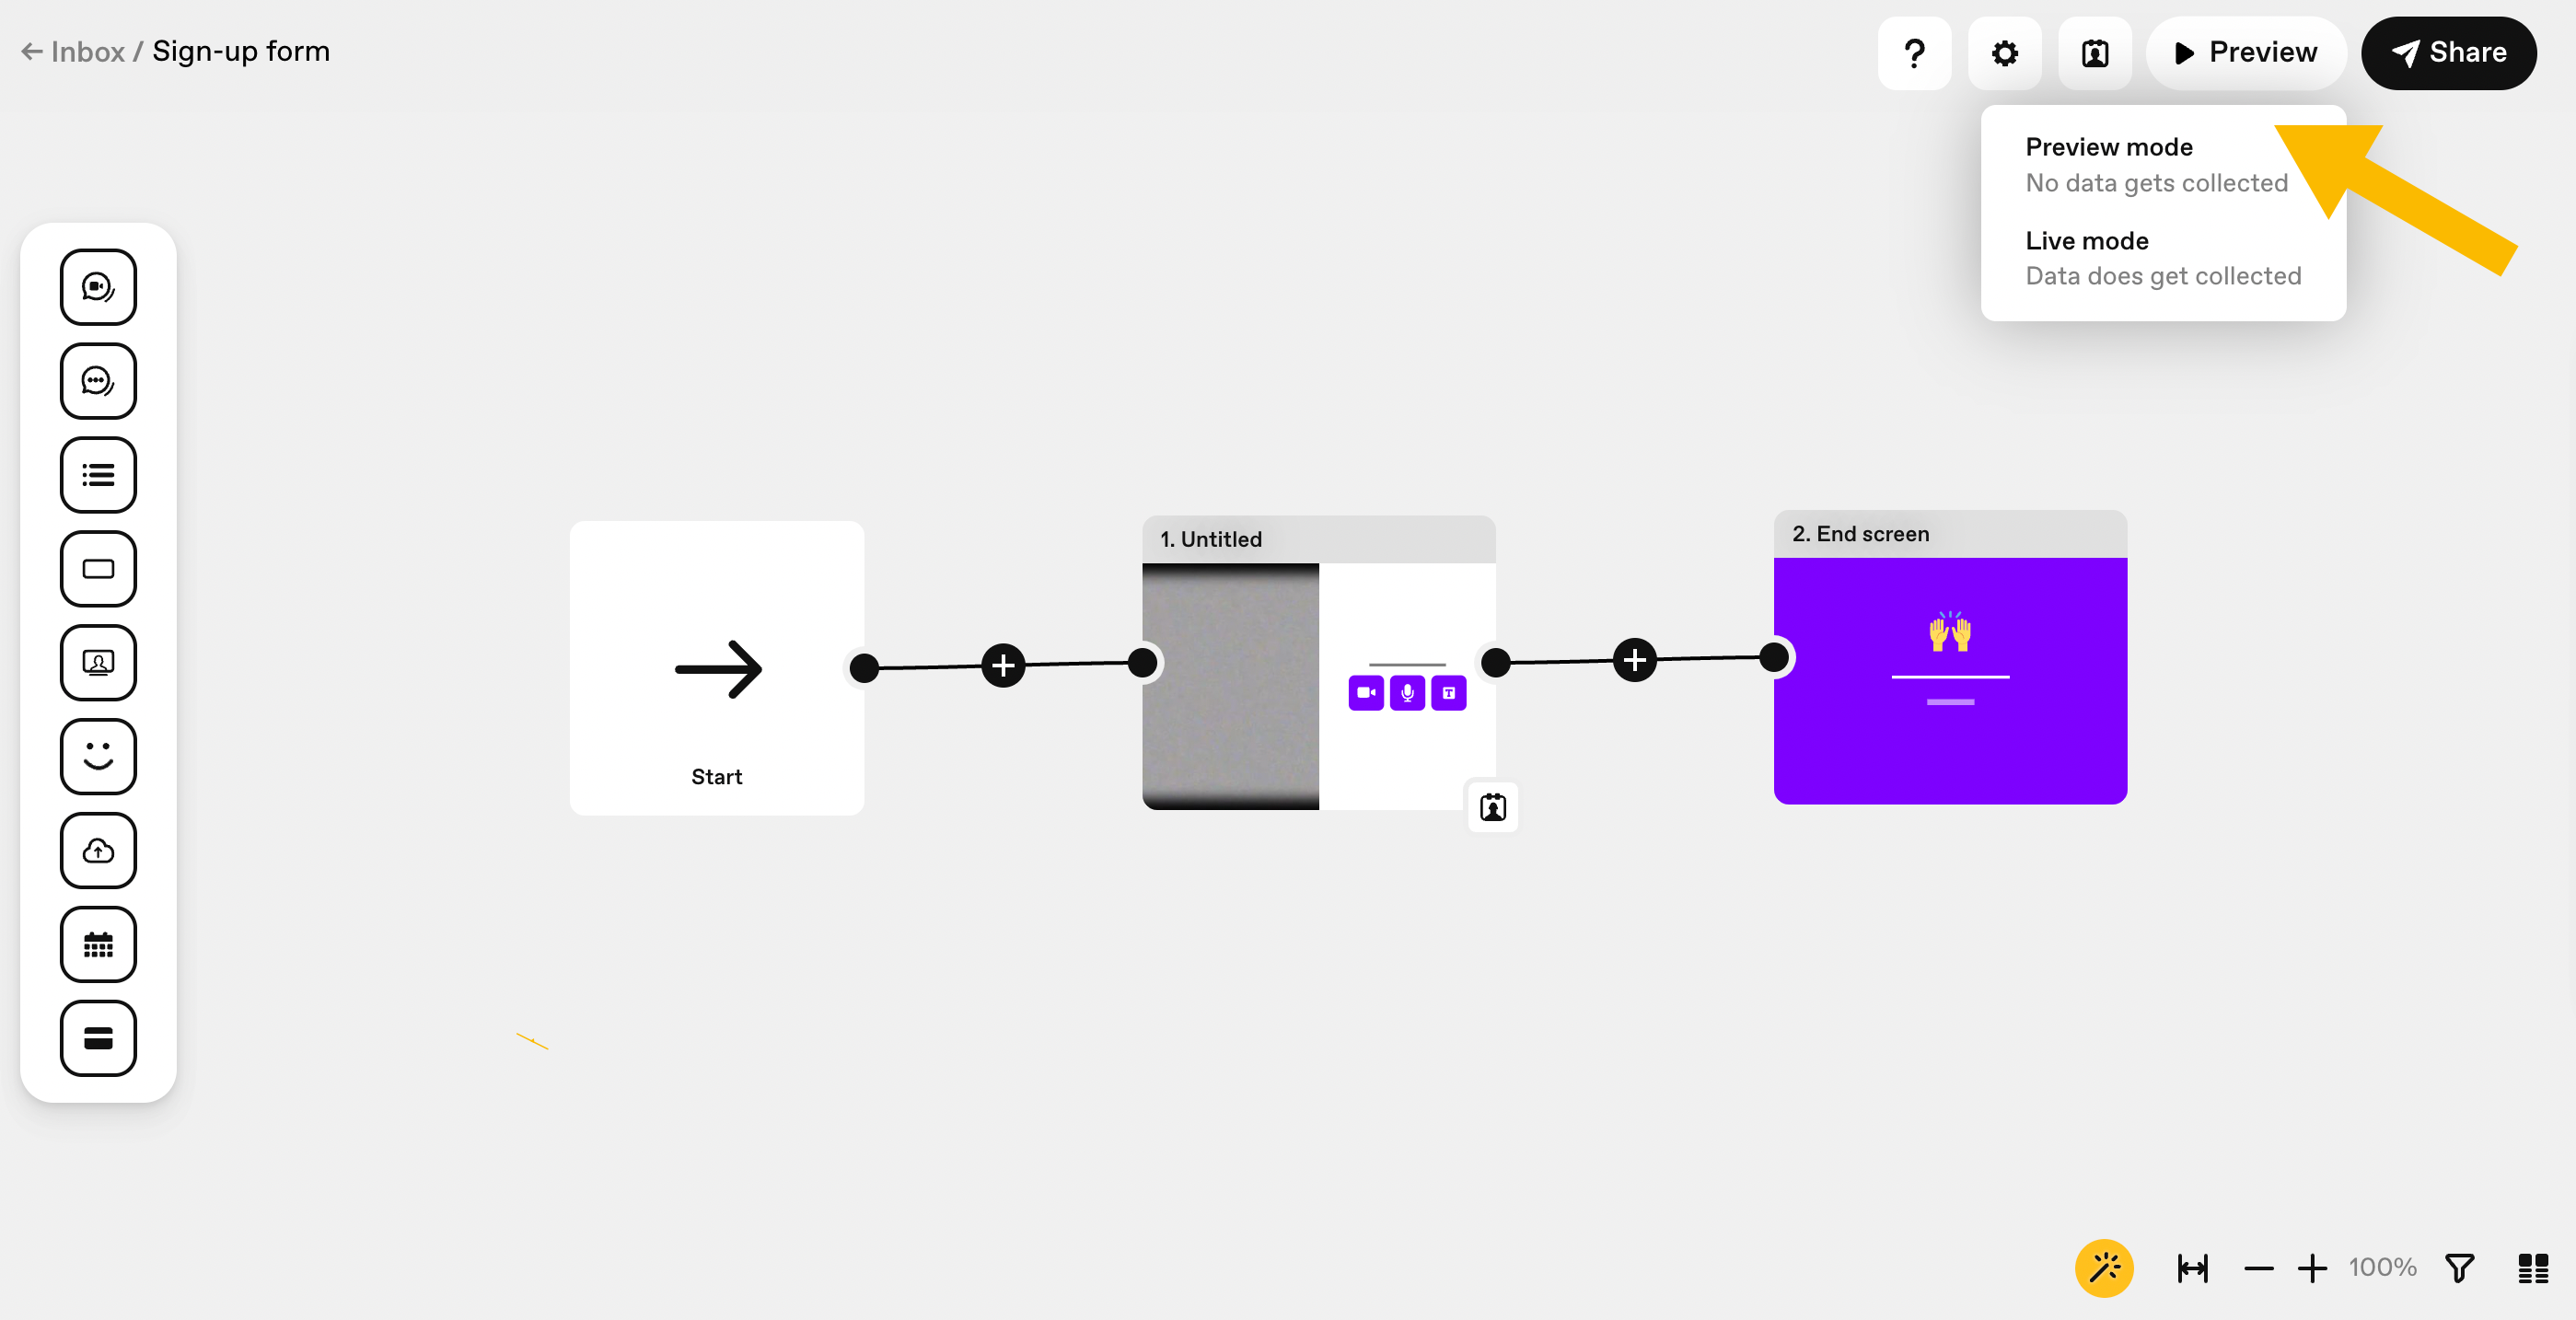
Note: When testing your videoask in preview mode, responses won’t be collected and won’t appear in your inbox. However, it’s worth noting this exception: If you’ve used a calendar answer type, the calendar won’t be in preview mode and respondents will be able to schedule bookings.
💡 Tip: You can also preview how your videoask will appear to respondents across various devices.
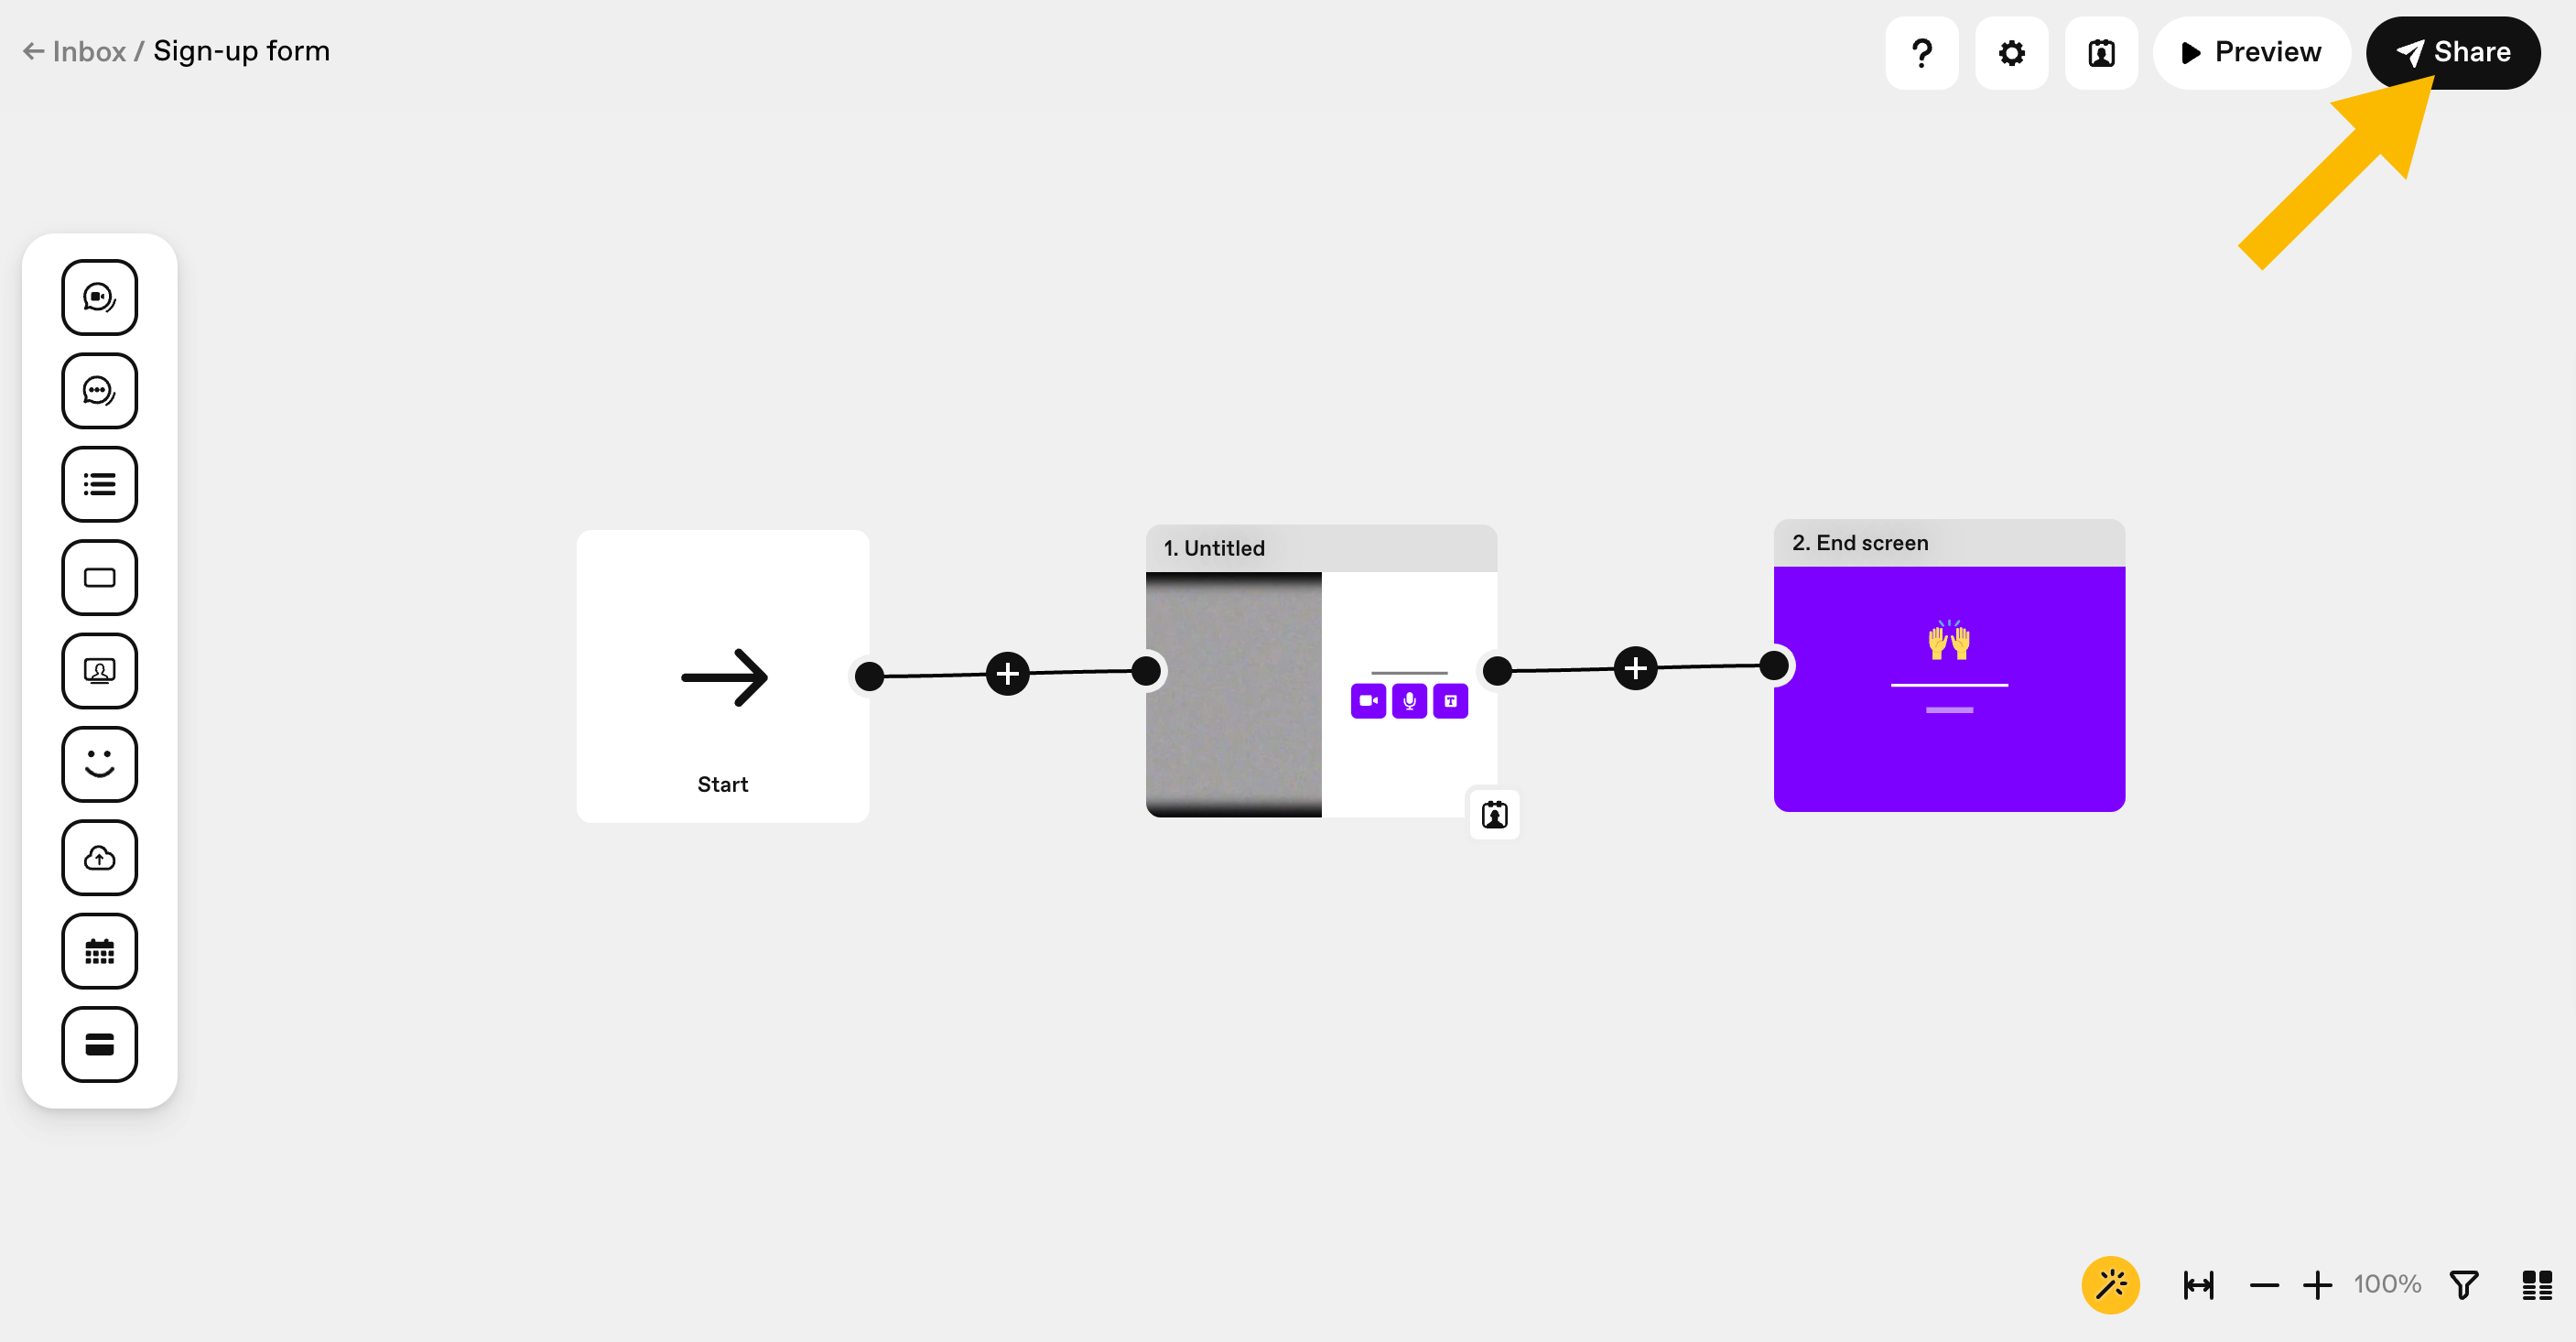
Once you’re ready to share your videoask with respondents, click Share in the top right-hand corner.
Tips and best practices
Check out some additional resources to help you get up and running with VideoAsk:
- My first videoask
- Create a multi step videoask
- Add a title to your videoask steps
- 5 tips for making a better videoask
- Tips and tools for video editing and recording
- Frequently asked questions
- Collect contact details from your respondents
- View your responses
- Reply to your respondents
- Change the position of a video in a videoask